How to install electric wooden blinds
Installing electric wooden blinds is quick and easy, even for beginners, so you can get it done and get on with enjoying them in no time. This guide will walk you through the instructions step-by-step, including how to fit the brackets and position the battery.
How do electric wooden blinds work?
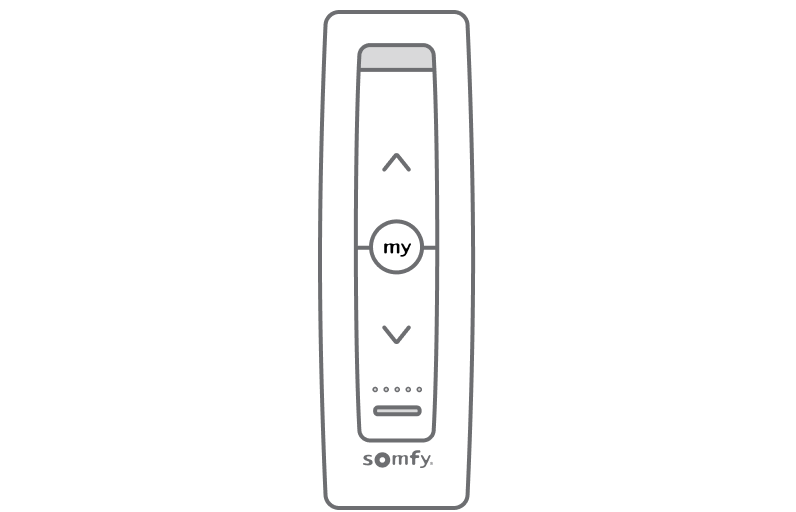
Electric wooden blinds work with the help of a motor discreetly placed inside the headrail. The motor is powered with a rechargeable battery and is easily managed through a variety of means, including remote control, smartphone, timers, and voice commands through compatible smart home systems. When the command is given, the slats tilt to the desired amount of light and privacy.
How to install electric wooden blinds – Step-by-step
What comes with my electric wooden blinds?
Fitting brackets and a lithium-ion rechargeable battery are included with your electric wooden blinds. If you ordered a remote, charger and or connectivity kit, you will find those within the box.
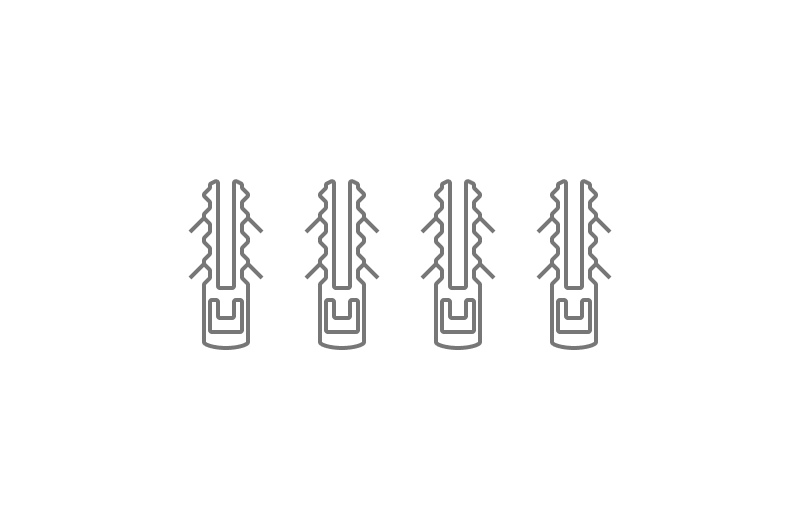
Please note that screws are not included, as the type of screws required depends on the surface you are fitting the brackets to. You will need four 4mm screws suitable for the surface.


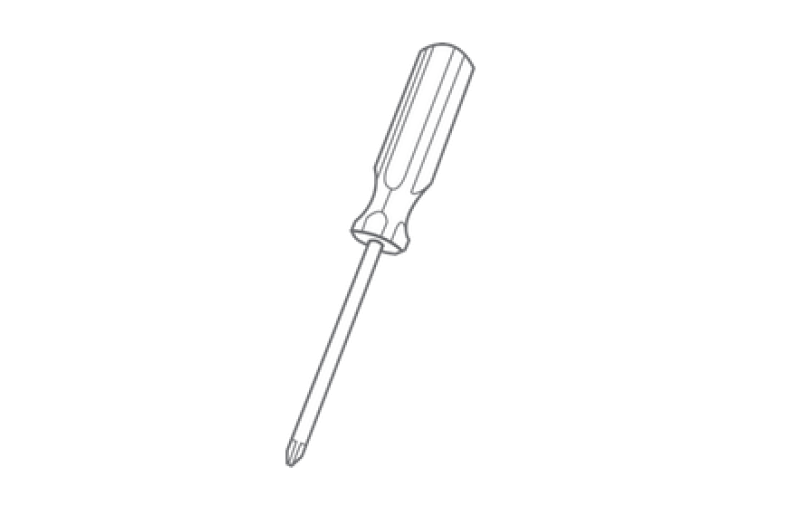
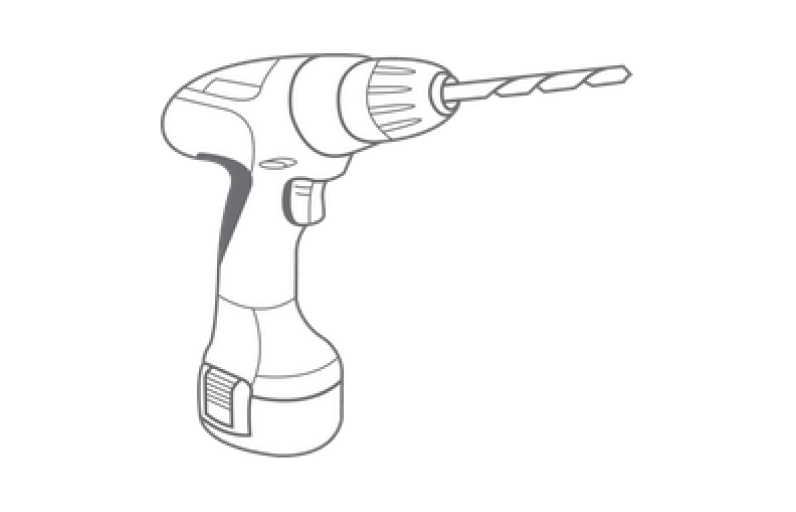
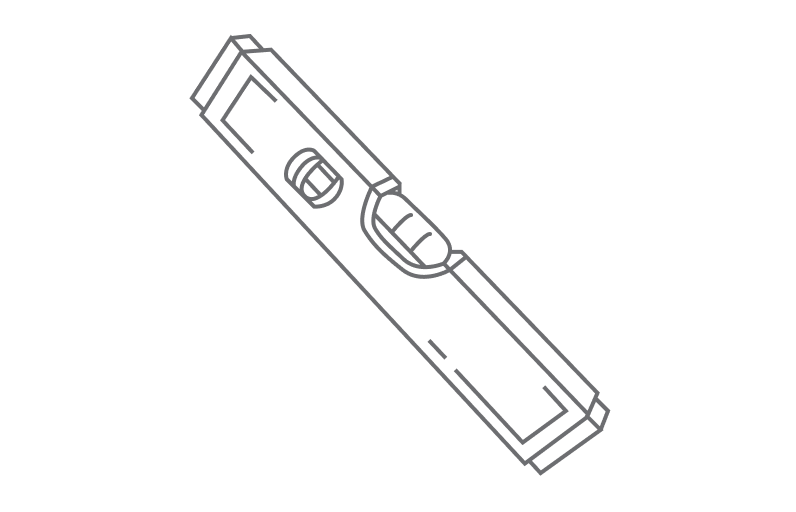
Tools you’ll need:


Installation steps:
Step 1
Bracket Positioning
Inside Recess
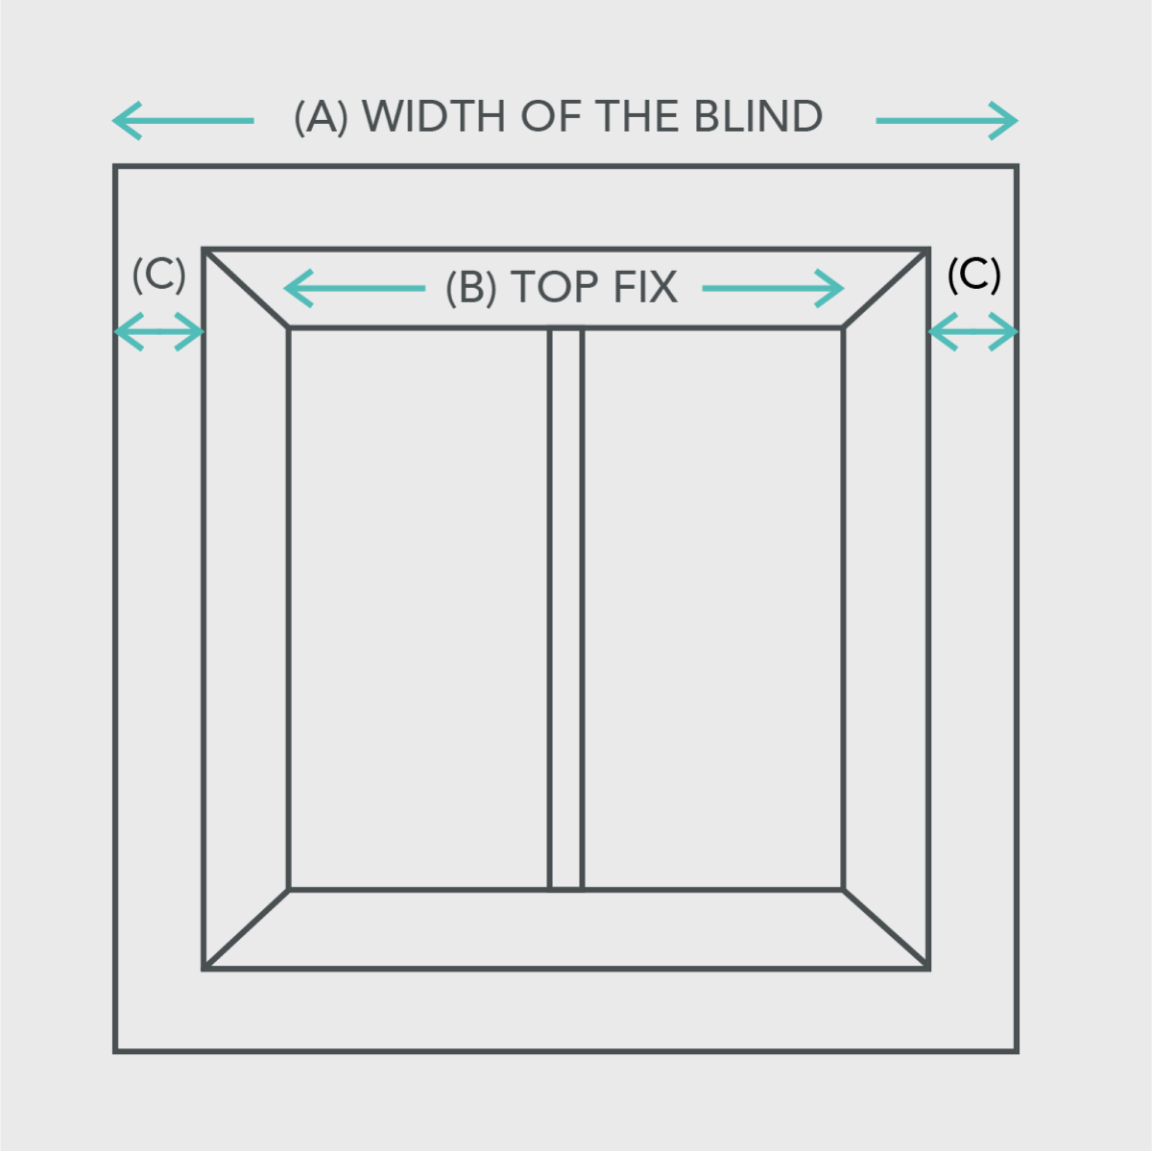
If you are fitting the blind inside the recess (B) you can top fix, or side fix the blinds to the lintel.
Outside Recess
If you’re fitting the blind outside the window recess you will face fix the brackets.
Important Note: Make sure the width of the blind (A) covers the recess equally on both sides (C) to ensure even window coverage.
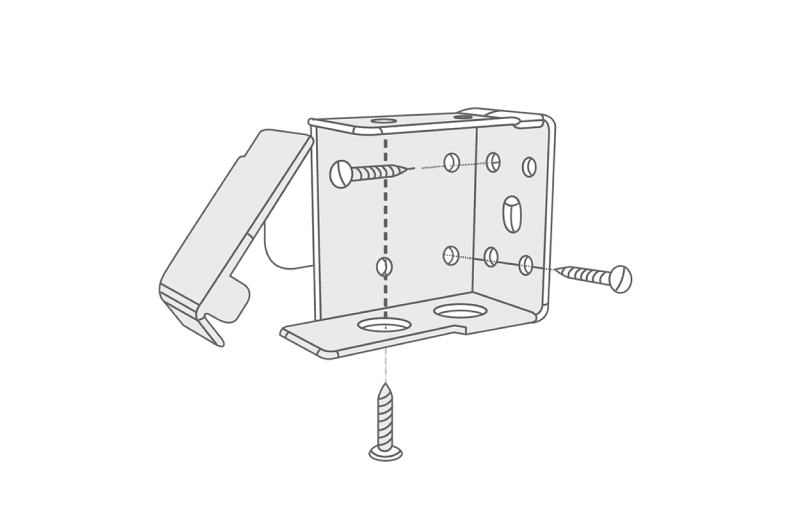
Step 2
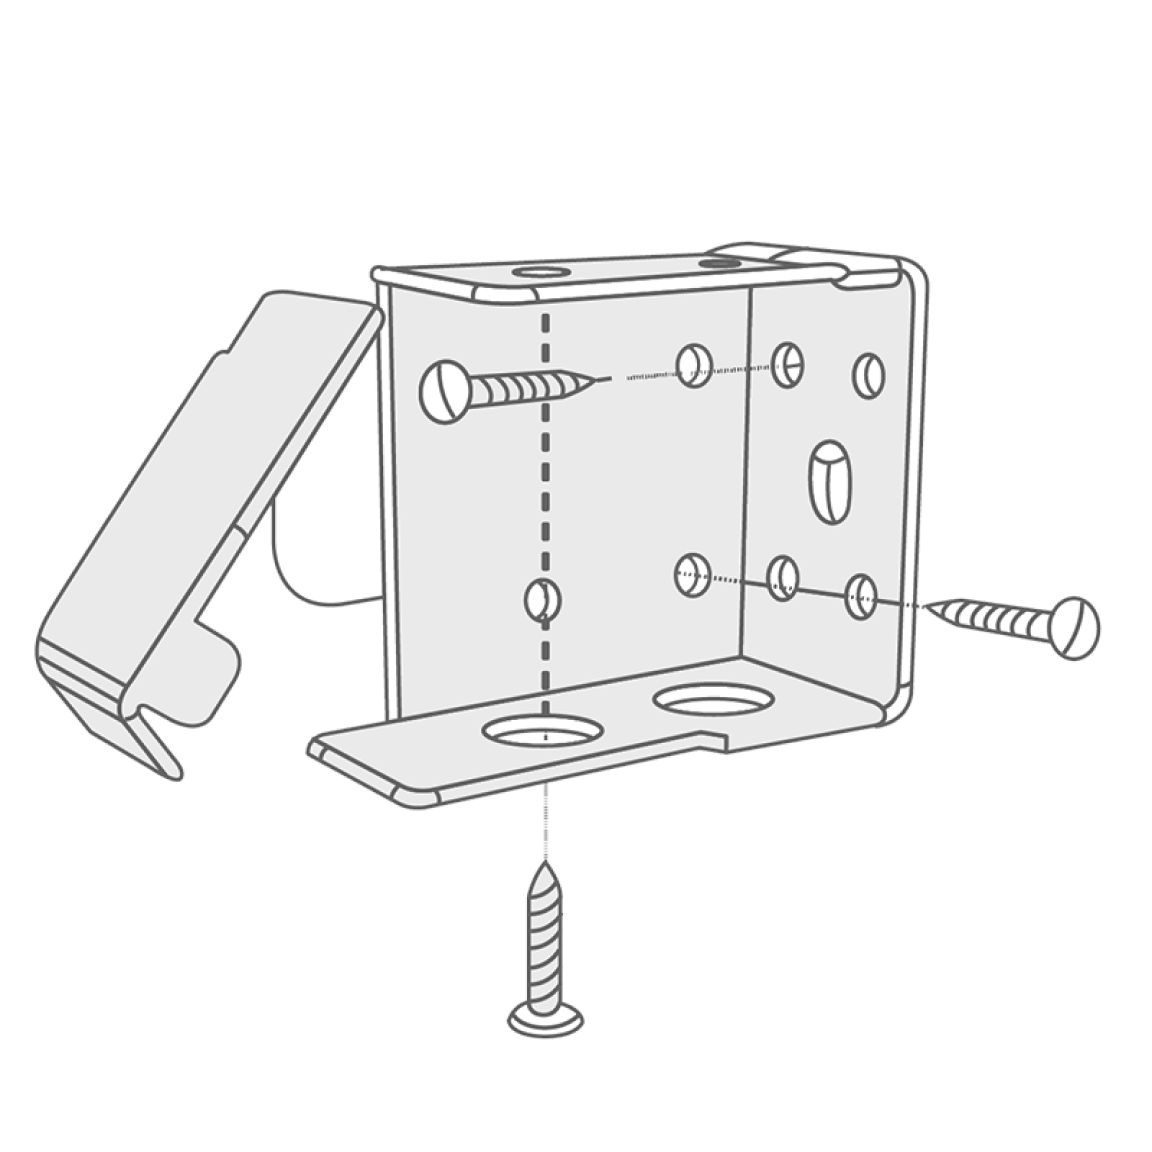
Bracket Fixing
Measure and mark the distance between the wall and the back of the bracket, allowing for obstructions like handles that protrude into the recess area.
The brackets should be positioned 6mm wider than the blind at each end.
Hold each bracket in place and mark the hole positions on the wall with a pencil.
Affix each bracket in place using 4mm diameter screws.
Important Note: Ensure the fixings you choose are suitable for the surface to which you are mounting the brackets.
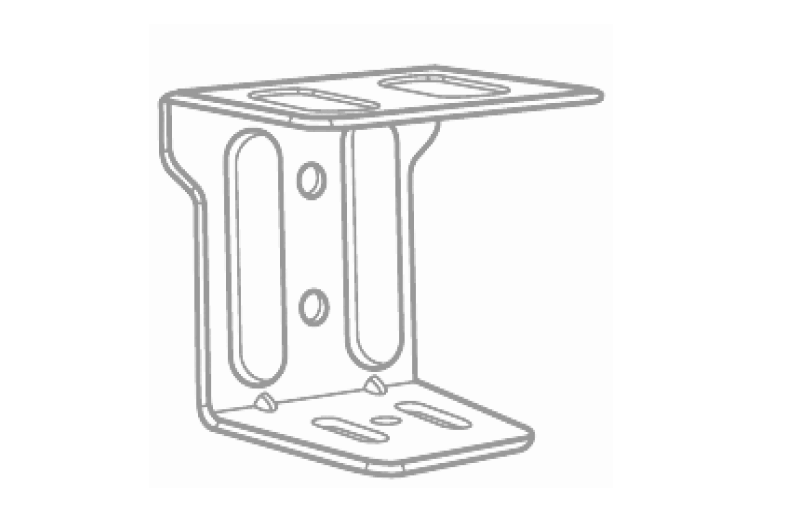
Step 3

Central Support Bracket Fixing
For wider blinds a central support bracket is required.
Align the top of the central bracket with the top of the mounting bracket before installation.
Install with the bigger flap ('gate') of the central bracket on the top, equally spaced along the width of the headrail.
Make sure the central bracket is fitted clear of central cords or tapes that run down the slats.
Step 4
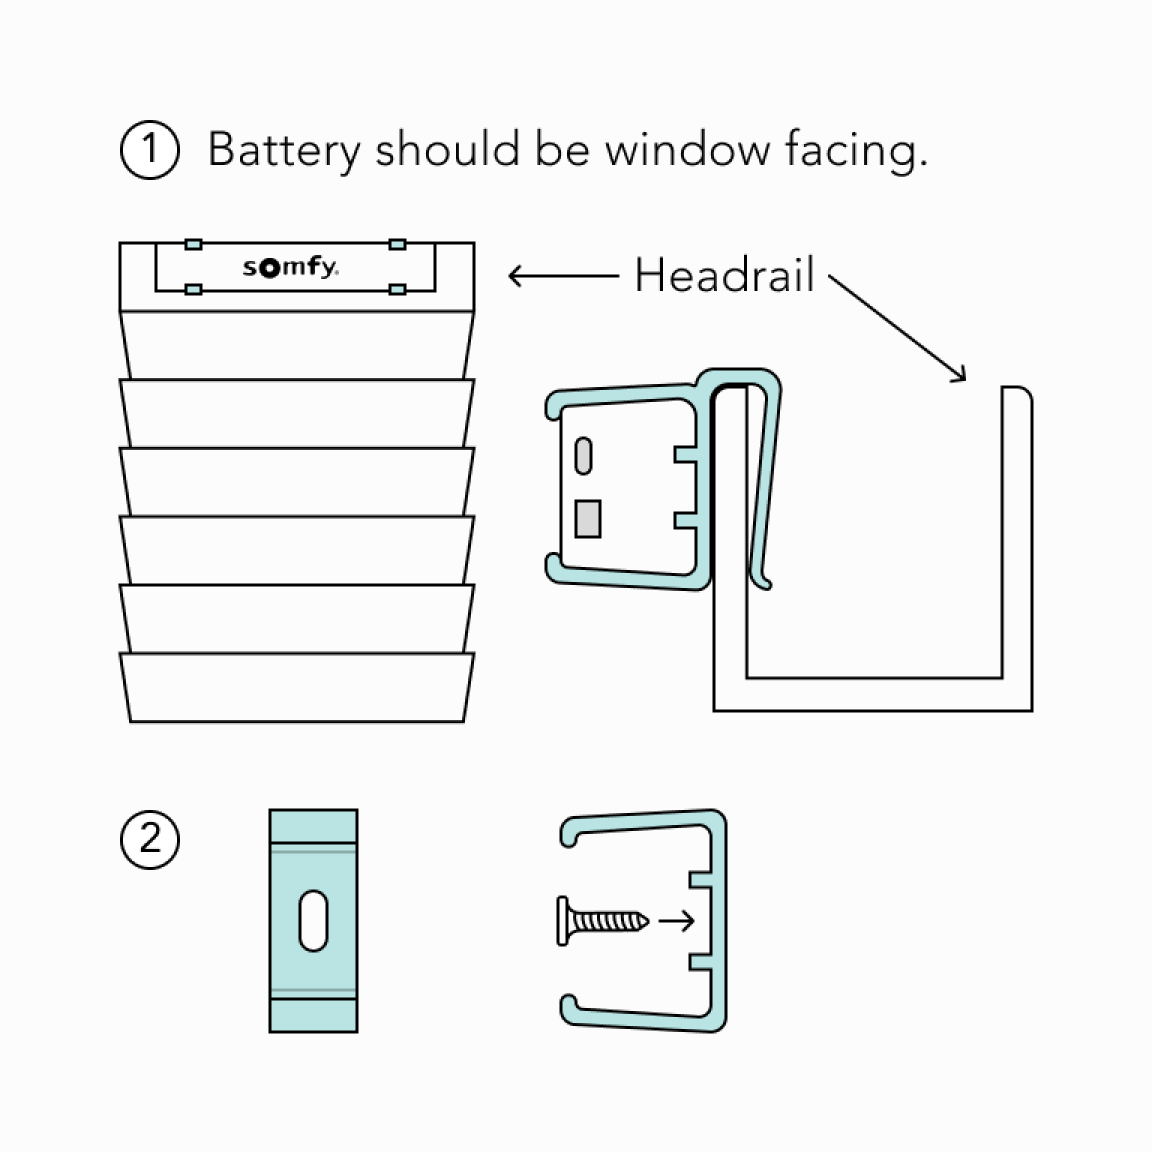
Attaching the battery
There are 2 ways of attaching the battery:
- Attach the battery to the back of the headrail using the clips provided. (recommended)
- Attach the wall brackets to the desired area of the window recess, leaving enough room for the blind.
Important Note: The battery pack can be secured outside the headrail in either vertical or horizontal position.
Step 5
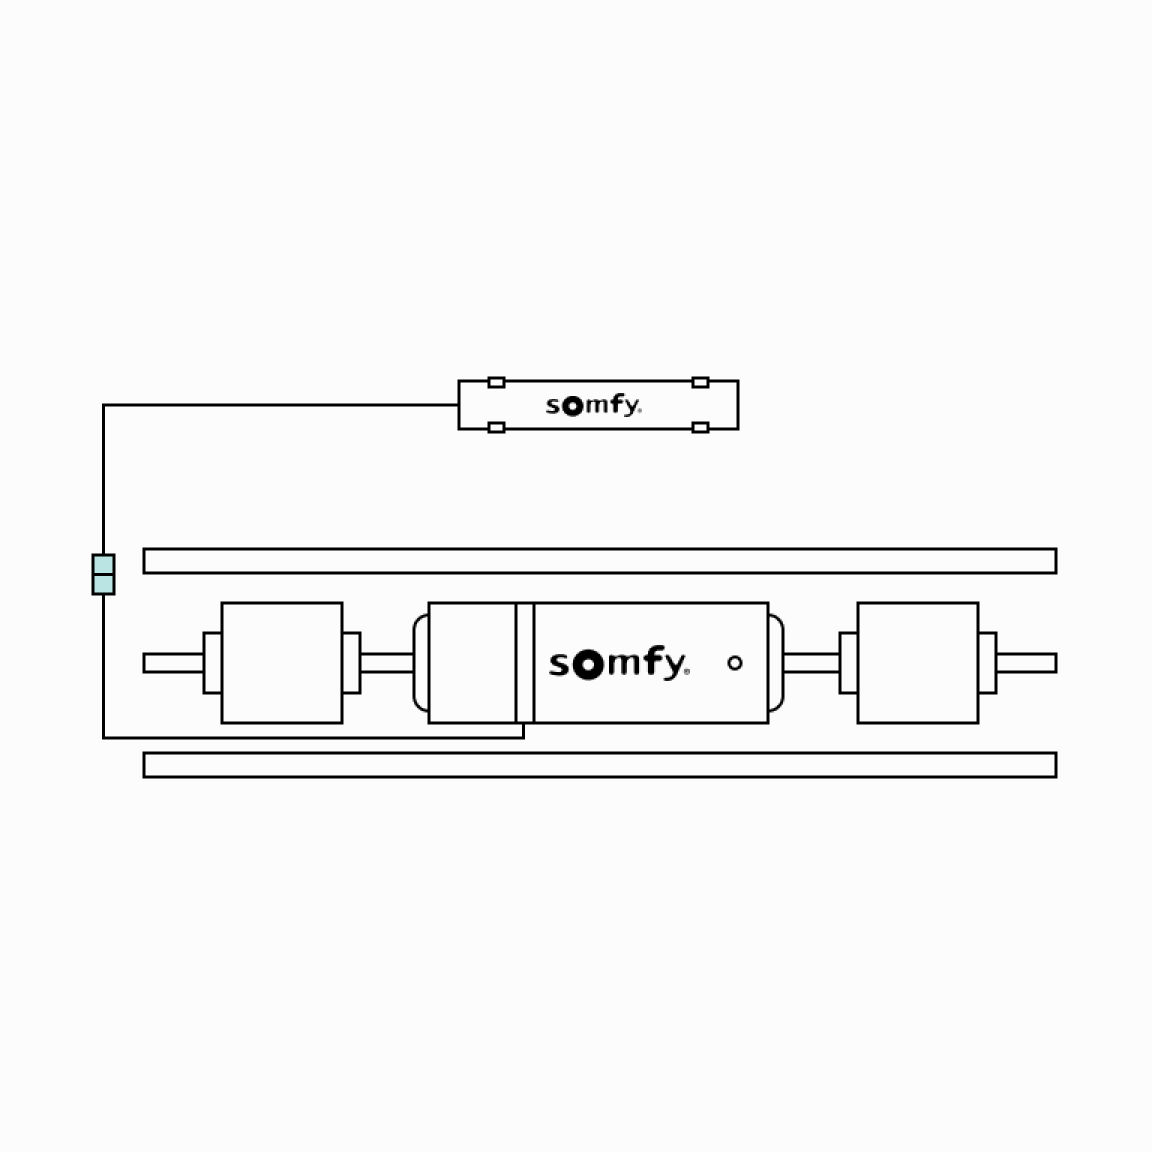
Connect the battery to the motor
Connect both cables from the battery and the motor.
Step 6
Mount the blind on the brackets
Check the end brackets and central support bracket are fixed securely in place.
Ensure the end brackets are open.
Mount the blind onto the brackets and close the brackets.
Having trouble installing your electric wooden blinds?
Our team of highly trained customer support representatives are here to help. Give us a call at 0370 218 7042 or start a live chat with us today.