How to Install Wooden Blinds
In this step-by-step guide, you'll find detailed instructions to help you successfully install your new wooden blinds. Whether you're a seasoned DIY enthusiast or a total novice, this guide will walk you through the entire process, and your new wooden blinds will be up in no time. Let's get started on transforming your windows with style and functionality!
How do Wooden Blinds Work?
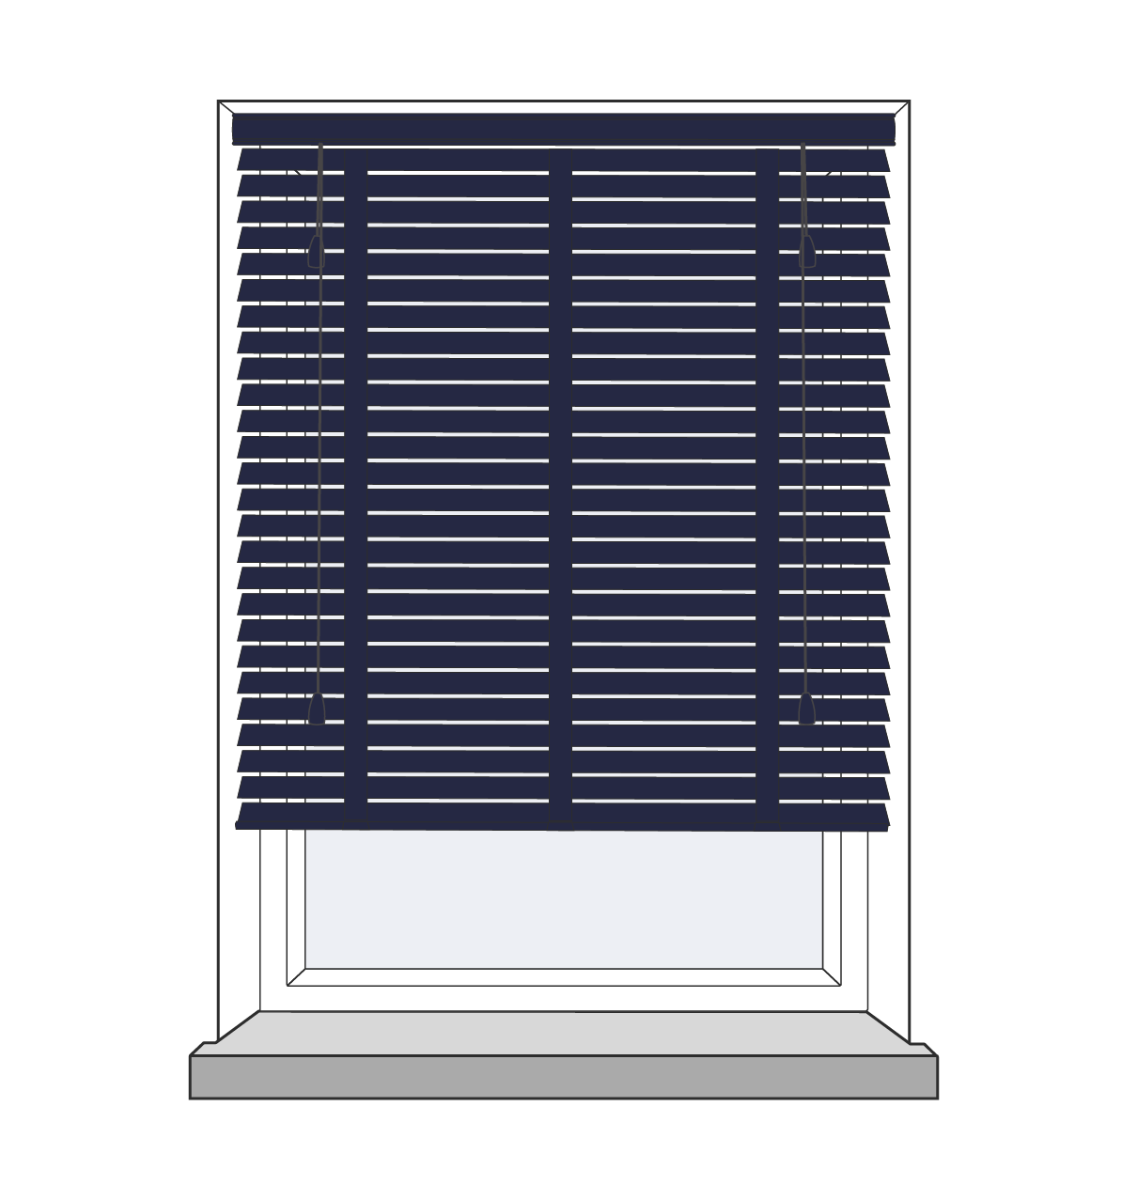
Wooden blinds use a system of tilting and lifting mechanisms. The horizontal wooden slats can be tilted open or closed to control light and rotated. To adjust the height, a lift cord is pulled, allowing you to position the blinds as desired, providing both style and functionality for your windows.
How to Install Wooden Blinds - Step by Step
What comes with my blind?
Two end fitting brackets and one central bracket and child safety clip are included with your wooden blinds. Screws do not come with your wooden blinds, this is because the type of screws required will depend on the surface you are fitting the brackets to. Your screws need to be 4mm and suitable for the surface.
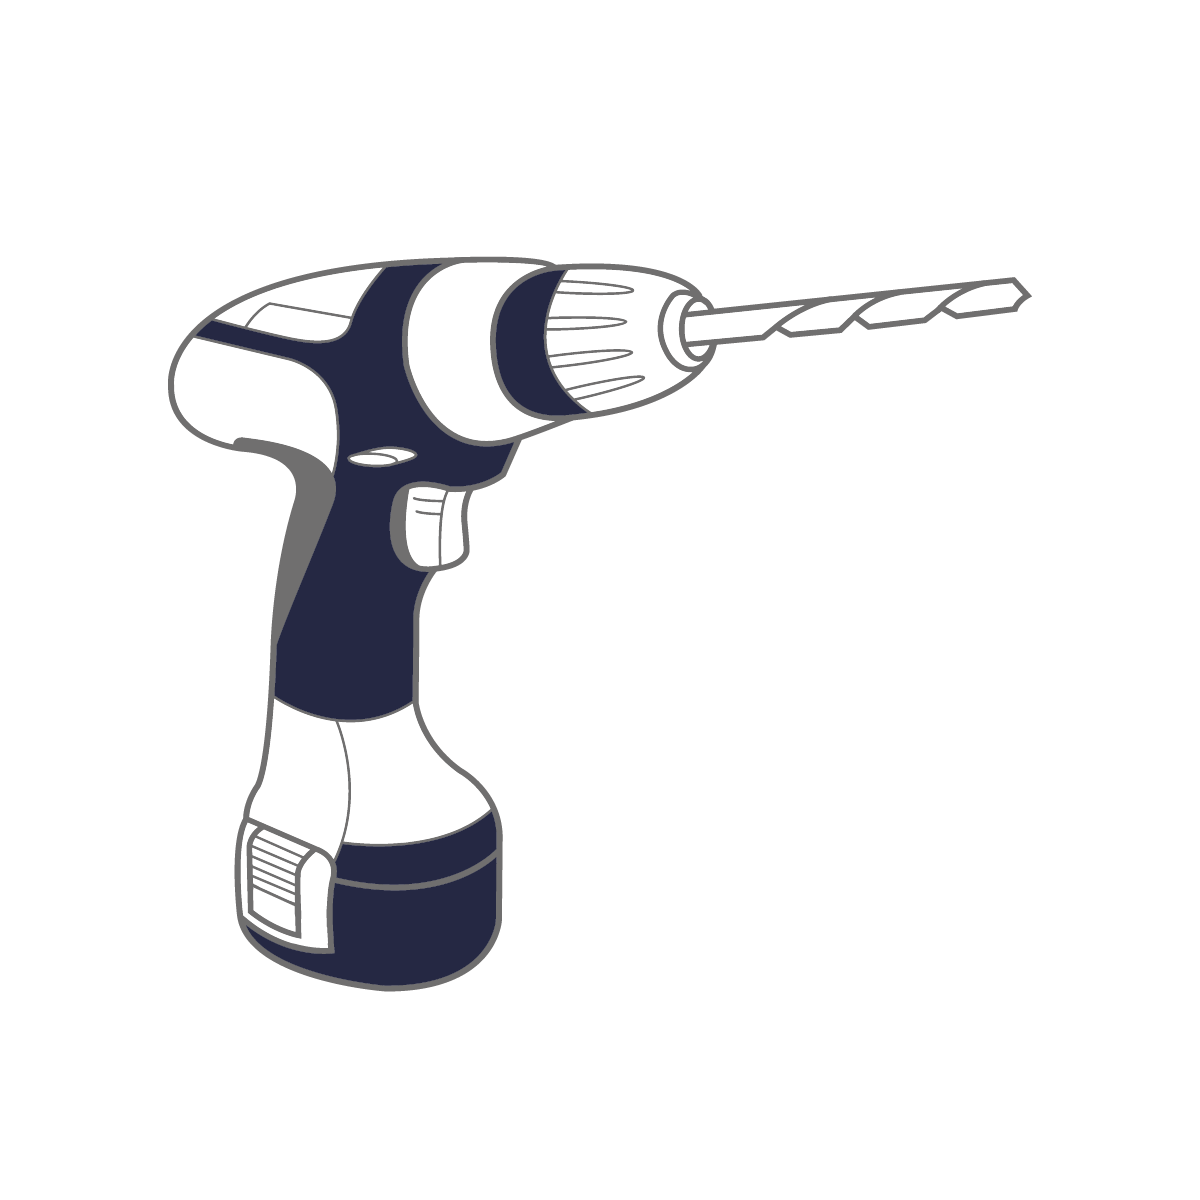
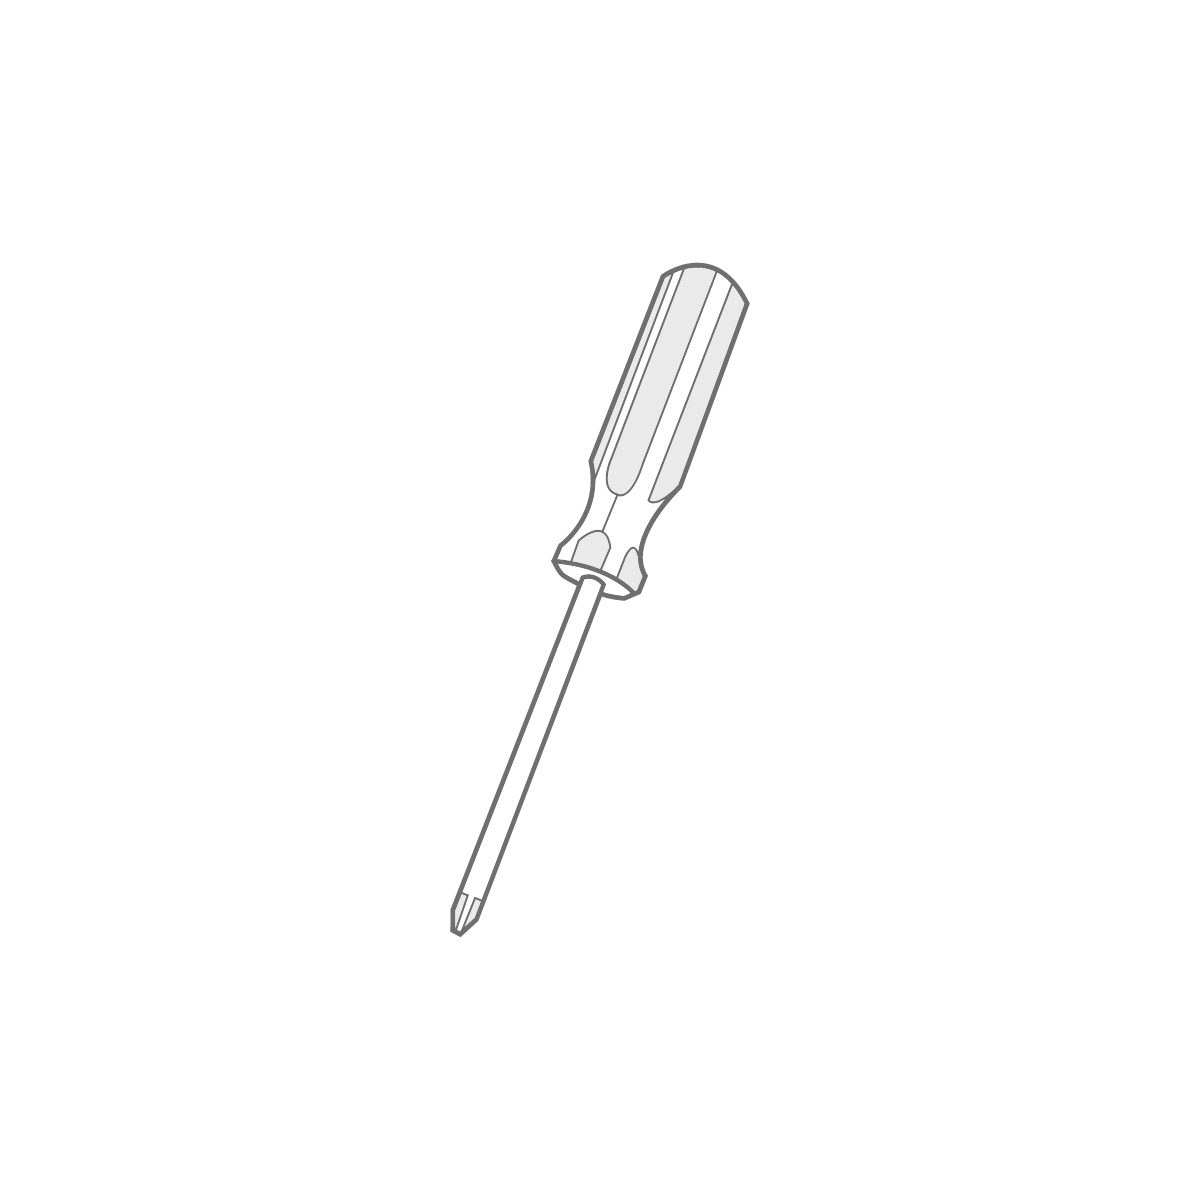
What you'll need
To install your new blinds you will need the below tools.

Video tutorial
We recommend watching our how to install video guide first.
Mounting the brackets
Ensure that brackets are positioned a suitable distance away from any window, door handles or any other obstructions to allow the blind to operate smoothly.
Step 1
Bracket Positioning
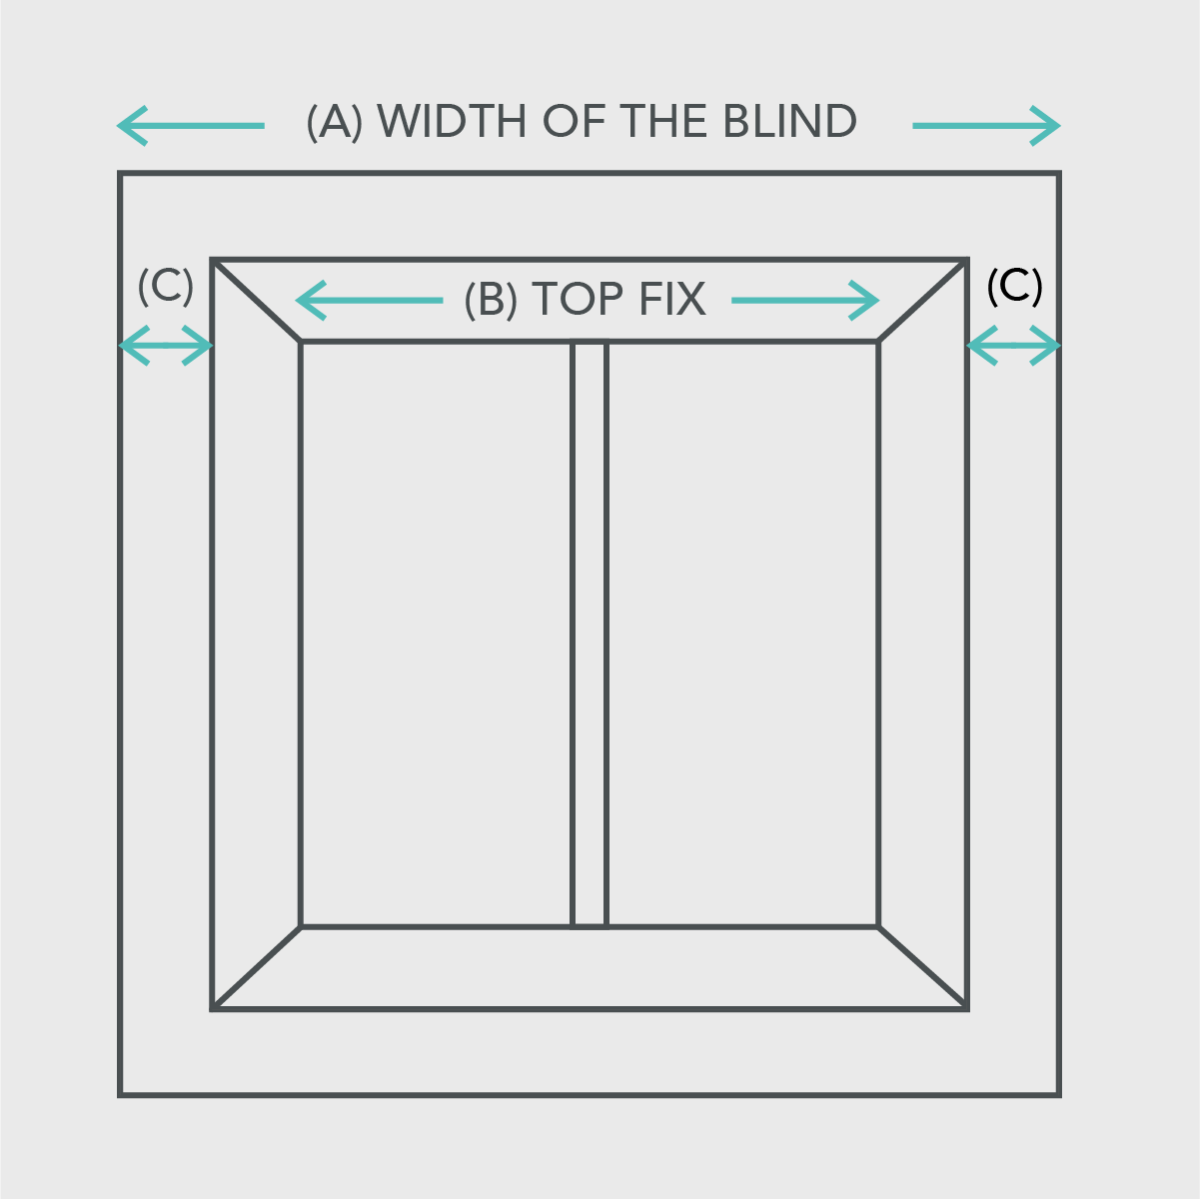
If you’re fitting the blind inside the recess you can top fix the brackets to the lintel or face fix the brackets to the window frame.
If you’re fitting the blind outside the window recess ensure that measurement (C) in the diagram above is the same to ensure even window coverage.
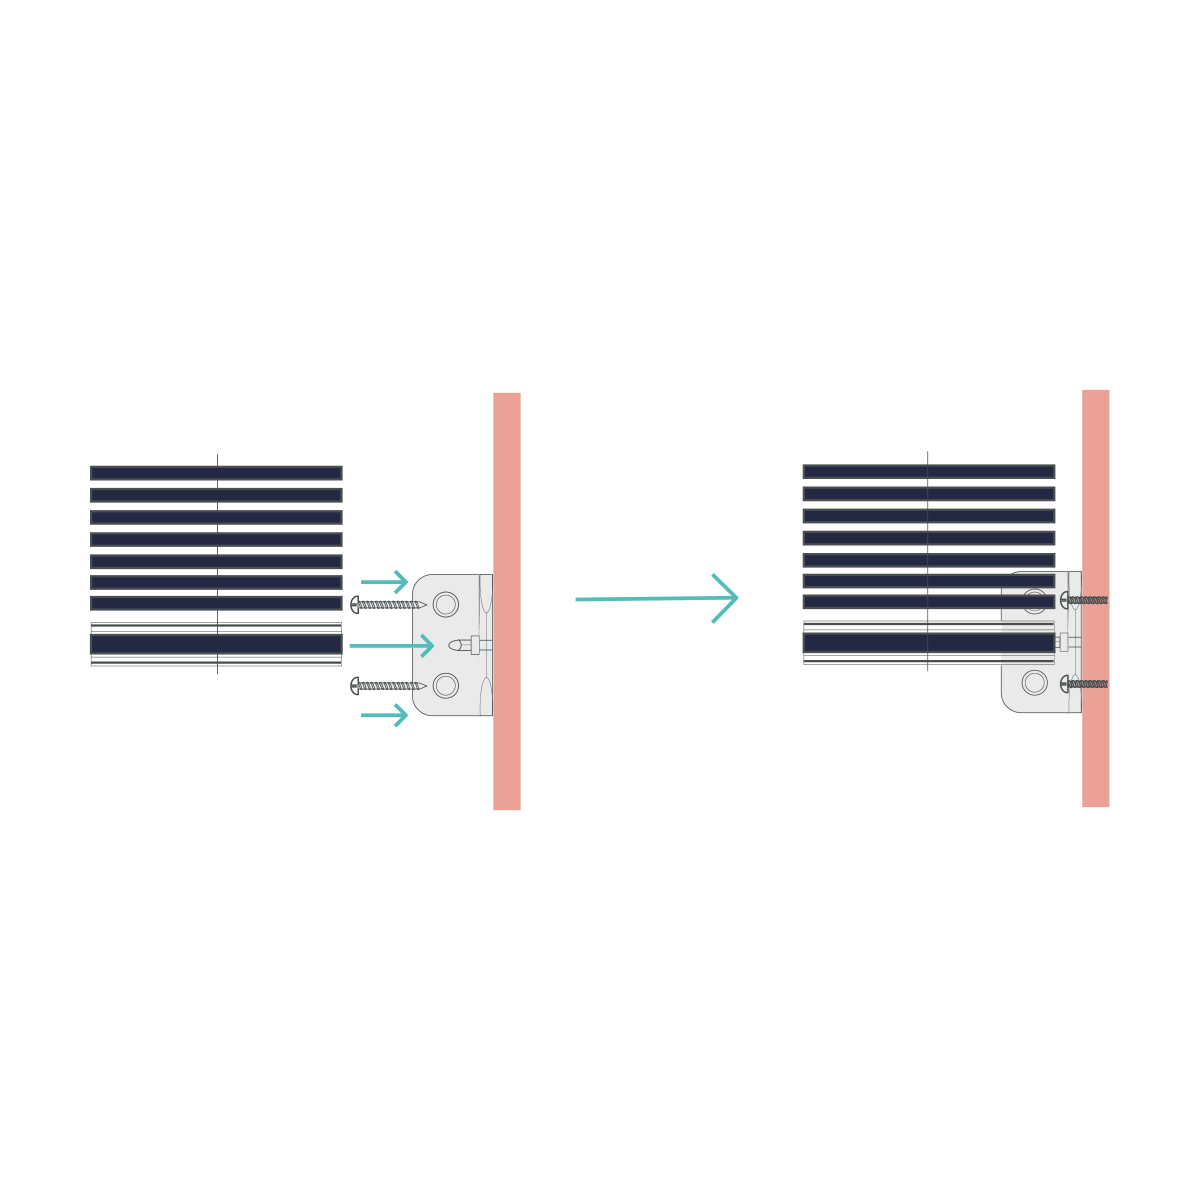
Step 2
Bracket Fixing
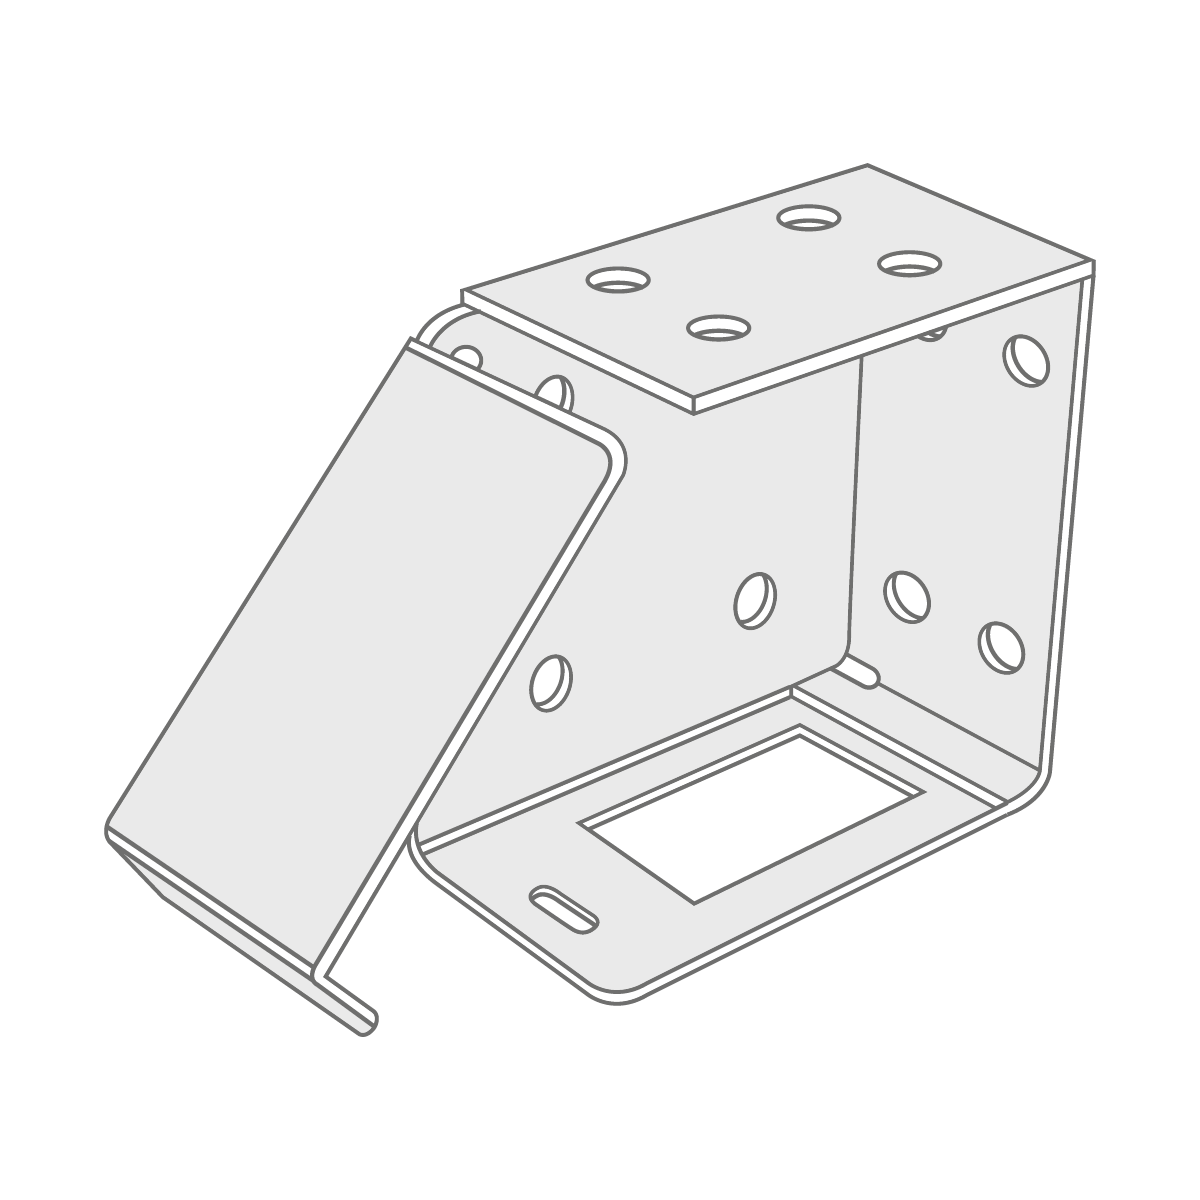
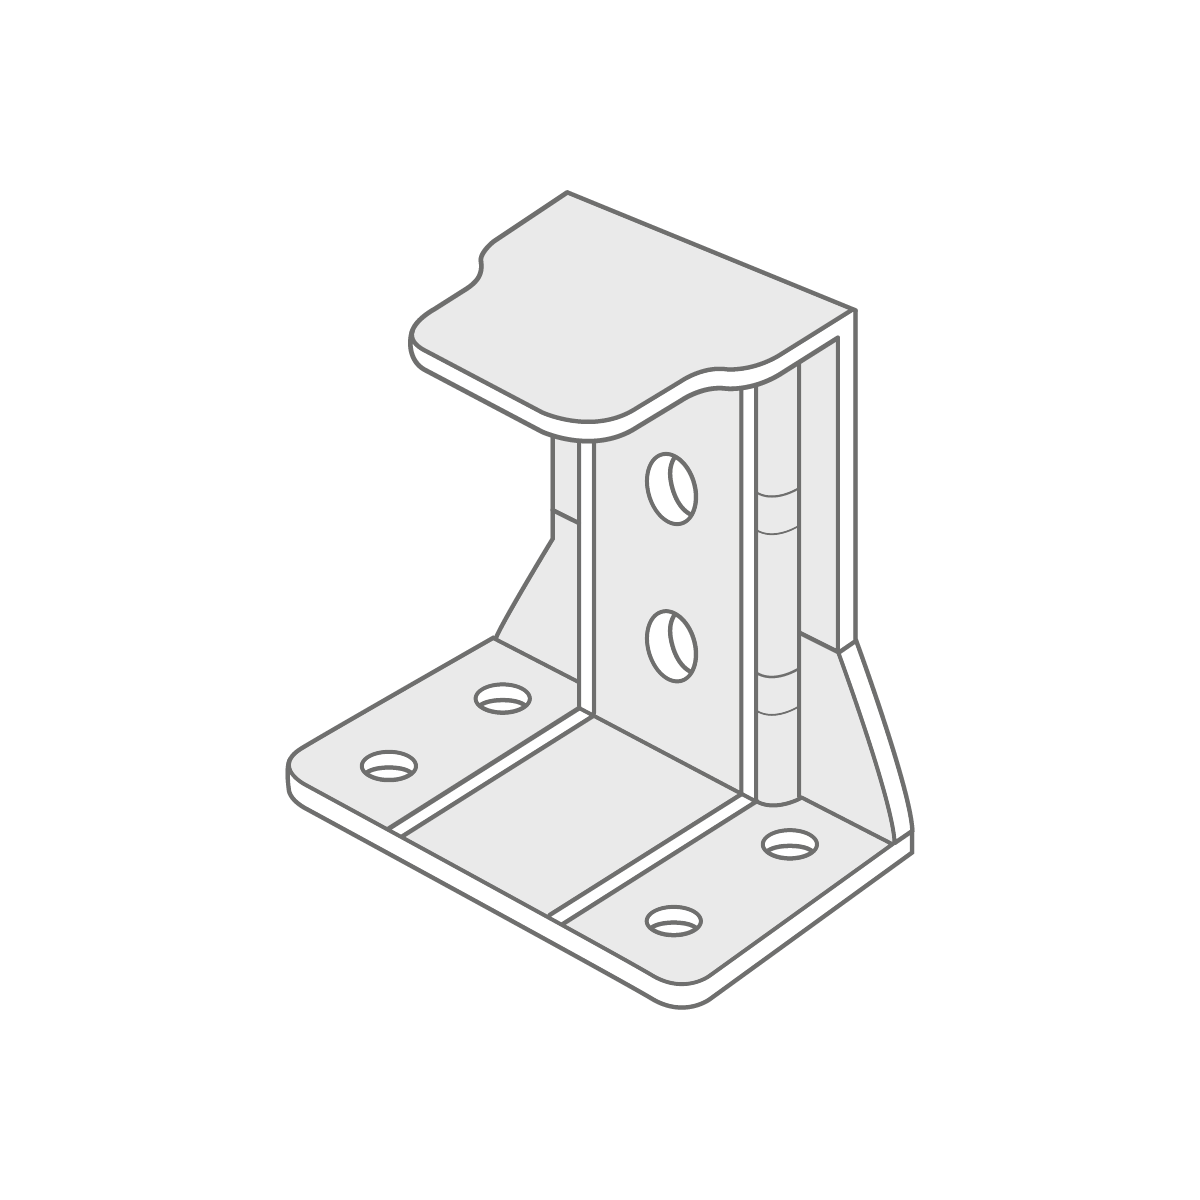
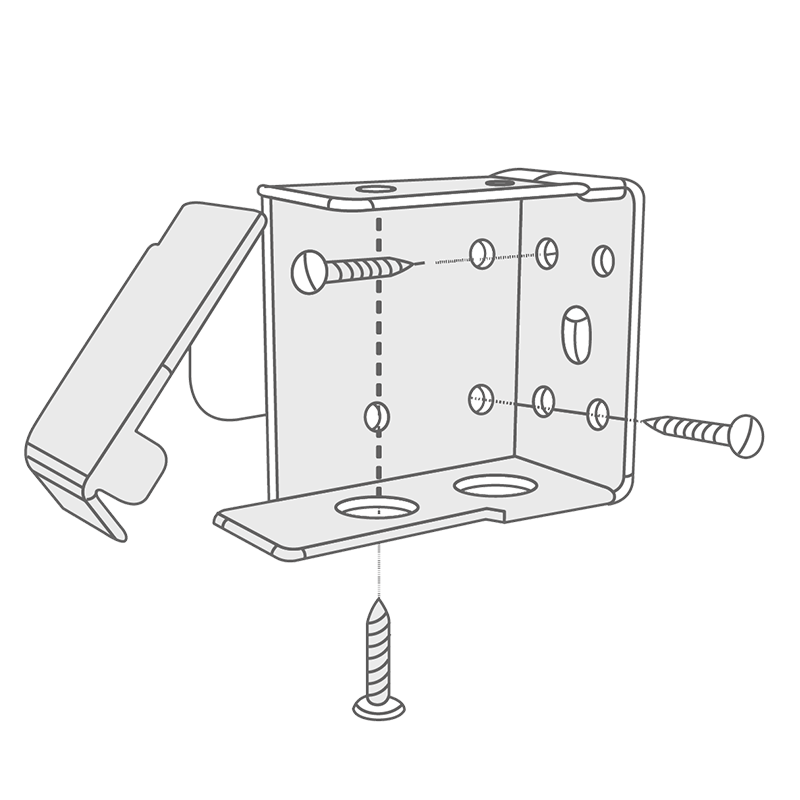
The brackets can be used to face fix, side fix or top fix. For recess fitting you will use side or top fixing, while for outside the recess fitting you will use face fixing. Next, measure and mark the distance between the wall and the back of the bracket, allowing for obstructions like handles that protrude into the recess area. The brackets should be positioned 6mm wider than the blind at each end. Hold each bracket in place and mark the hole positions on the wall with a pencil. Affix each bracket in place using 4mm diameter screws. Ensure the fixings you choose are suitable for the surface to which you are mounting the brackets.
Step 3
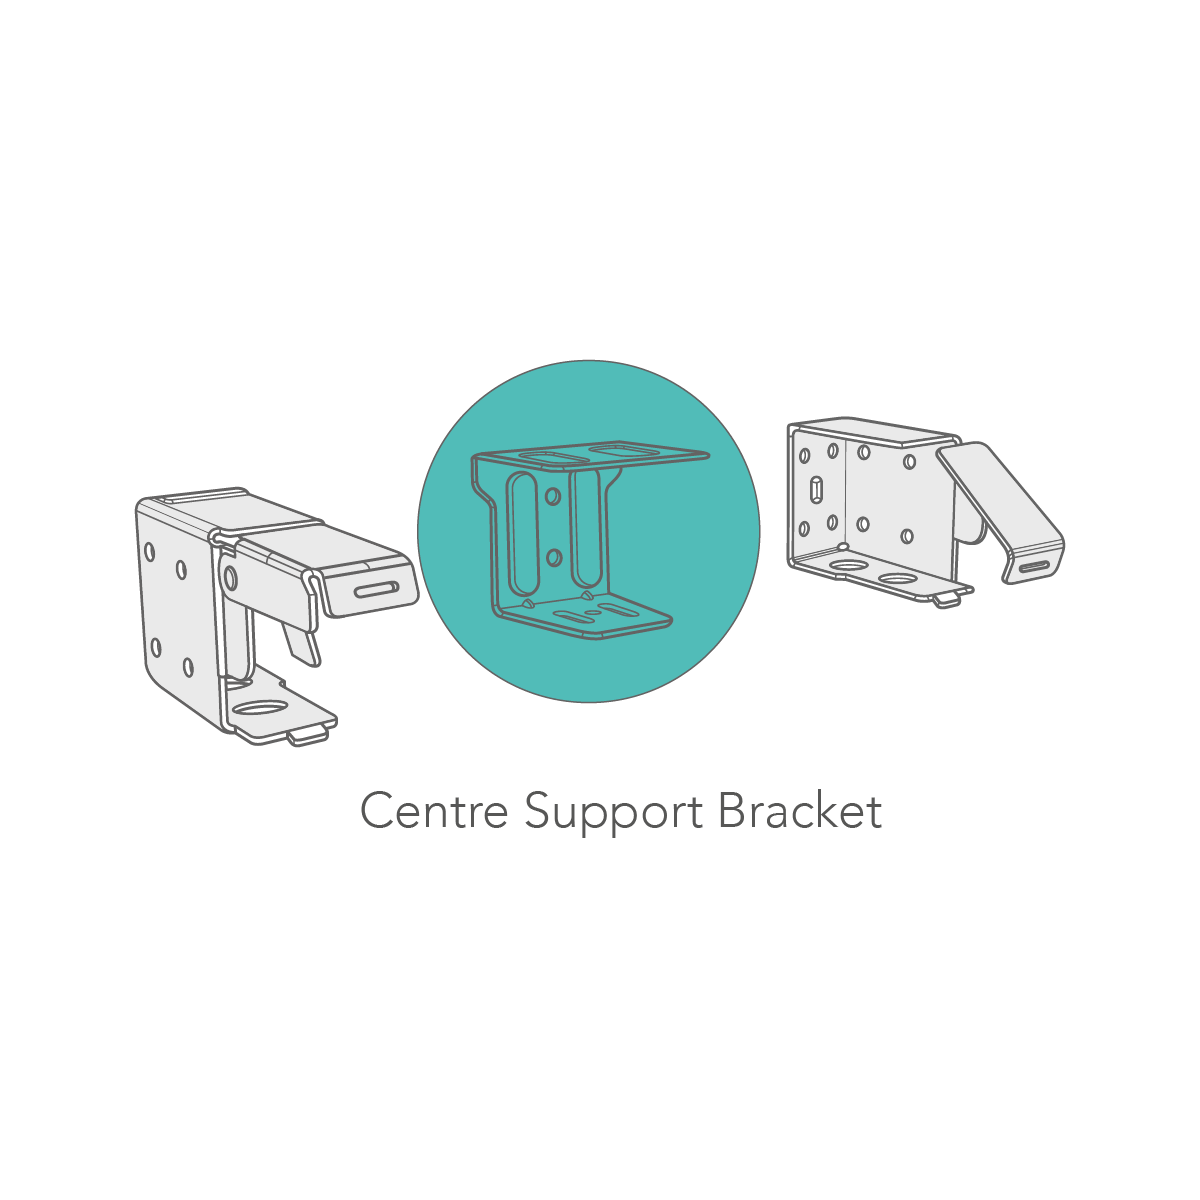
Central Support Bracket
For wider blinds a central support bracket is required. Align the top of the central bracket with the top of the mounting bracket before installation. Install with the bigger flap ('gate') of the central bracket on the top, equally spaced along the width of the headrail. Make sure the central bracket is fitted clear of central cords or tapes that run down the slats.
Step 4
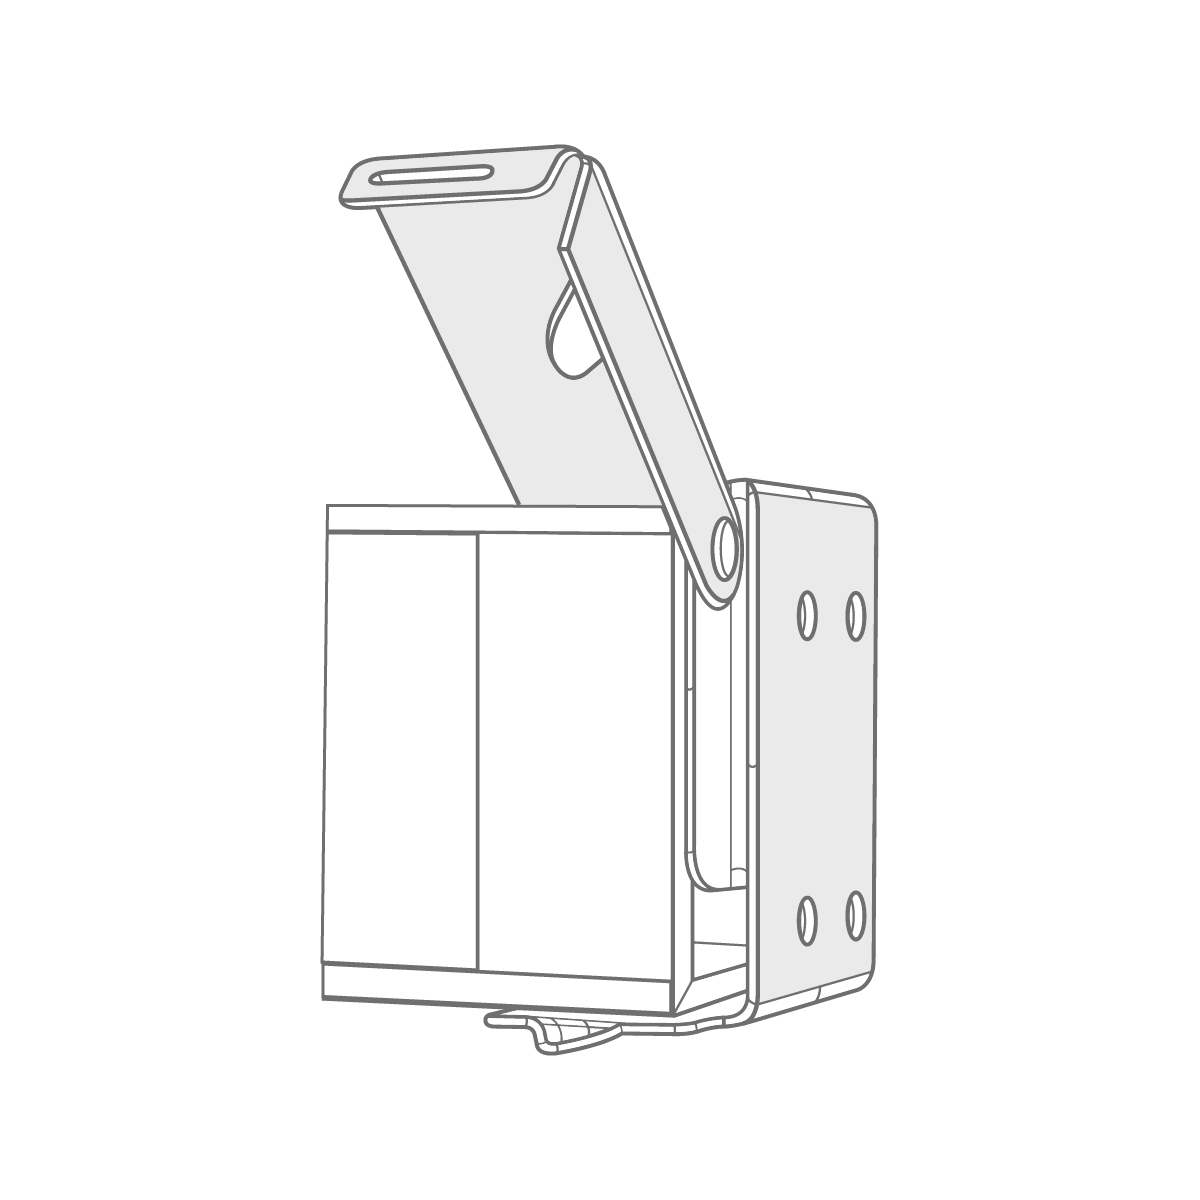
Inserting the Headrail
Open the gate of the box brackets, slide the headrail into position and snap the brackets closed.
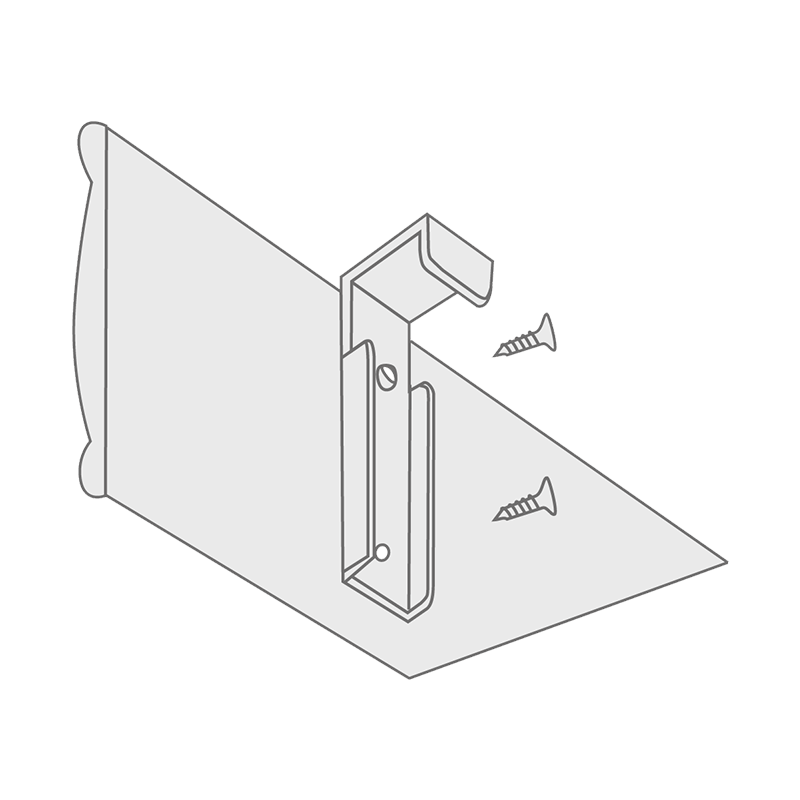
Step 5 - Optional
Hold down Clips
Hold down clips are optional. Using two small screws, screw the hold down clip to the window facing or the wall/window recess. Pop the bracket pin ends into the hole at bottom rail end.
Step 6 - Optional
Attaching the Valance
Depending on the type wooden blind you have, there are different ways of acctching your valance to the blind.
- Screw the valance clips onto the back and level with the top of the valance using the screws provided.
- Use the Velcro tabs to stick the valance onto the headrail - this is an easier way of installing the pelmet onto the headrail.
- Hook valance clip with attached valance onto the top of the headrail.
Step 7 - Optional
Valance Returns
Depending on the exact blind ordered, you may have received valance returns. If your blind has been supplied with valance returns, screw one end of the valance return clip onto the valance using screws provided. Align the edge of the valance return with the valance then screw the other end of the valance clip onto the valance return
Step 8
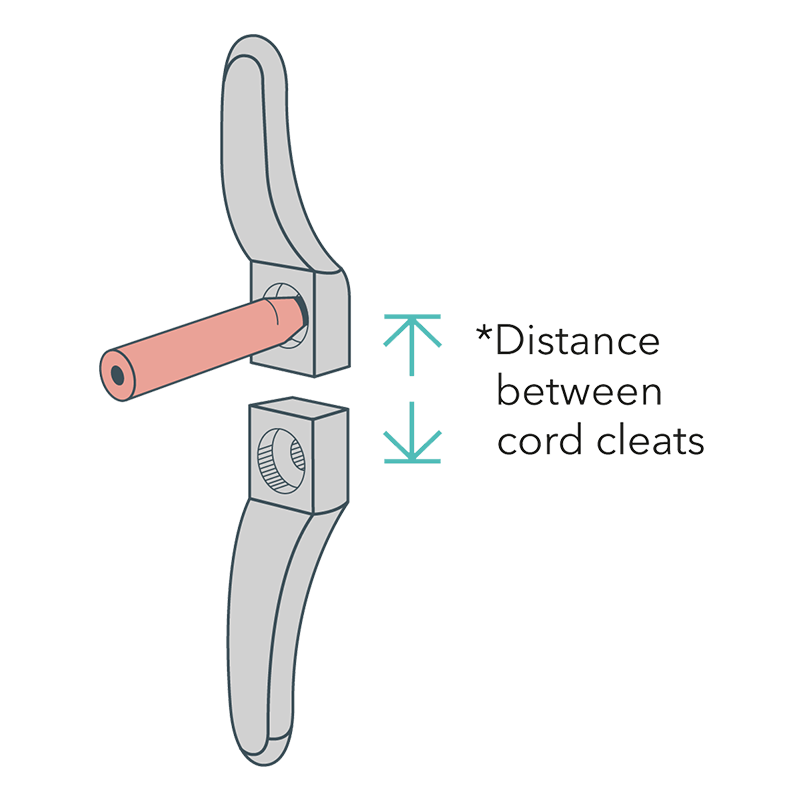
Safety Cleat
You must install the safety cleat as close to the headrail of the blind as possible and in all cases not less than 1500mm from the floor.
Place the safety cleat in the desired position on the wall and mark the positions of the holes with a pencil. Drill holes as required.
Screw the safety cleat to the wall in the pre-drilled holes.
Step 9
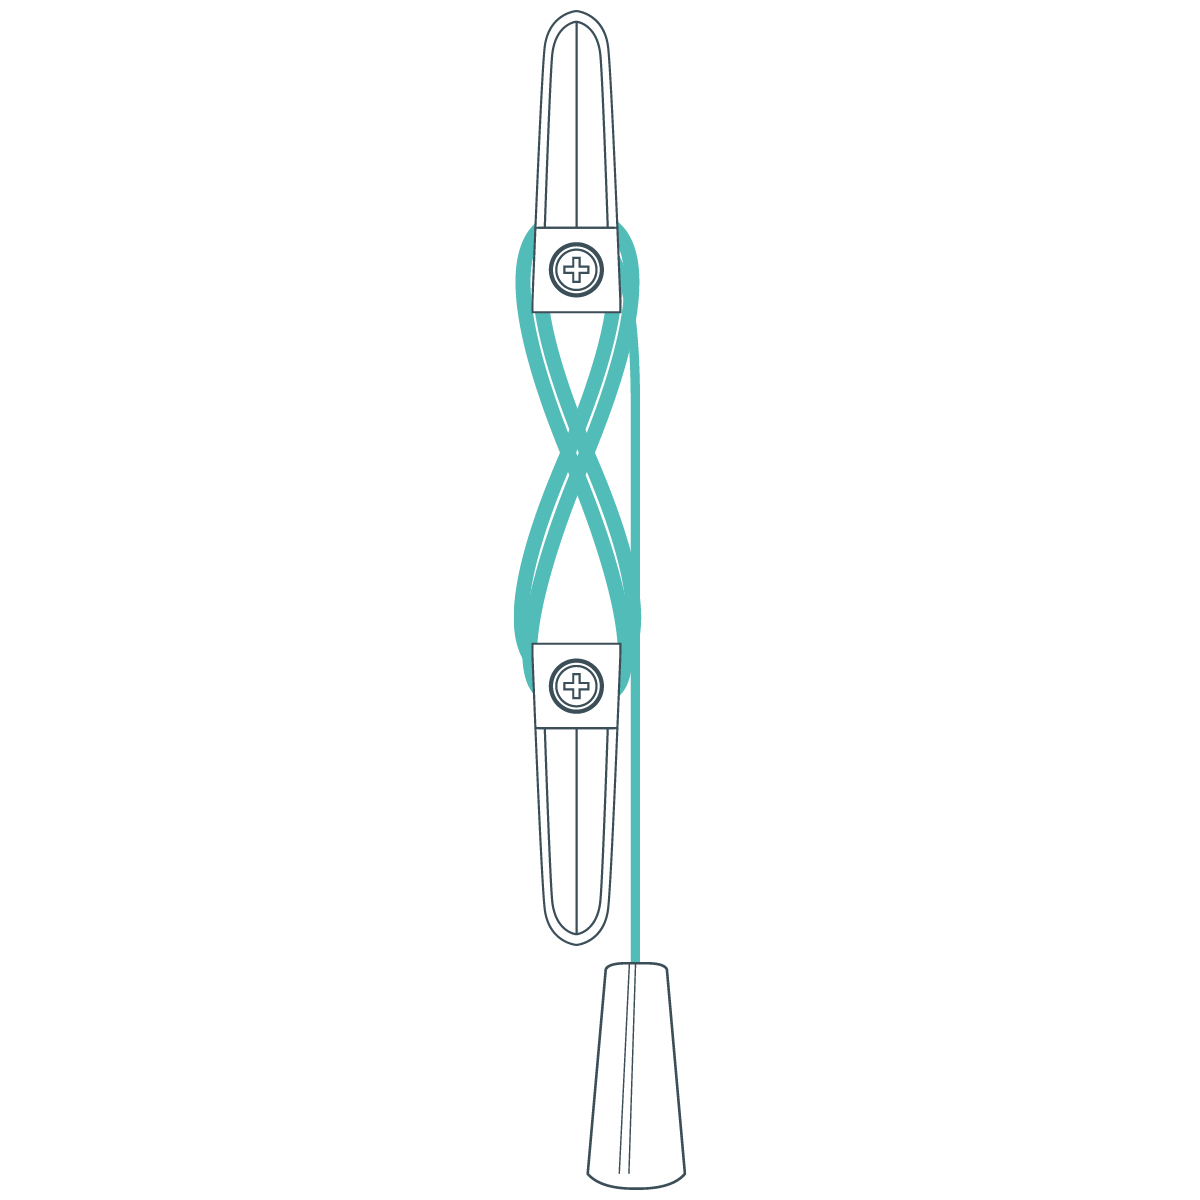
Wrap the Cords
Wrap the cords around the cord cleats in a figure of 8. When the cords are fully accumulated ensure they are secure, so when the cord is pulled no excess is released.
Step 10
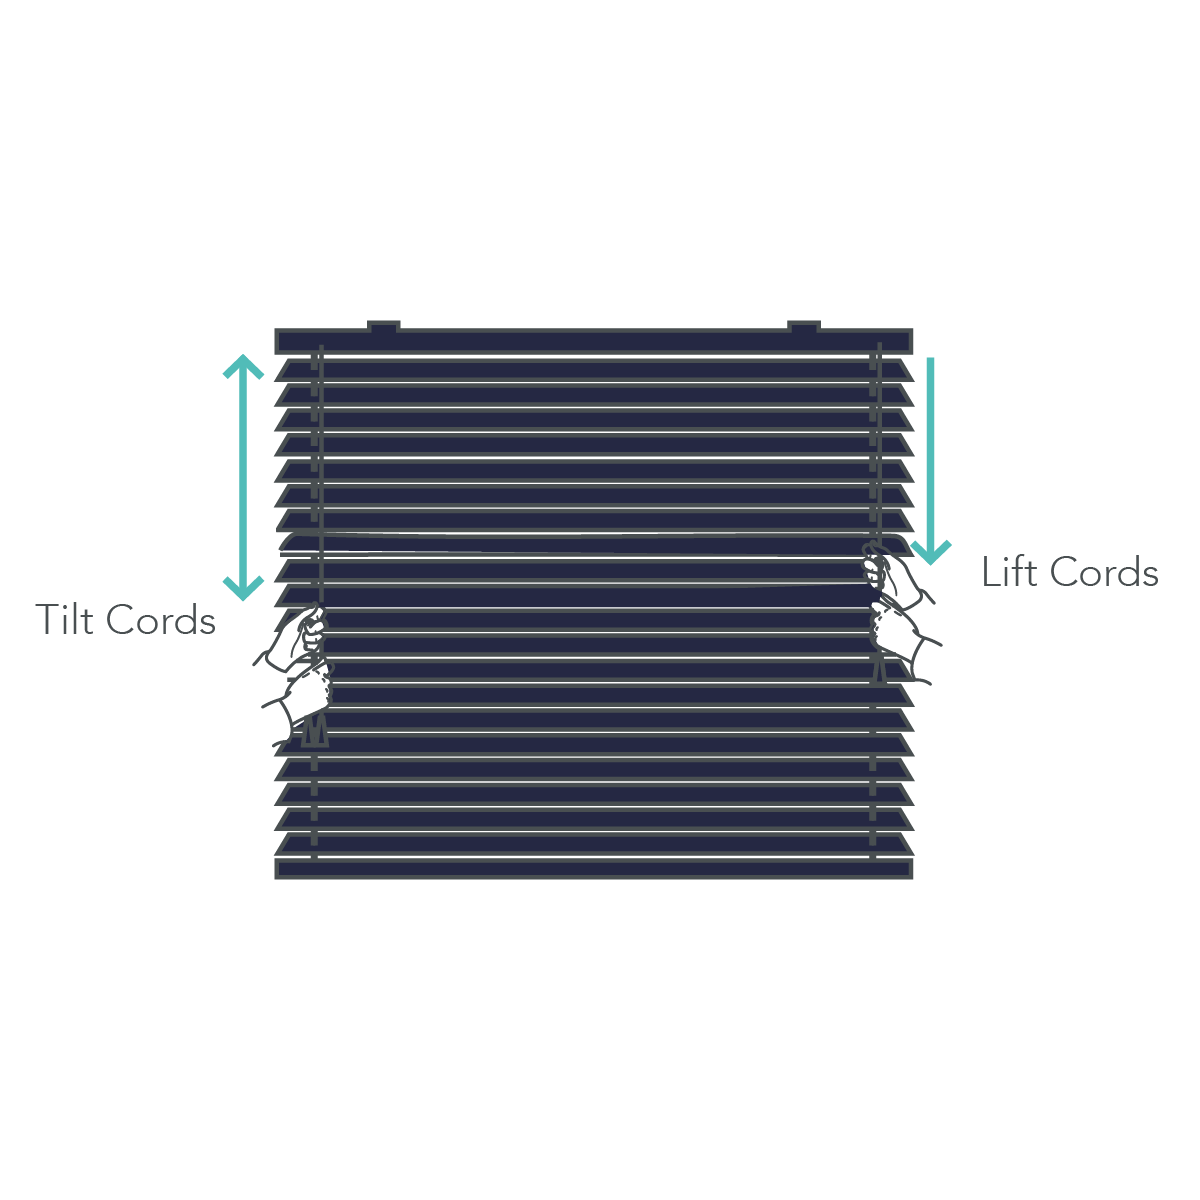
Operation
To tilt the blind, pull on tilt cord tassel to angle slats to the open or closed position. To increase blind life, tilt the blind to the horizontal position when lifting or lowering the blinds.
To lower, move lift cord towards the middle of the blind, and pull down gently until the cord lock releases. To raise, pull the lift cord downward until the blind reaches your desired height.
To lock, pull lift cord towards the outside of the blind and release. The cord will automatically lock.
FAQs about fitting wooden blinds
Are wooden blinds easy to install?
The key steps in installing wooden blinds include fixing brackets to the wall or recess using screws and a power drill. Mounting the blinds onto the brackets and fitting your child safety clip to the wall. See the step-by-step instructions in this guide that make the process relatively straightforward.
Can you adjust and cut wooden blinds to fit?
Yes, it is possible to cut wooden blinds. Shortening the width of ready-made wooden blinds involves cutting the headrail, slats, and bottom rail with a hacksaw. While it can be done, it may require some skill and caution to ensure a clean and precise cut. By purchasing made-to-measure wooden blinds, you eliminate the need for any adjustments.
How to take wooden blinds down?
Taking down wooden blinds from the bracket is a straightforward process. Begin by tilting the blinds to open the slats fully. Then, locate the small tabs on each of the brackets. Using a flathead screwdriver or your fingers, gently press or push these tabs upward while simultaneously lifting the front of the blinds upward. Once the tabs are disengaged from the bracket, you can lower the blinds carefully, ensuring they don't swing. This method allows for a hassle-free removal of the blinds from the brackets.
Looking for more expert advice?
If you need any assistance during the installation process, please give us a call on 0370 218 7042 or start a live chat with our highly trained customer support team.
Take a look at our other expert guides.
Choosing wooden blinds for your home?
Browse our full range of products.