How to Fit Vertical Blinds
Installing vertical blinds is simple with our detailed fitting guide. Follow our easy, step-by-step instructions to achieve a flawless result. From preparation to hanging, we’ll walk you through the entire process, ensuring your vertical blinds fit securely and enhance your space.
How do vertical blinds work?
Vertical blinds consist of long, vertical slats, often made of materials like fabric or vinyl, hanging from a horizontal headrail. By turning the slats using the control wand or chain, you can change the angle of the blinds to let in more or less light, and by moving them to the side, you can create an open view or complete privacy.
How to install vertical blinds - Step by Step
What comes with my vertical blind?
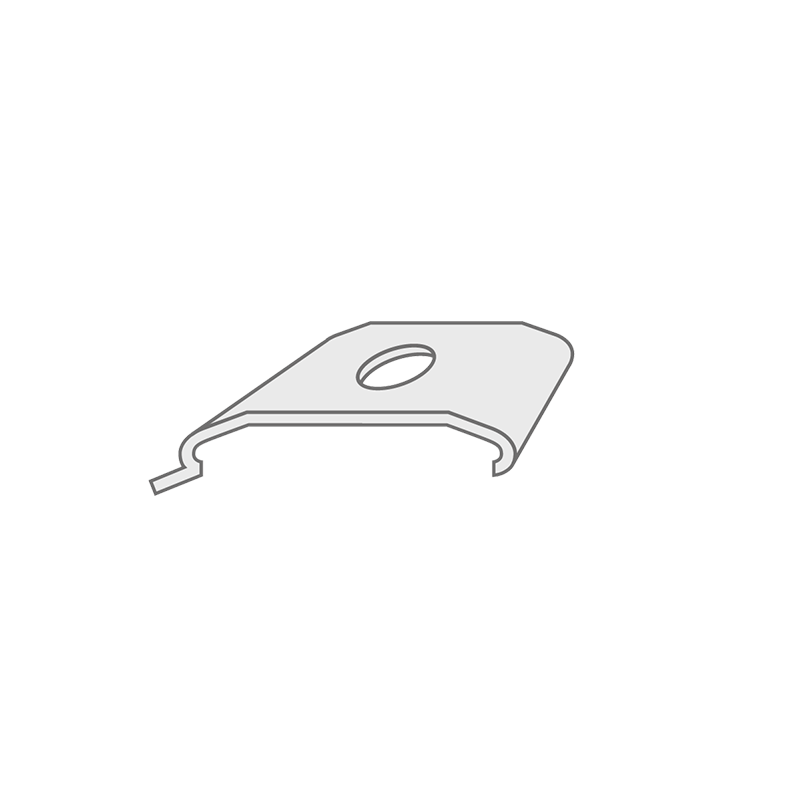
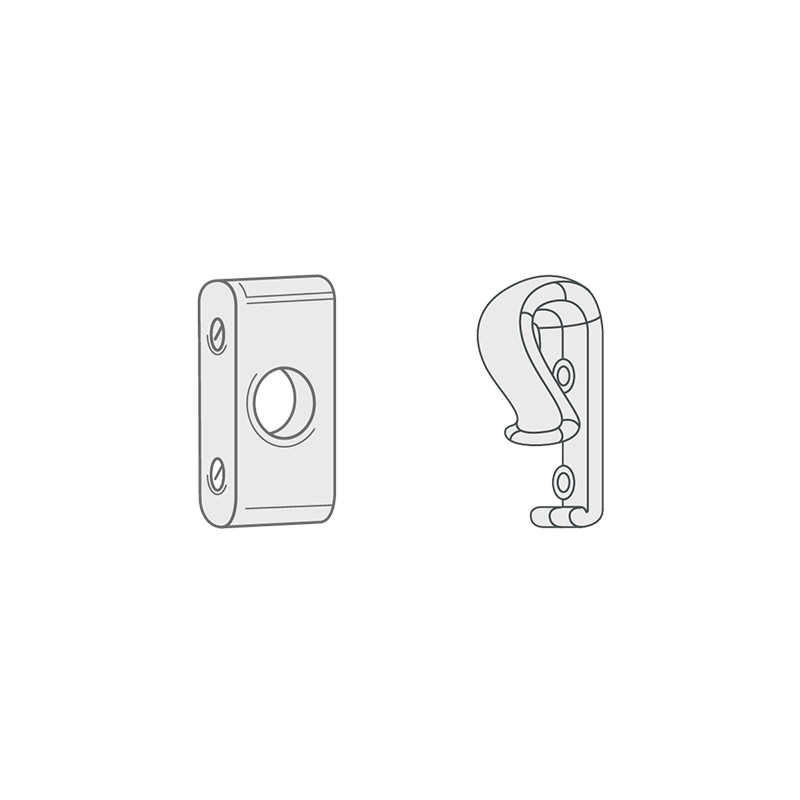
The fitting brackets and child safety device will be included with your vertical blinds. Screws do not come with your vertical blind, this is because the type of screws required will depend on the surface you are fitting the brackets to. Your screws need to be 4mm and suitable for the surface.
Tools you’ll need
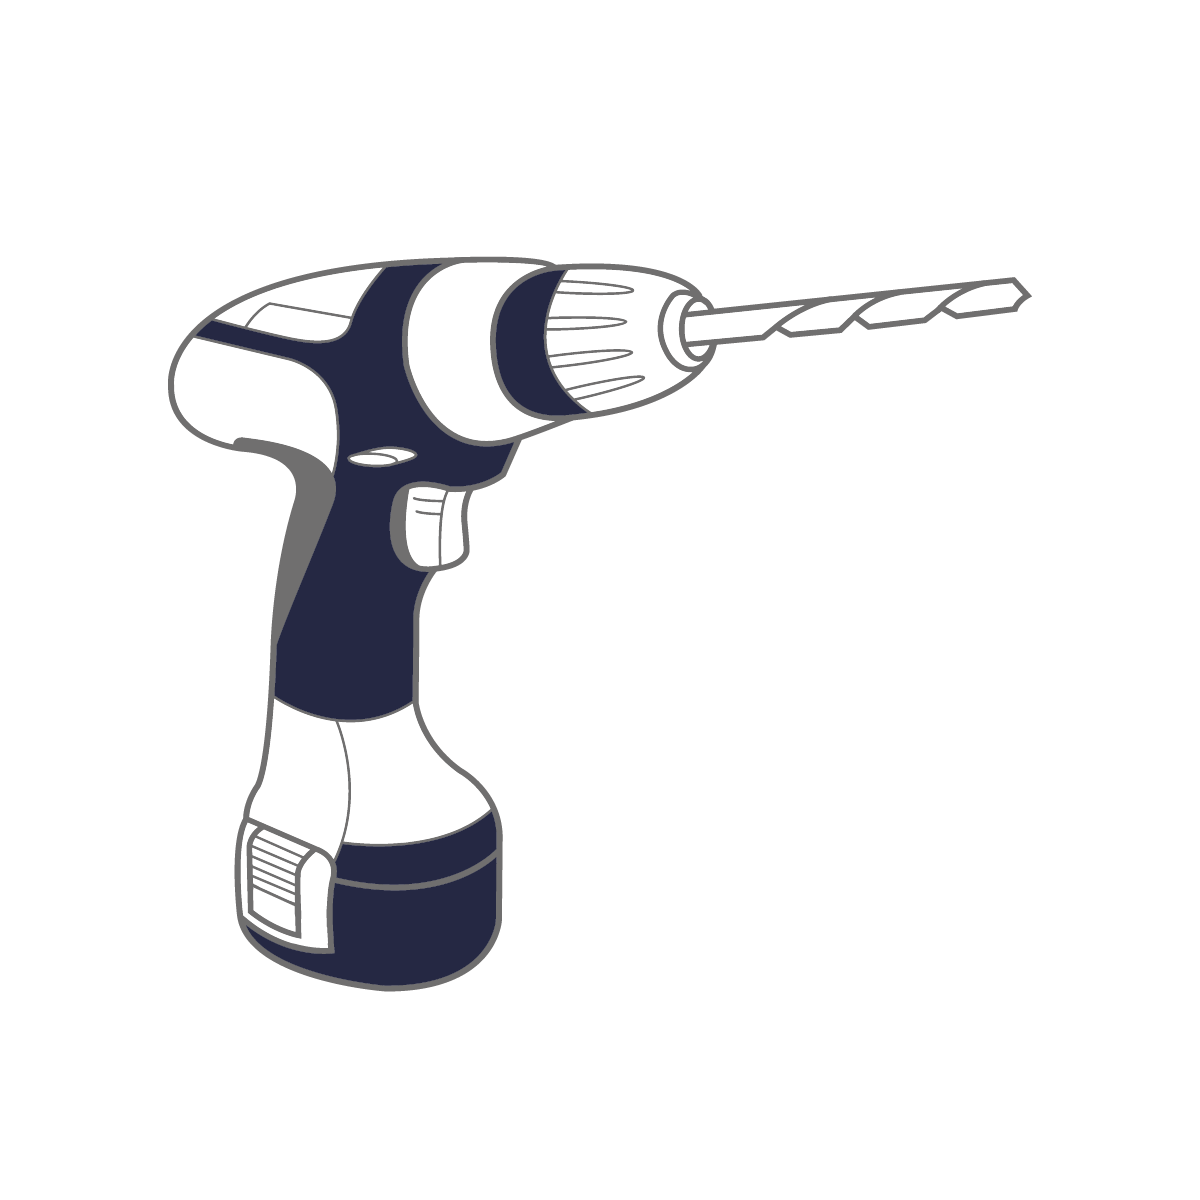
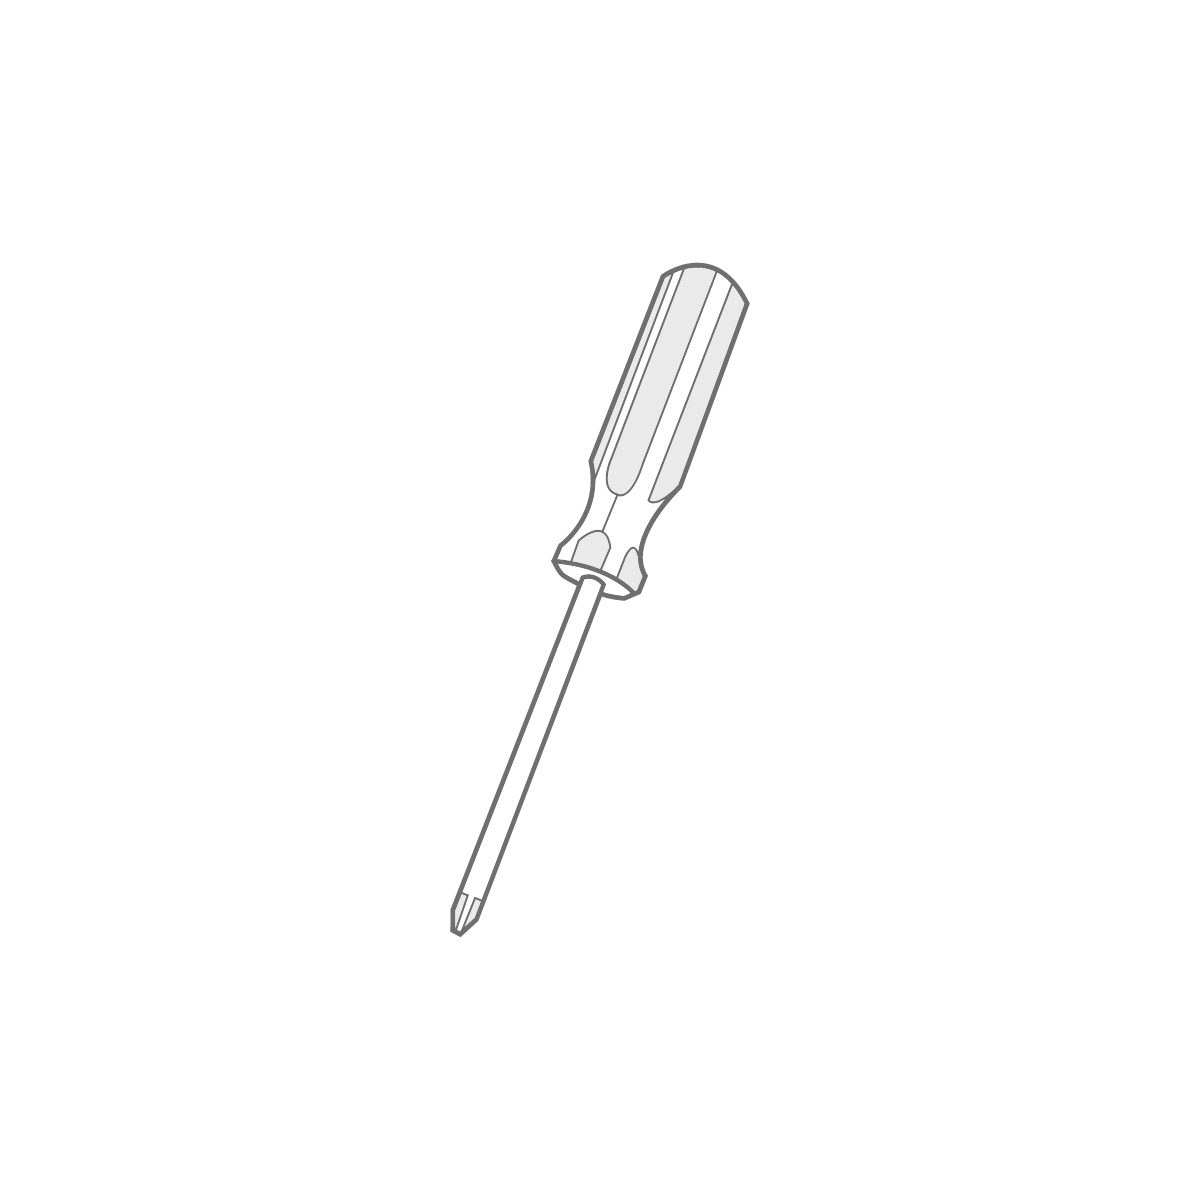
To install your new blinds you will need the below tools.

Video tutorial
We recommend watching our how to install video guide first.
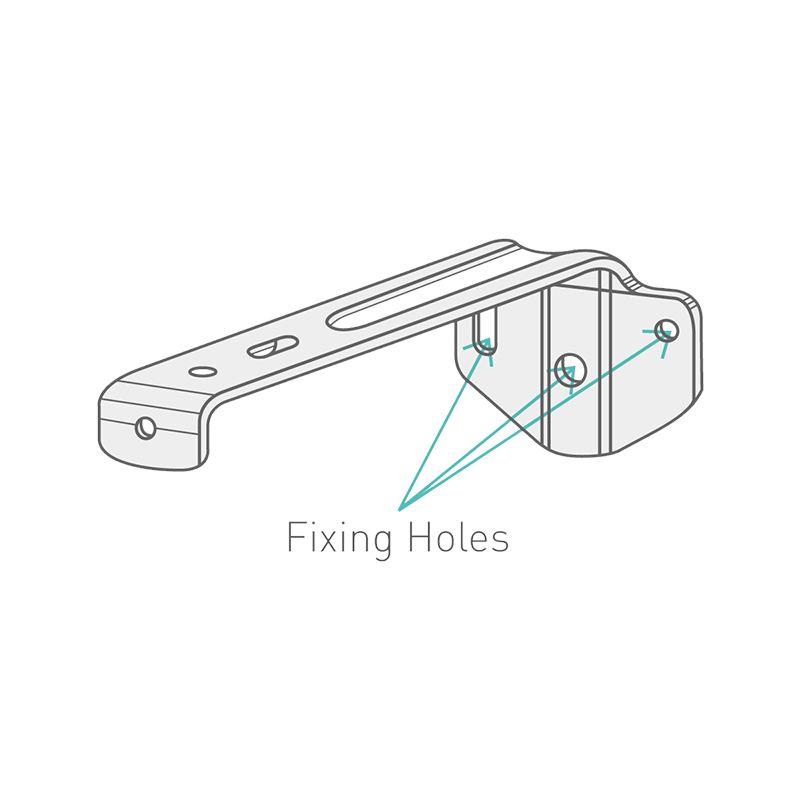
How to mount vertical blind brackets
Note: Your vertical blind will come with two bracket options. Face fix brackets are for fitting to the wall or window frame. Top fix brackets are for fitting your blind to the ceiling or within the window recess. Follow each step for whichever bracket you are using.
Step 1
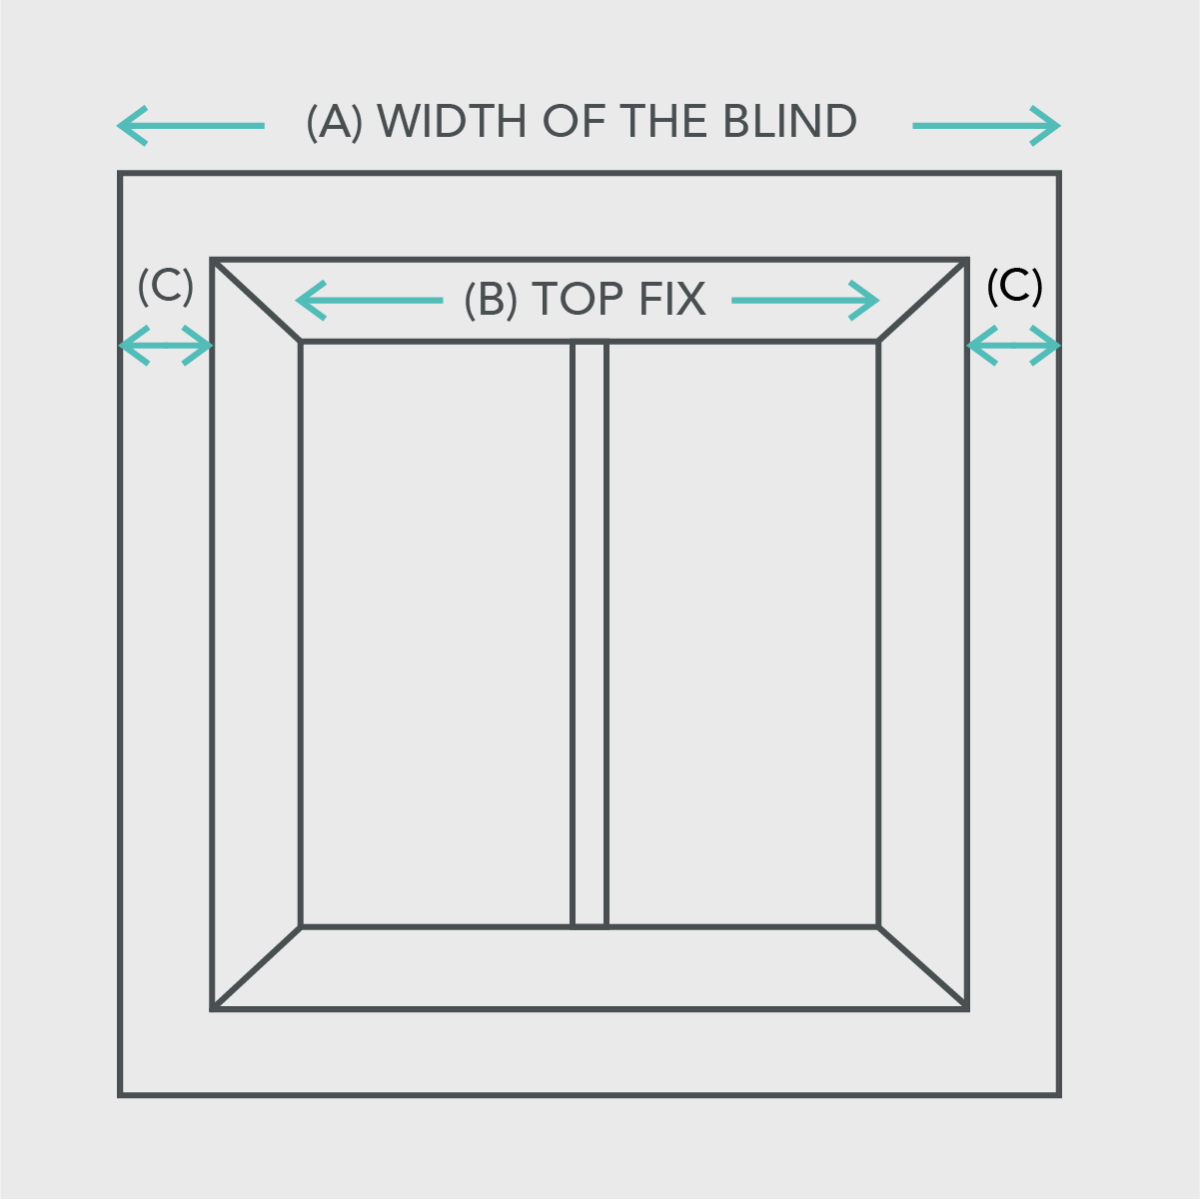
Bracket Positioning
If you’re fitting the blind inside the recess you can top fix the brackets to the lintel or face fix the brackets to the window frame.
If you’re fitting the blind outside the window recess ensure that measurement (C) in the diagram above is the same to ensure even window coverage.
Step 2
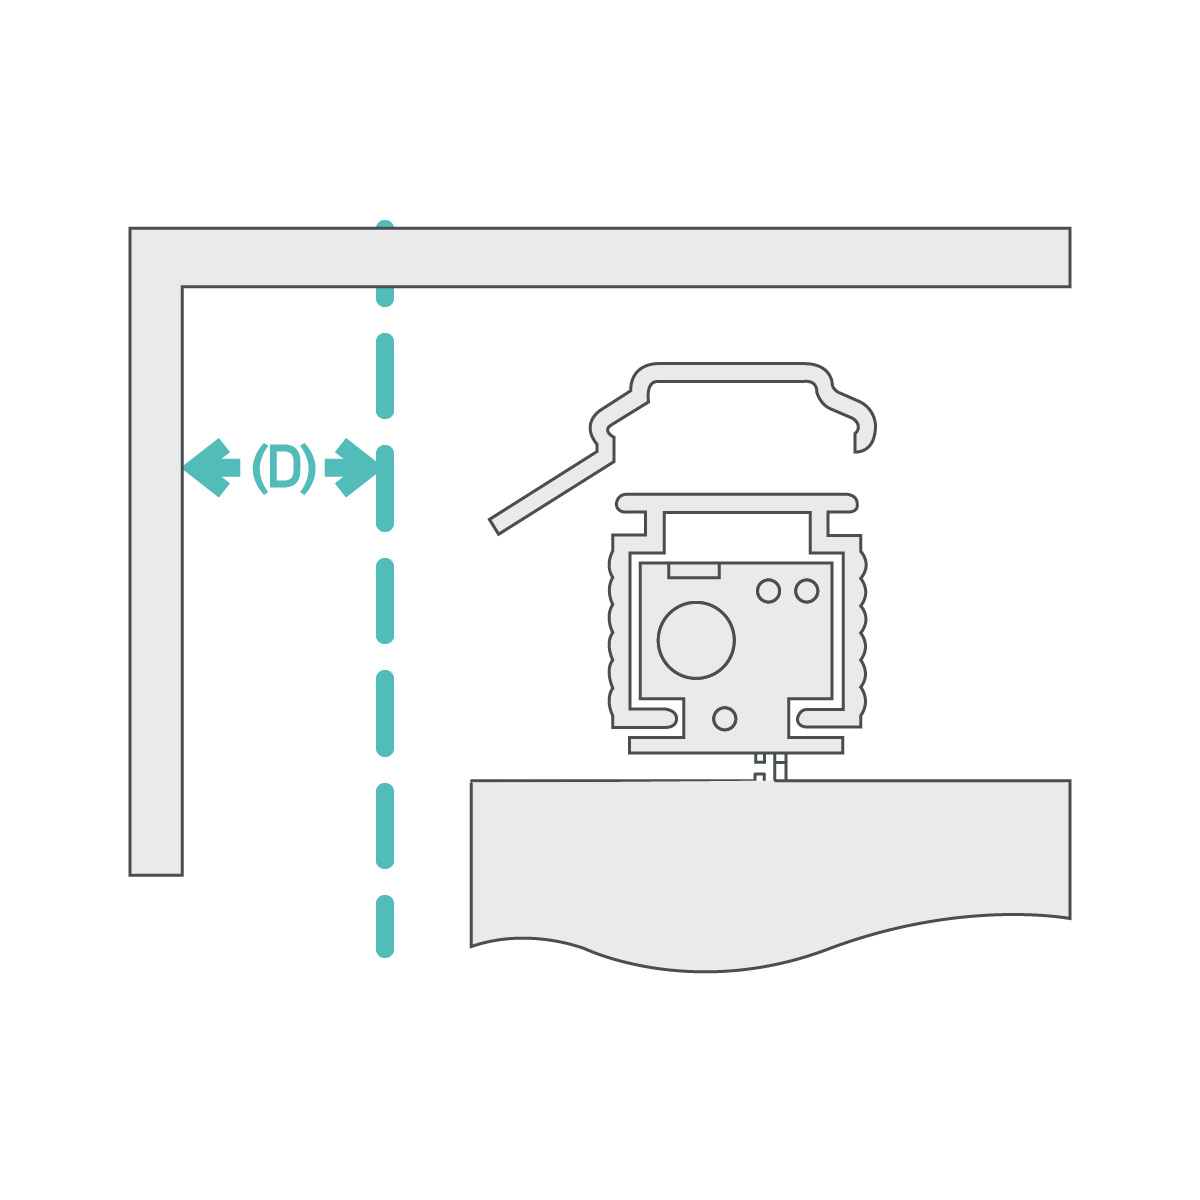
Option 1: Top Fixing
If you’re fixing the bracket to the underside of the window recess, measure and mark the distance (D), allowing for obstructions like handles that protrude into the recess area. Position the brackets approx. 5cm from the ends of where the headrail is to be positioned. If more than 2 brackets are supplied, fit the additional brackets at equal spacing across the length of the blind. Please ensure fixings are suitable for the wall/surface to which you are mounting the brackets.
Option 2: Face Fixing
If you’re fixing the brackets to the face of the wall, or the window frame, position the brackets approximately 5cm from the ends of where the headrail is to be positioned. If more than 2 brackets are supplied, fit the additional brackets at equal spacing across the length of the blind. Please ensure fixings are suitable for the wall/surface to which you are mounting the brackets.
Step 3
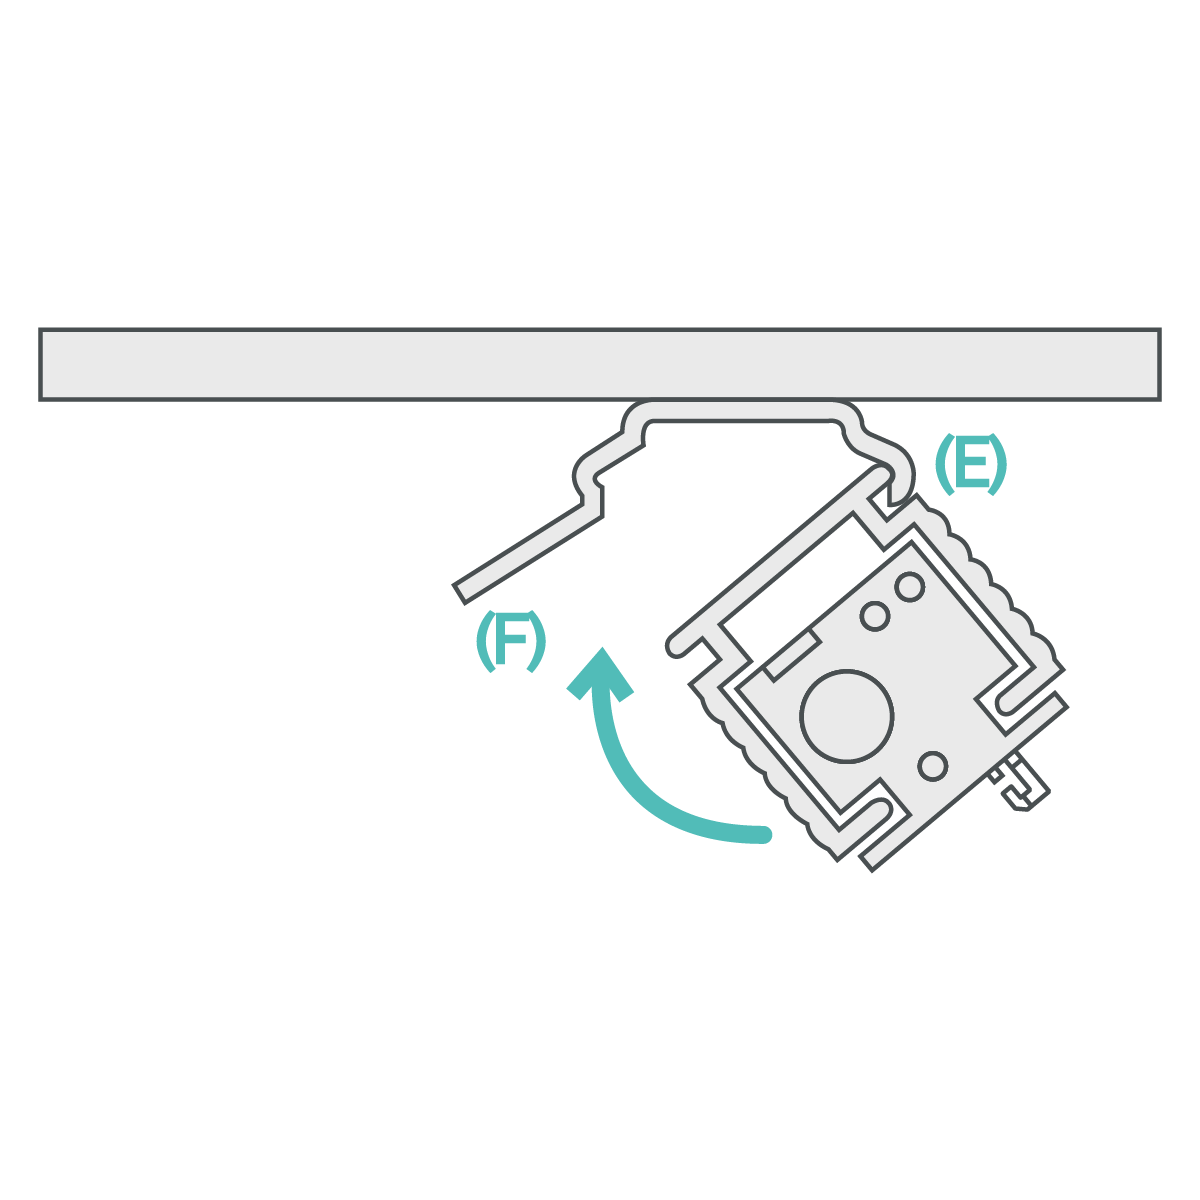
Option 1: Top Fixing
Tilt and hook headrail into bracket at point (E). Rotate the headrail into position until it clicks. To release the headrail push the bracket at point (F) as shown in the diagram above.
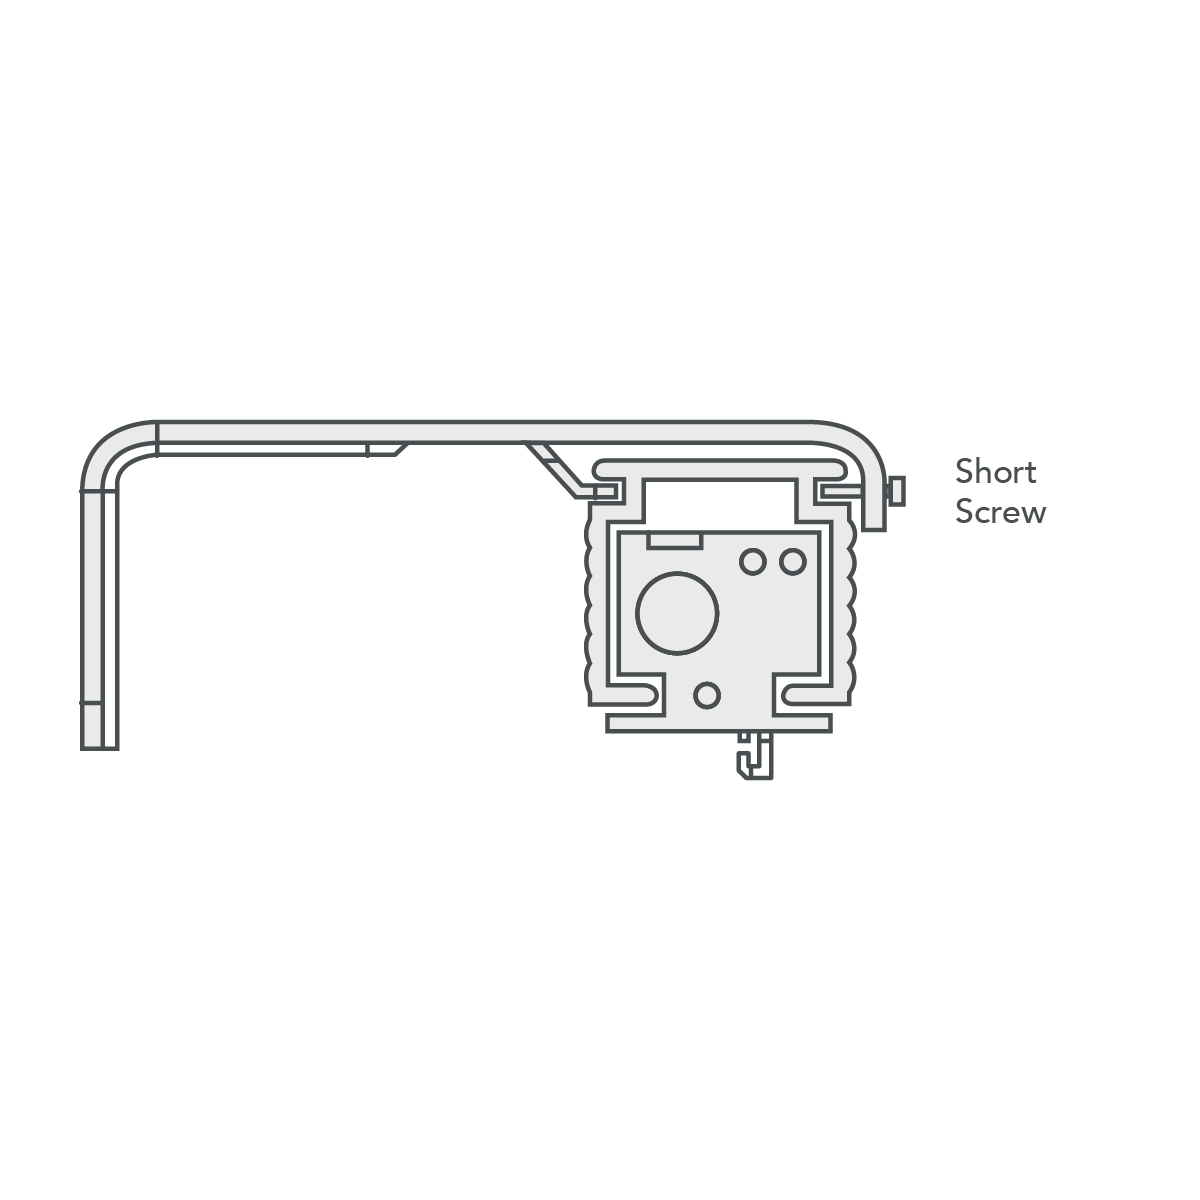
Option 2: Face Fixing
Hook the back of the headrail into the bracket and rotate the headrail into position. Secure headrail by tightening the short screw in the front of the bracket.
Step 4 - Safety device
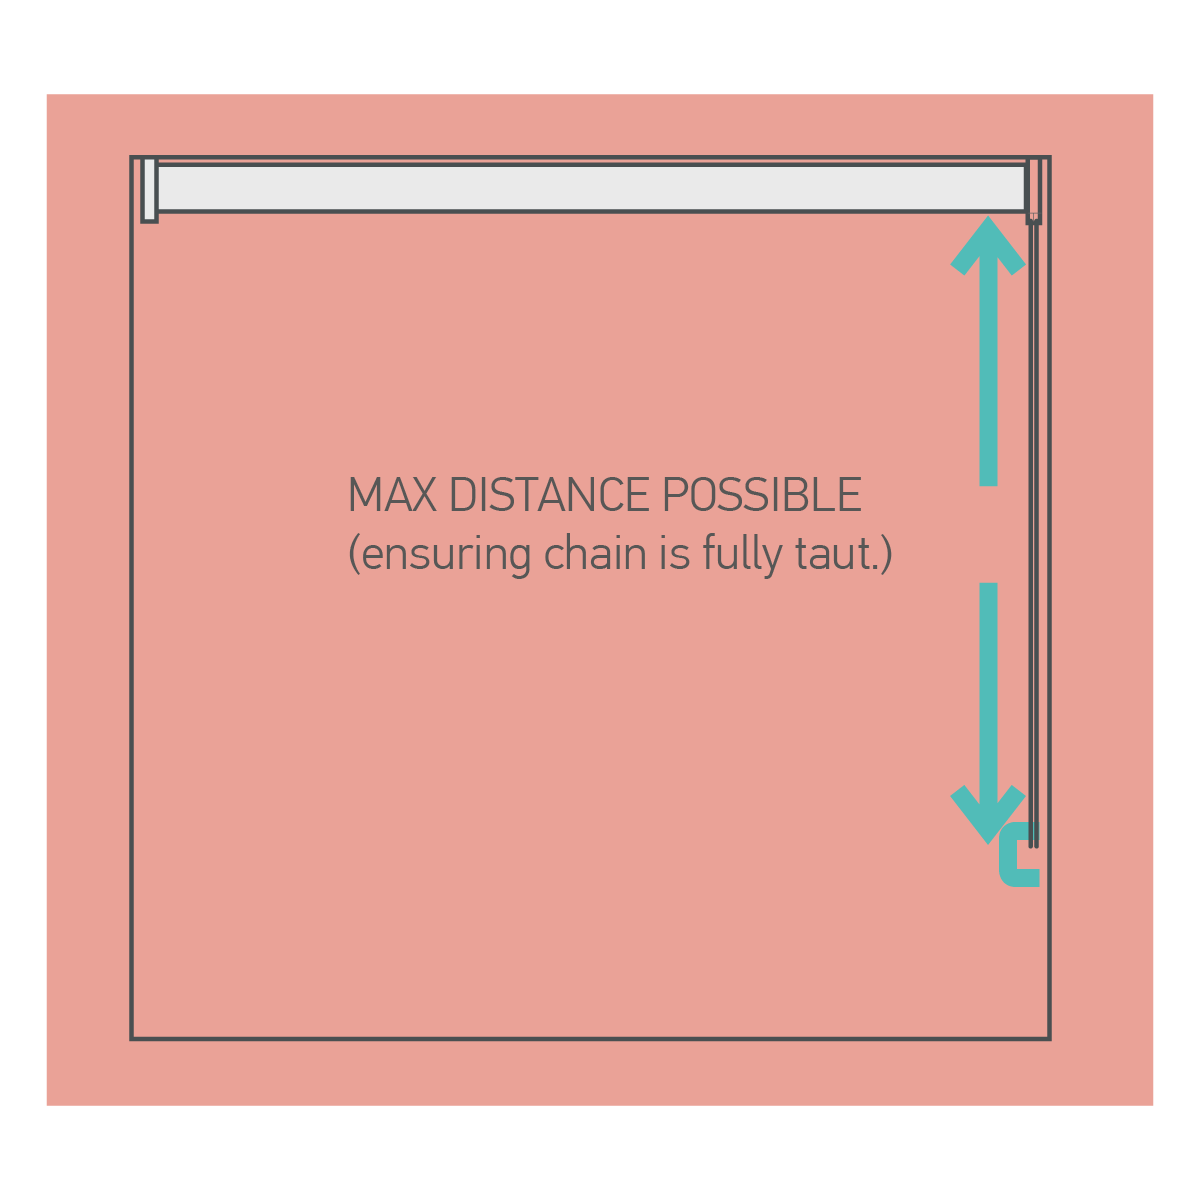
Safety Device Position
The safety device must be installed at the maximum distance possible from the control mechanism to prevent looped chain from becoming slack. The chain should be taut. Place the safety clip on the wall and mark the positioning of the 2 screw holes, then drill two suitable holes.
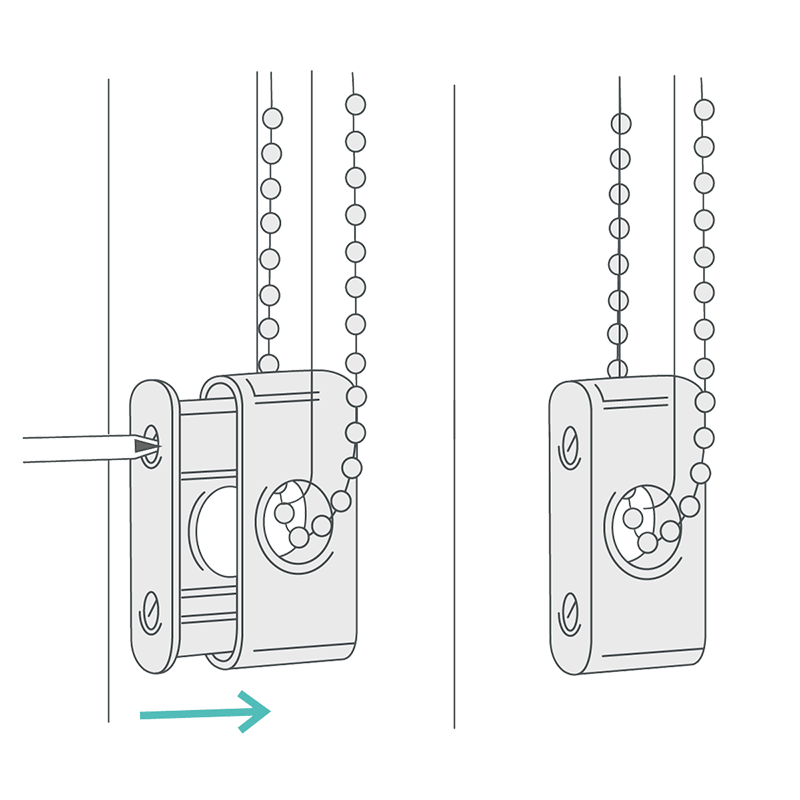
Securing the Safety Device
Screw the safety device securely to the wall.
Replacement slats - Step 1
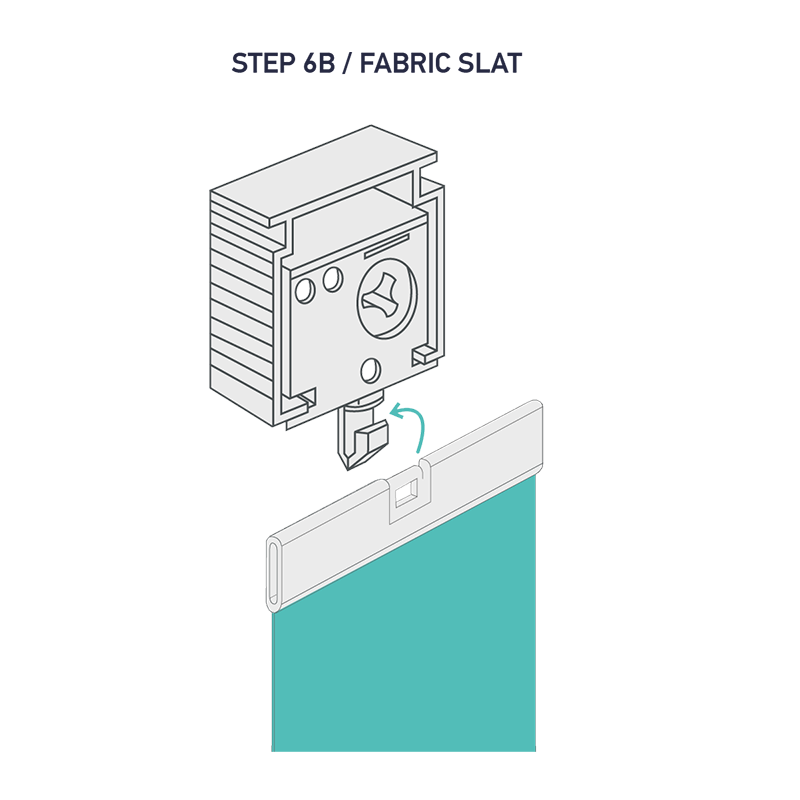
Attaching Fabric Vertical Slat
Use this step if your slats are from the fabric range, you can tell by the type of headrail traveller and slat fitting you’ve been supplied. With the headrail fitted hook each fabric slat into the headrail travellers ensuring the traveller pegs are in the open position.
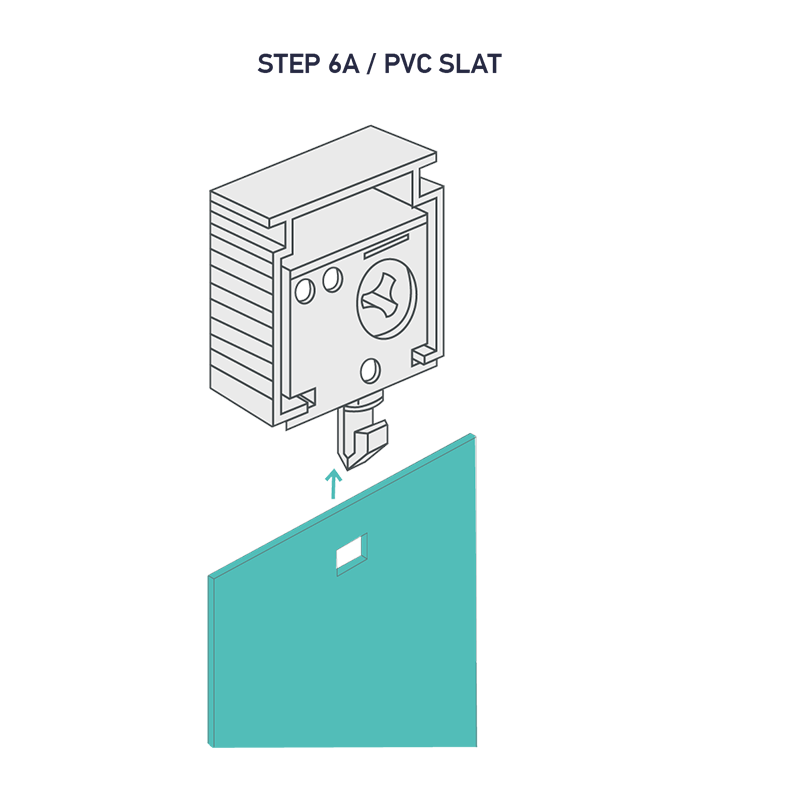
Attaching PVC Vertical Slat
Use this step if your slats are from the PVC/Waterproof range, you can tell by the type of headrail traveller and slat fitting you’ve been supplied. With the headrail fitted hook each fabric slat into the headrail travellers ensuring the traveller pegs are in the open position.
Step 2
Bottom Weights & Stabilising Chain
If your vertical blinds has a separate bottom weight, insert the weights into the vertical slat bottom pockets.
Push connector on stablilising chain onto the ear of each bottom weight. Stablising chain should be connected to both sides of the blind.
Maintenance
Visual Checks
Your new blinds is maintenance free, however we recommend that regular visual checks are completed to ensure that no components have been damaged, which could result in operating difficulties and/or cause a safety risk.
If any maintenance is required please contact us right away.
Warning

Child Safety
Young children can be strangled by loops in pull cords, chains, tapes and inner cords that operate the product.
To avoid strangulation and entanglement, keep cords out of the reach of young children. Cords may become wrapped around a child’s neck.
Move beds, cots and furniture away from window covering cords. Do not tie cords together. Make sure cords do not twist and create a loop.
FAQs about fitting vertical blinds
How to fix misaligned vertical blind slats?
To fix misaligned vertical blinds, you will need to follow a few simple steps. Refer to our vertical blinds troubleshooting guide, particularly the section addressing issues with the travellers not aligning correctly.
How to fix vertical blinds that are stuck and won’t open or close?
If your vertical blinds are stuck and won't open or close, first check the control chain or wand to ensure it's not tangled or obstructed. If that's not the issue, inspect the tilt mechanism located on the headrail, for any blockages or damage. If there is no issue refer to our vertical blinds troubleshooting guide where you will see step-by-step instructions on how to fix vertical blinds that will not open.
Can you replace vertical blind slats?
Yes, you can buy replacement vertical blind slats. If you have damaged or outdated slats, you can easily swap them out for new ones without replacing the entire blind system. First, remove the existing slat by unhooking it from the carriers or stems at the headrail. Then, simply slide the new slat into place and secure it using the same hooks or clips. Ensure the new slat matches the length and style of the existing ones to maintain a uniform appearance. This cost-effective solution allows you to refresh the look of your vertical blinds while keeping the functional headrail and other components intact.
Are vertical blinds easy to install?
Installing vertical blinds typically involves attaching a headrail to your window frame or wall, then hanging the vertical slats or louvers from the headrail. However, the ease of installation can vary depending on factors like the size of the blinds, the type of window, and your familiarity with DIY projects.
Looking for more expert advice?
If you need any assistance during the installation process, please give us a call on 0370 218 7042 or start a live chat with our highly trained customer support team.
Take a look at our other expert guides.
Choosing vertical blinds for your home?
Browse our full range of products.