How to Install Aluminium Venetian Blinds
Installing aluminium Venetian blinds has never been easier. Our step-by-step guide walks you through the process, ensuring a seamless and secure installation. Whether you're a DIY enthusiast or new to fitting blinds, you'll have your aluminium Venetian blinds up and looking great in no time!
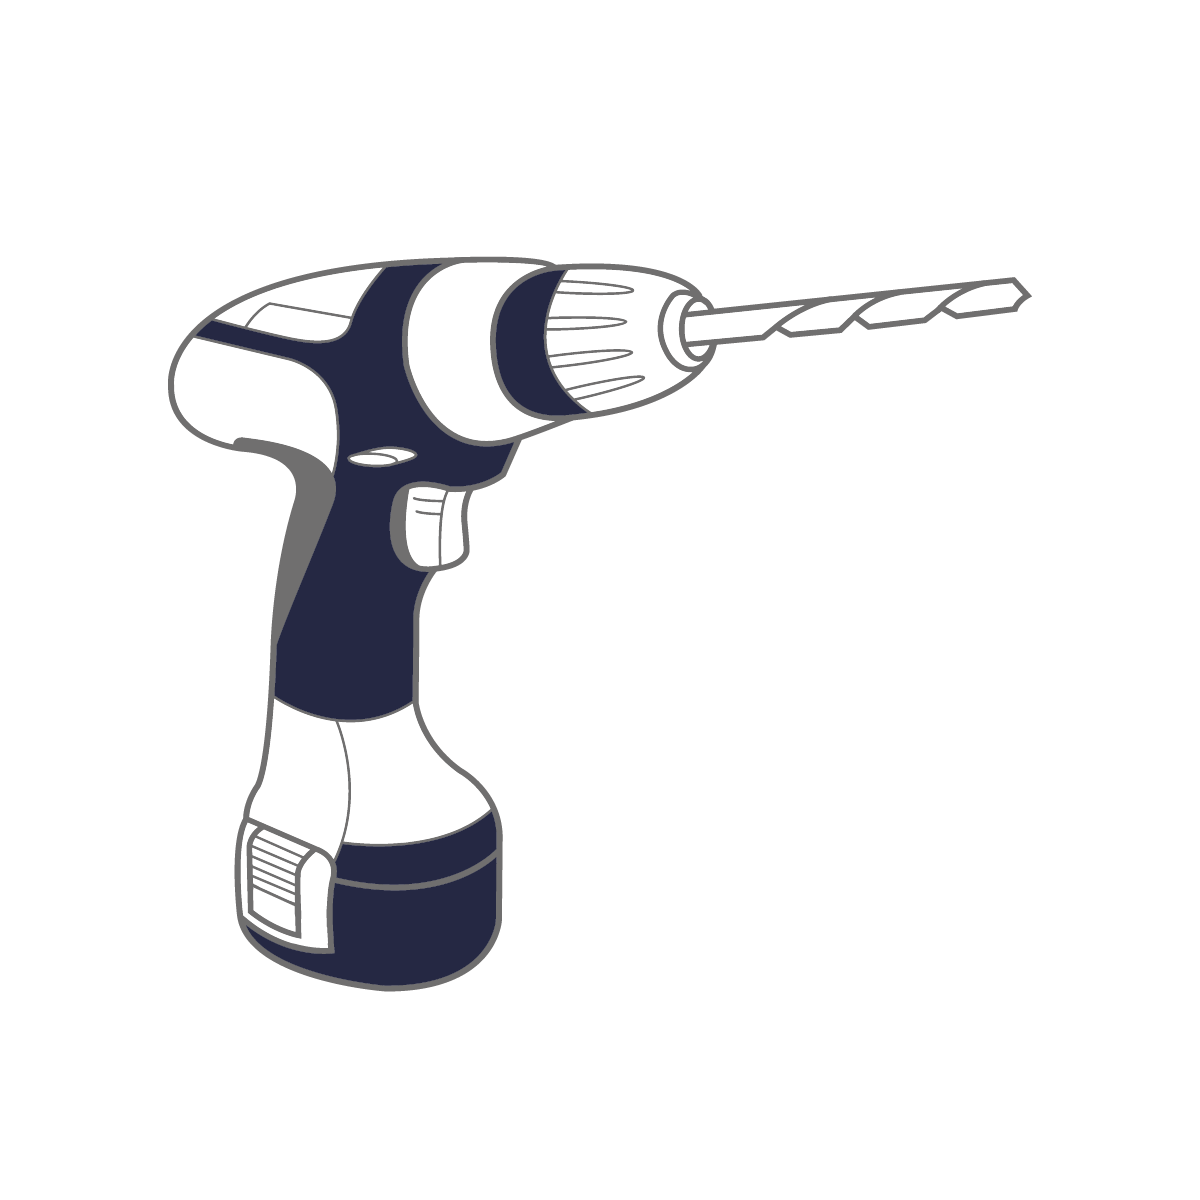
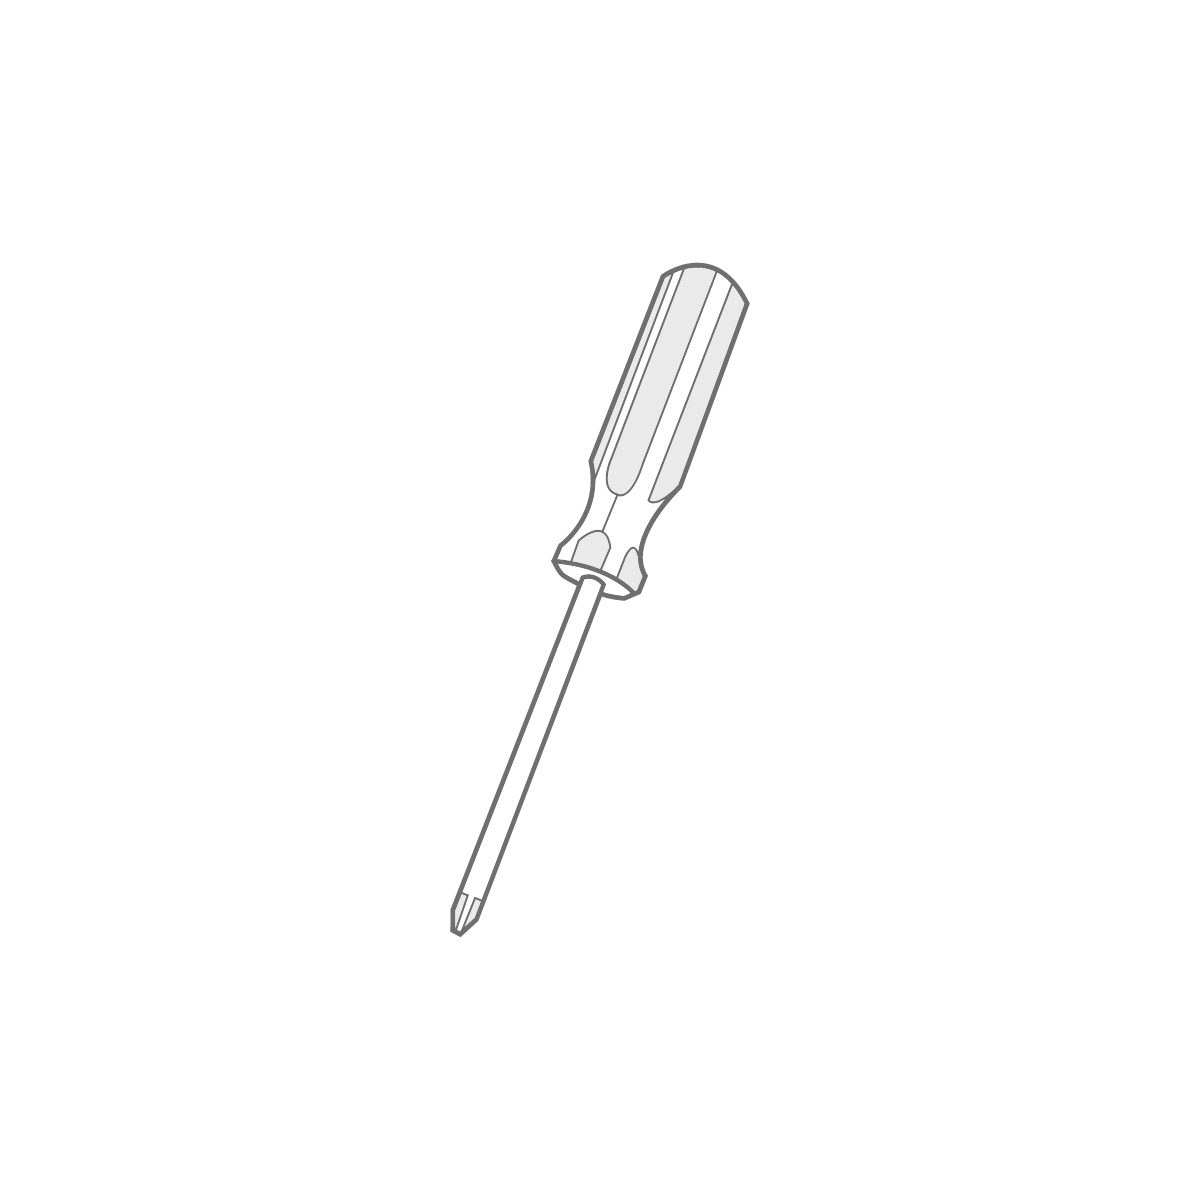
What You'll Need
To install your new blinds you will need the below tools.

Note: Screws aren’t supplied with the blind due to varying types depending on the material you’re fixing to. You will need to provide your own 4mm diameter screws that are suitable for the surface you’re installing into. Make sure the screws are the right length to securely hold the fixture in place.
Video
We recommend watching our how to install video guide first.
Deciding where to mount the brackets
Ensure that brackets are positioned a suitable distance away from any window, door handles or any other obstructions to allow the blind to operate smoothly.
Fitting Instructions
Step 1
Bracket Positioning
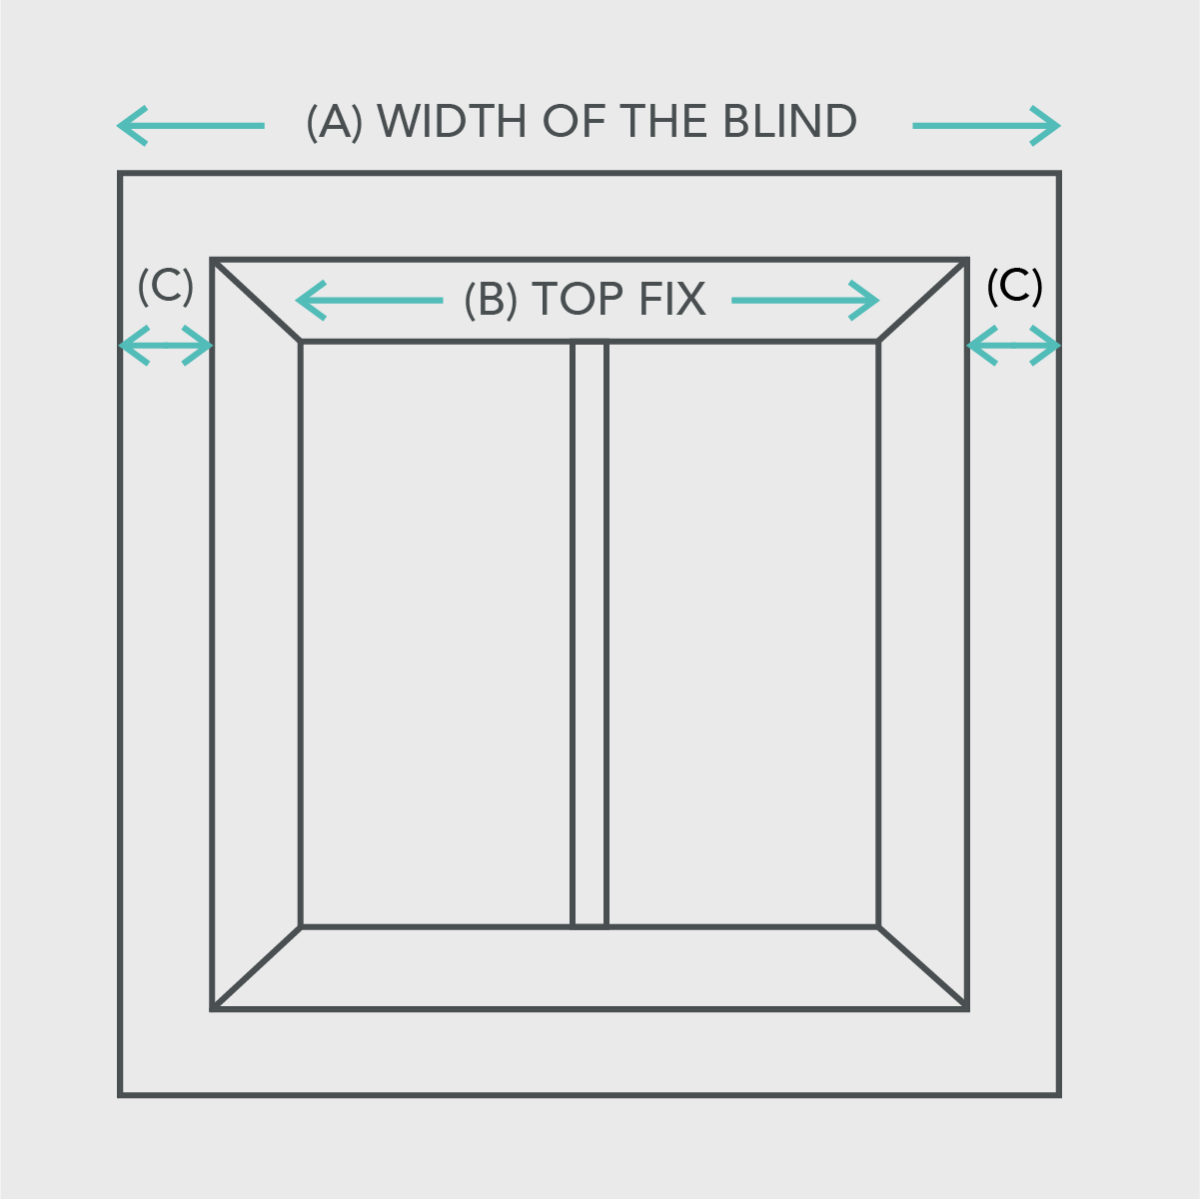
If you’re fitting the blind inside the recess you can top fix the brackets to the lintel or face fix the brackets to the window frame.
If you’re fitting the blind outside the window recess ensure that measurement (C) in the diagram above is the same to ensure even window coverage.
Step 2
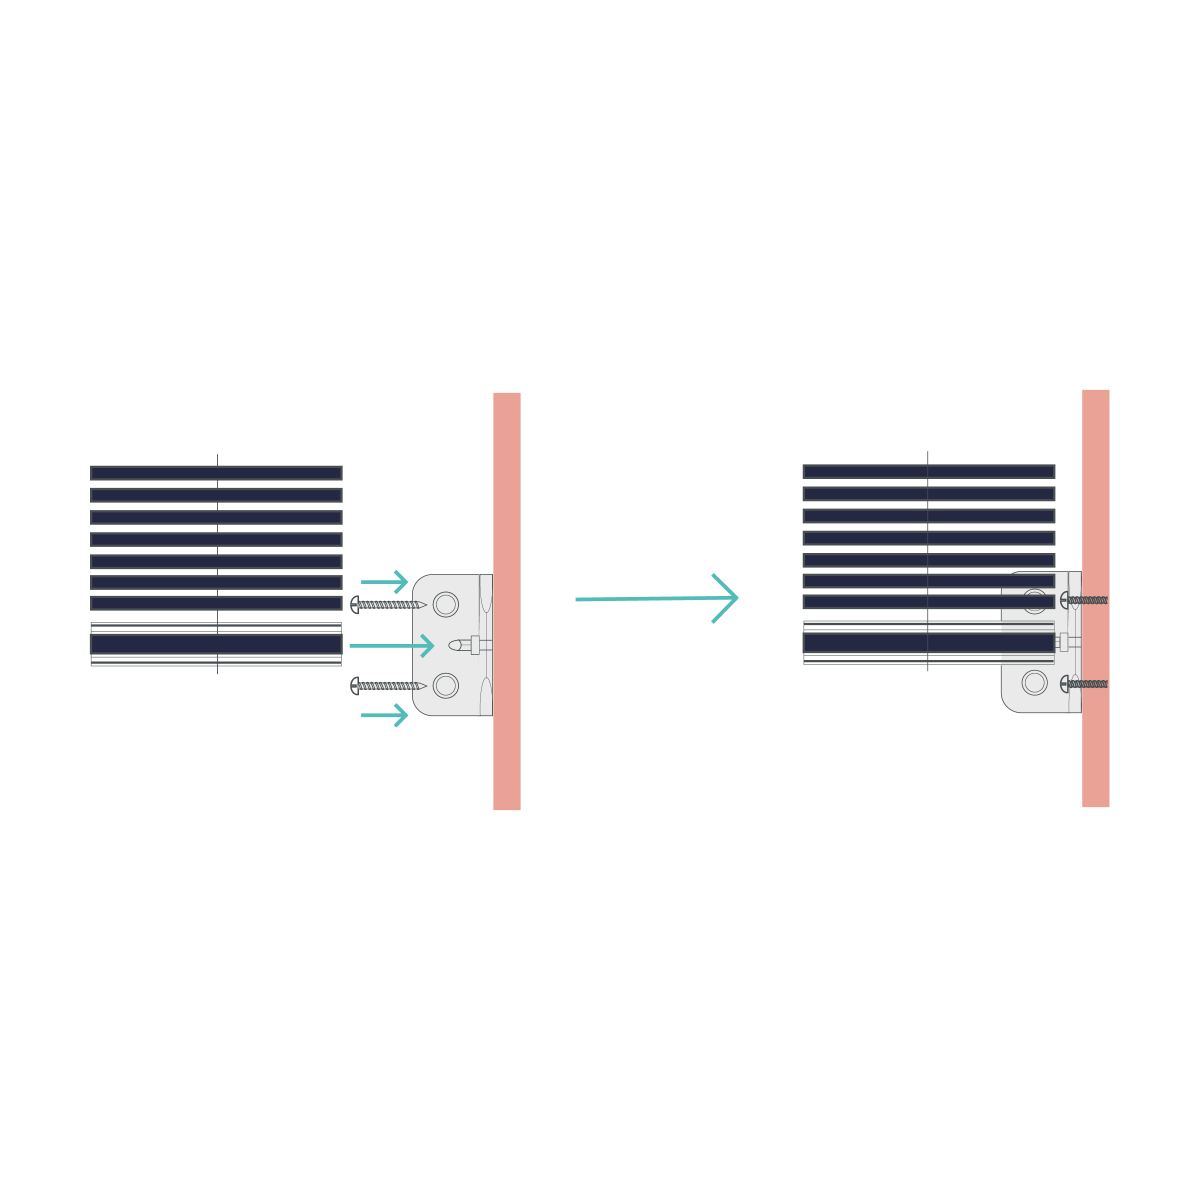
Bracket Fixing
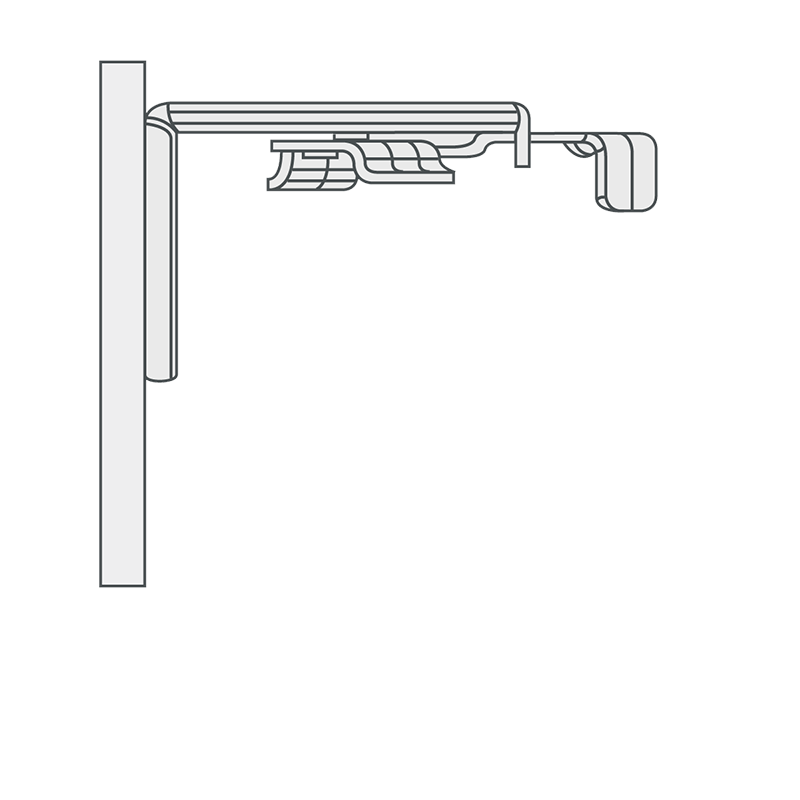
The brackets are universal, and can be used to face fix to the wall or window, or top fix into the top of the window recess.
You will need to ensure that if you are top fixing the blind, you will need to install the brackets far enough away from the window to avoid the window handles.
Brackets can't be installed within 10cm of the ends of the blind due to the raise and tilt mechanisms.
Once the brackets are installed, you will need to open the swivel arms of the brackets so they are facing you.
Step 3
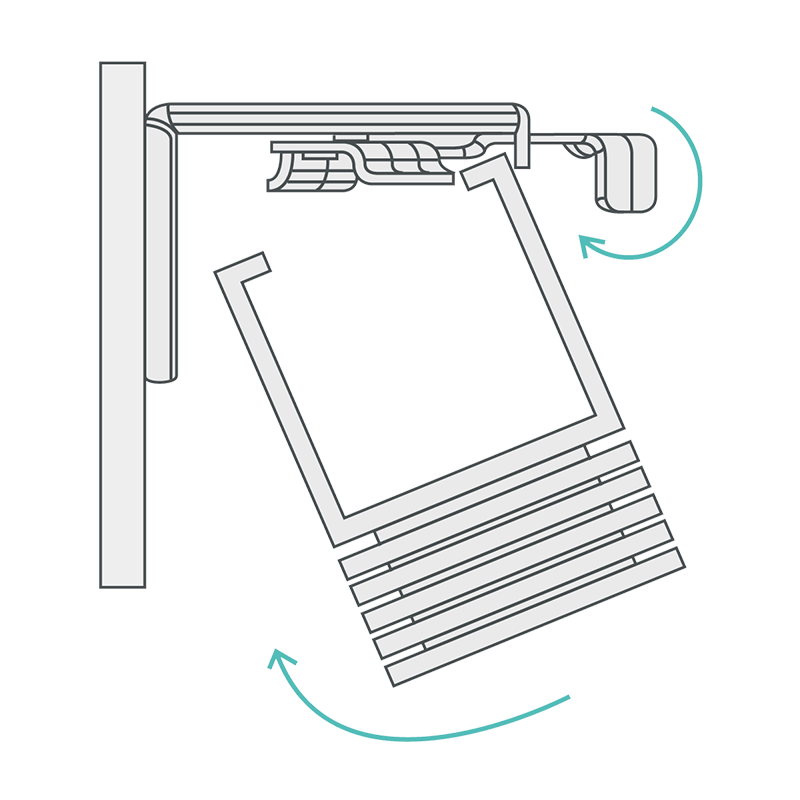
Inserting the Headrail
Now the brackets are installed, take your blind and offer it up to the bracket, keeping the metal swivel arms open and poinitng towards you.
Step 4 - Optional
Hold down Clips
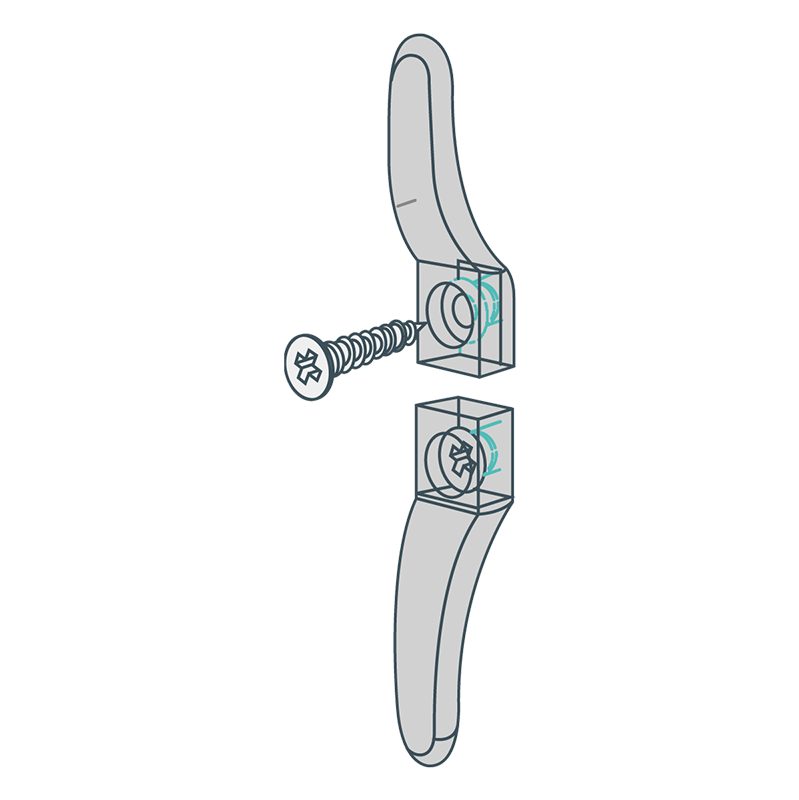
Hold down clips are optional. Using two small screws, screw the hold down clip to the window facing or the wall/window recess. Pop the bracket pin ends into the hole at bottom rail end.
Step 5 - Optional
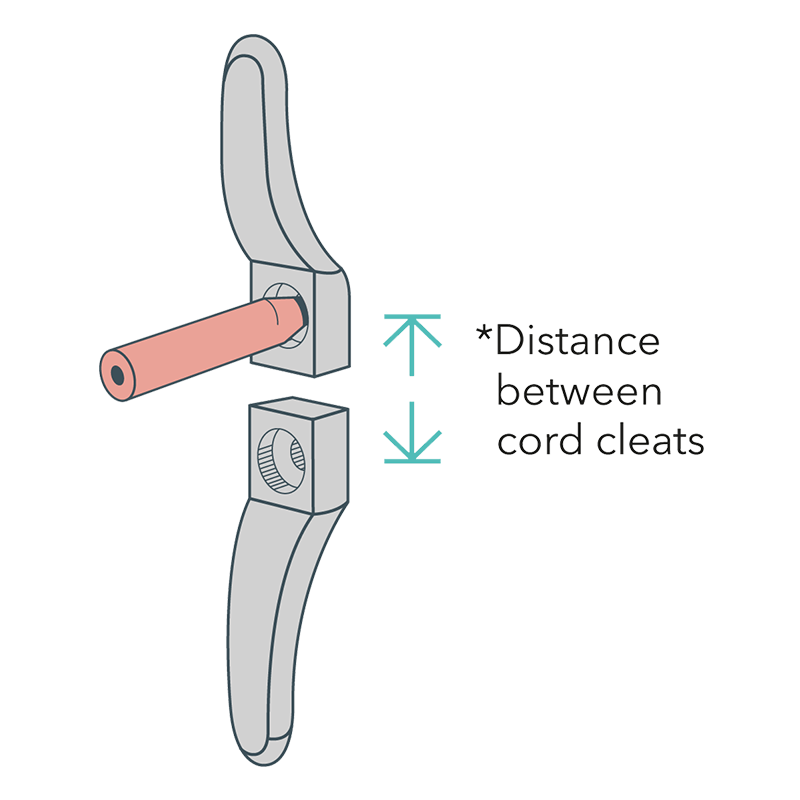
Safety Cleat
You must install the safety cleat as close to the headrail of the blind as possible and in all cases not less than 1500mm from the floor.
Place the safety cleat in the desired position on the wall and mark the positions of the holes with a pencil. Drill holes as required.
Step 6 - Optional
Use the screws provided to attach the safety cleat to the wall in the pre-drilled holes.
Step 7
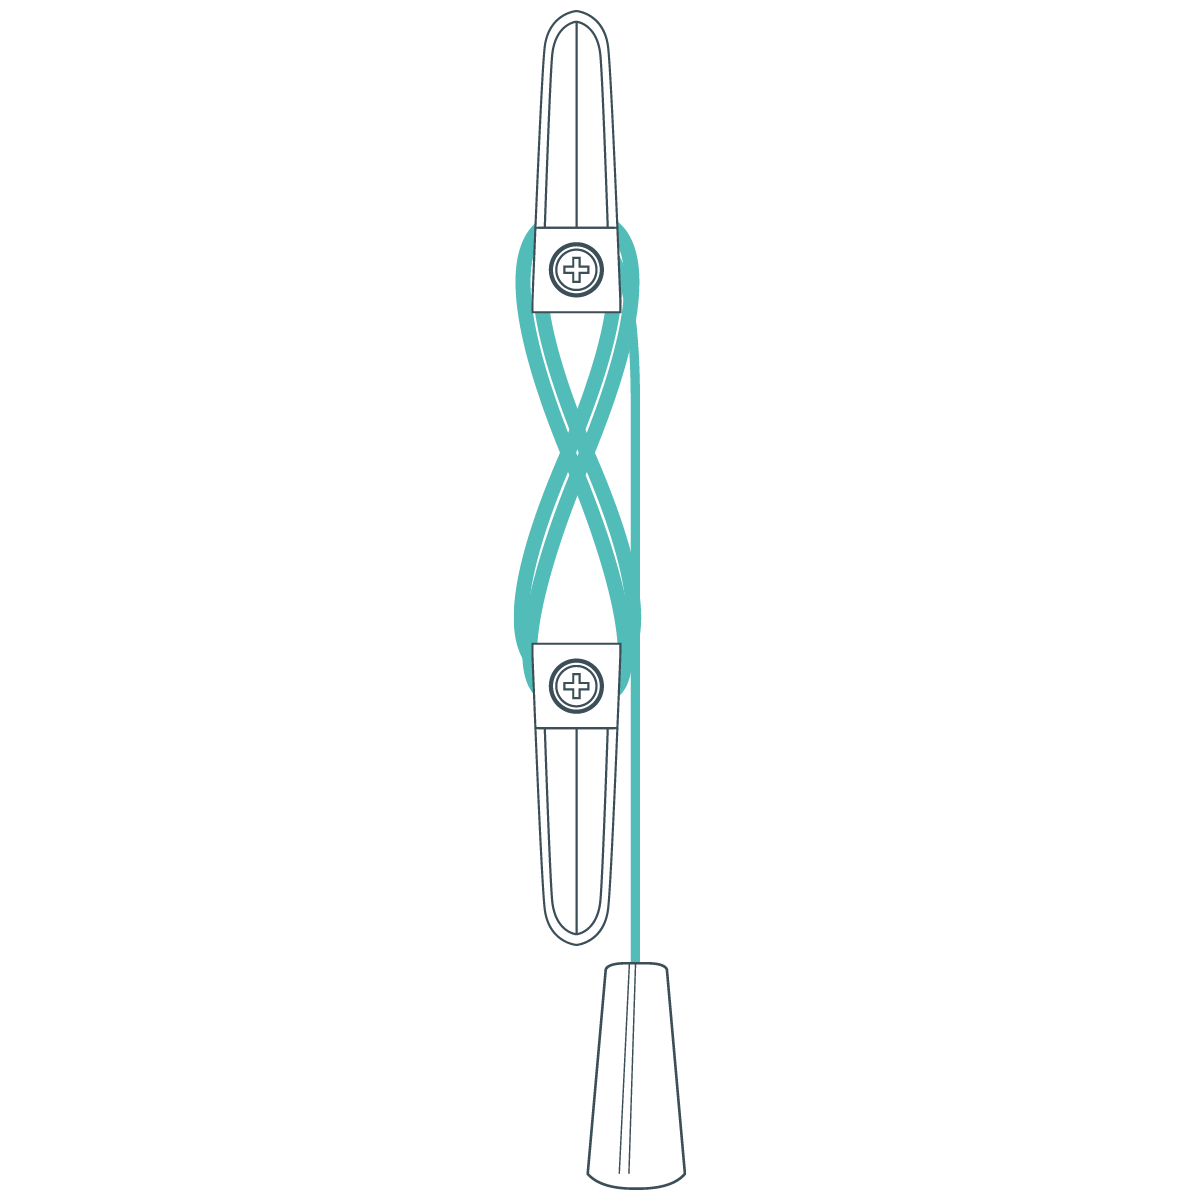
Wrap the Cords
Wrap the cords around the cord cleats in a figure of 8. When the cords are fully accumulated ensure they are secure, so when the cord is pulled no excess is released.
Step 8
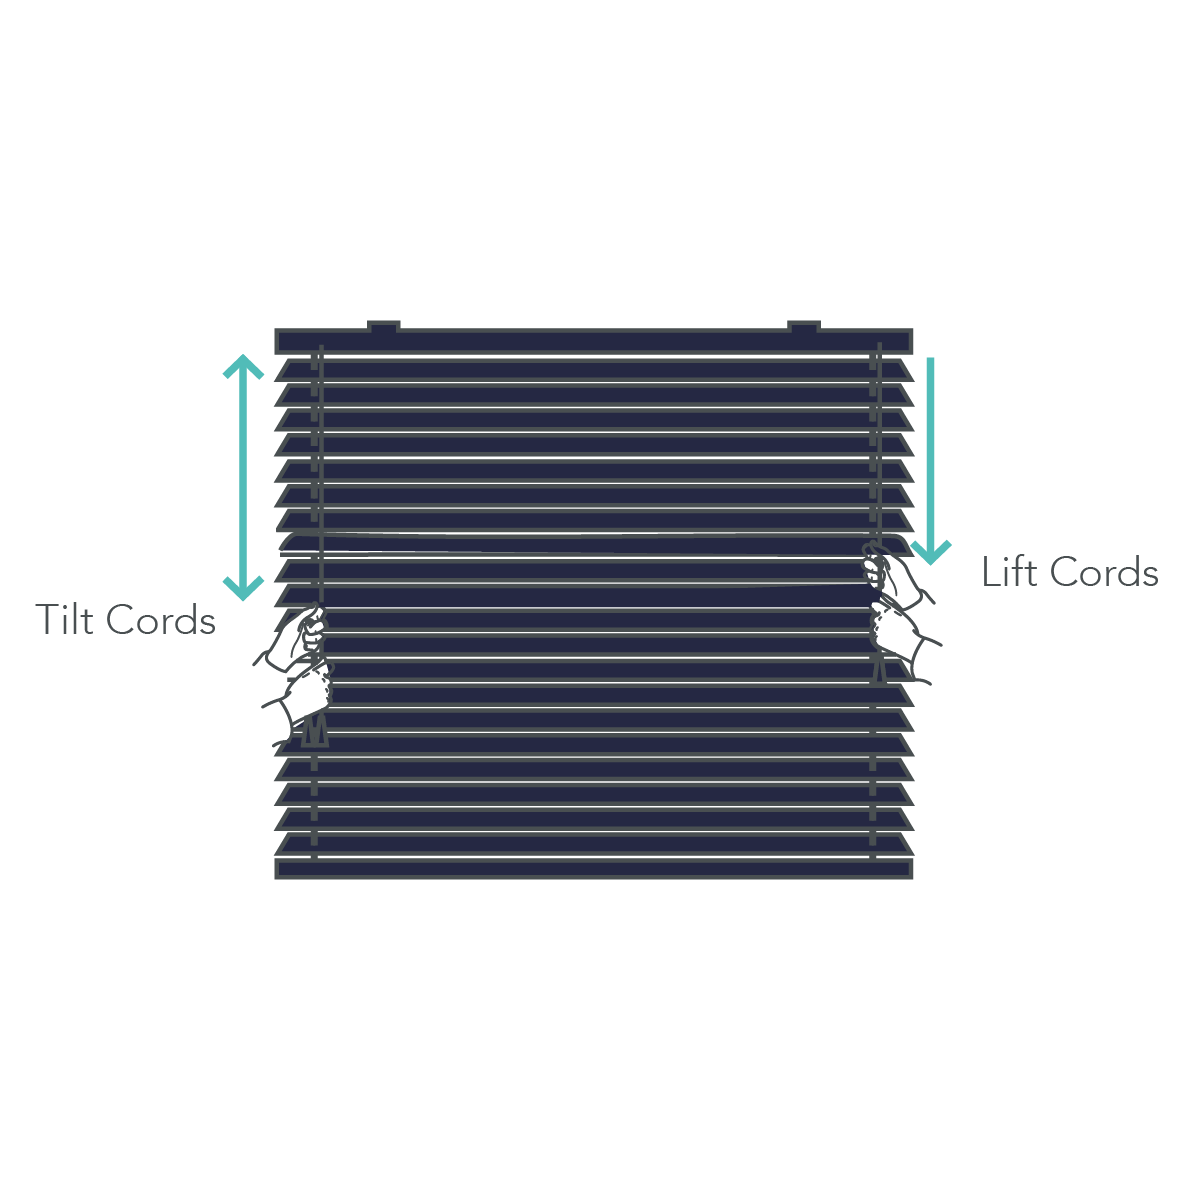
Operation
To tilt blind pull on required tilt cord tassel to tilt slats to the open or closed position. Tilt the blind to the horizontal position when lifting or raising to increase blind life.