How to Install Tier-on-Tier Shutters
Installing tier-on-tier shutters is easier than you think with our detailed guide. We’ll walk you through the process step-by-step, making sure you get the perfect fit every time. No need for professional help, just follow our simple instructions for a seamless, polished installation.
What is in the box?


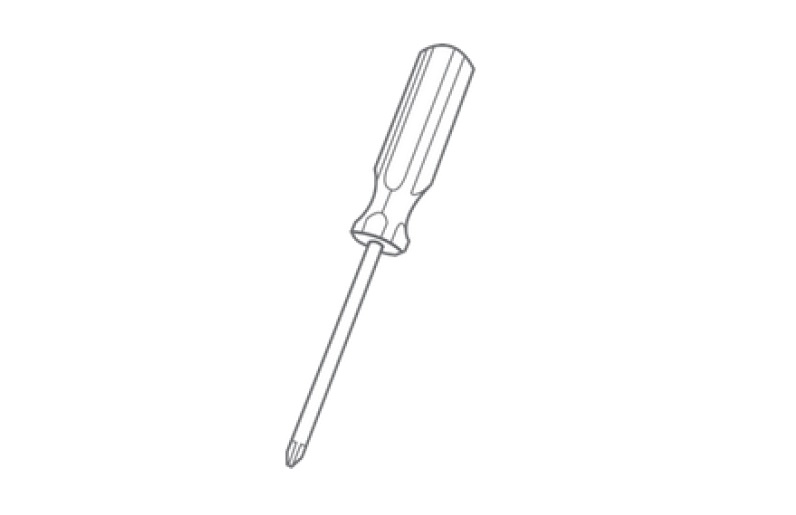
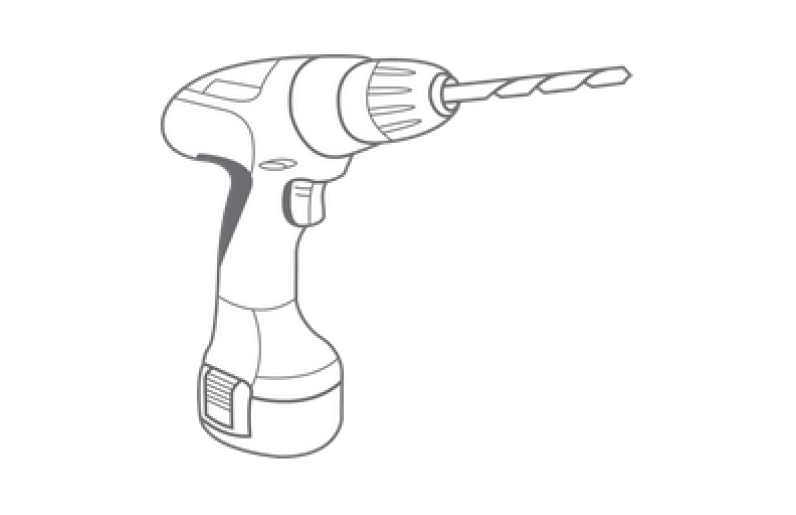
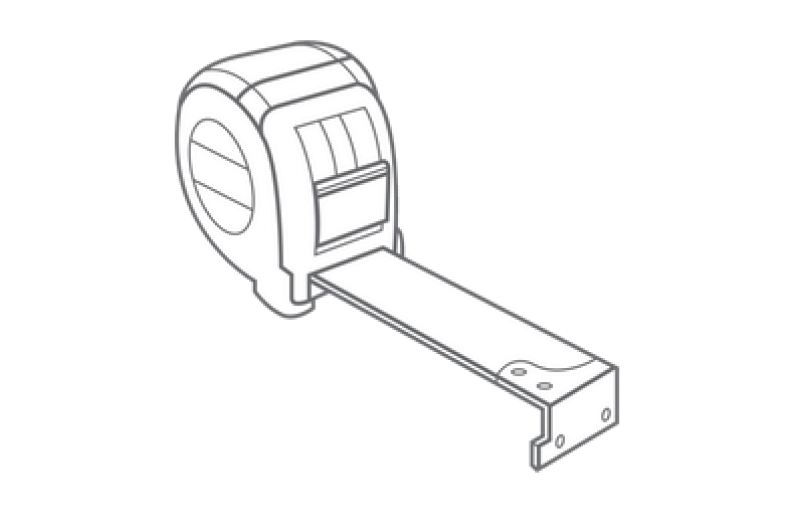
Tools you will need:

Fitting Guides
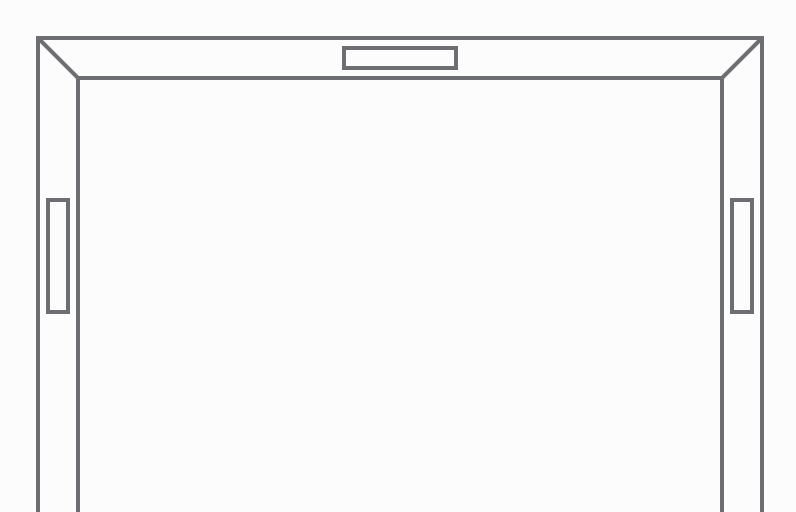
Frames will be labelled Left, Right, Top and Bottom. Lay the content on the floor.
Step 1
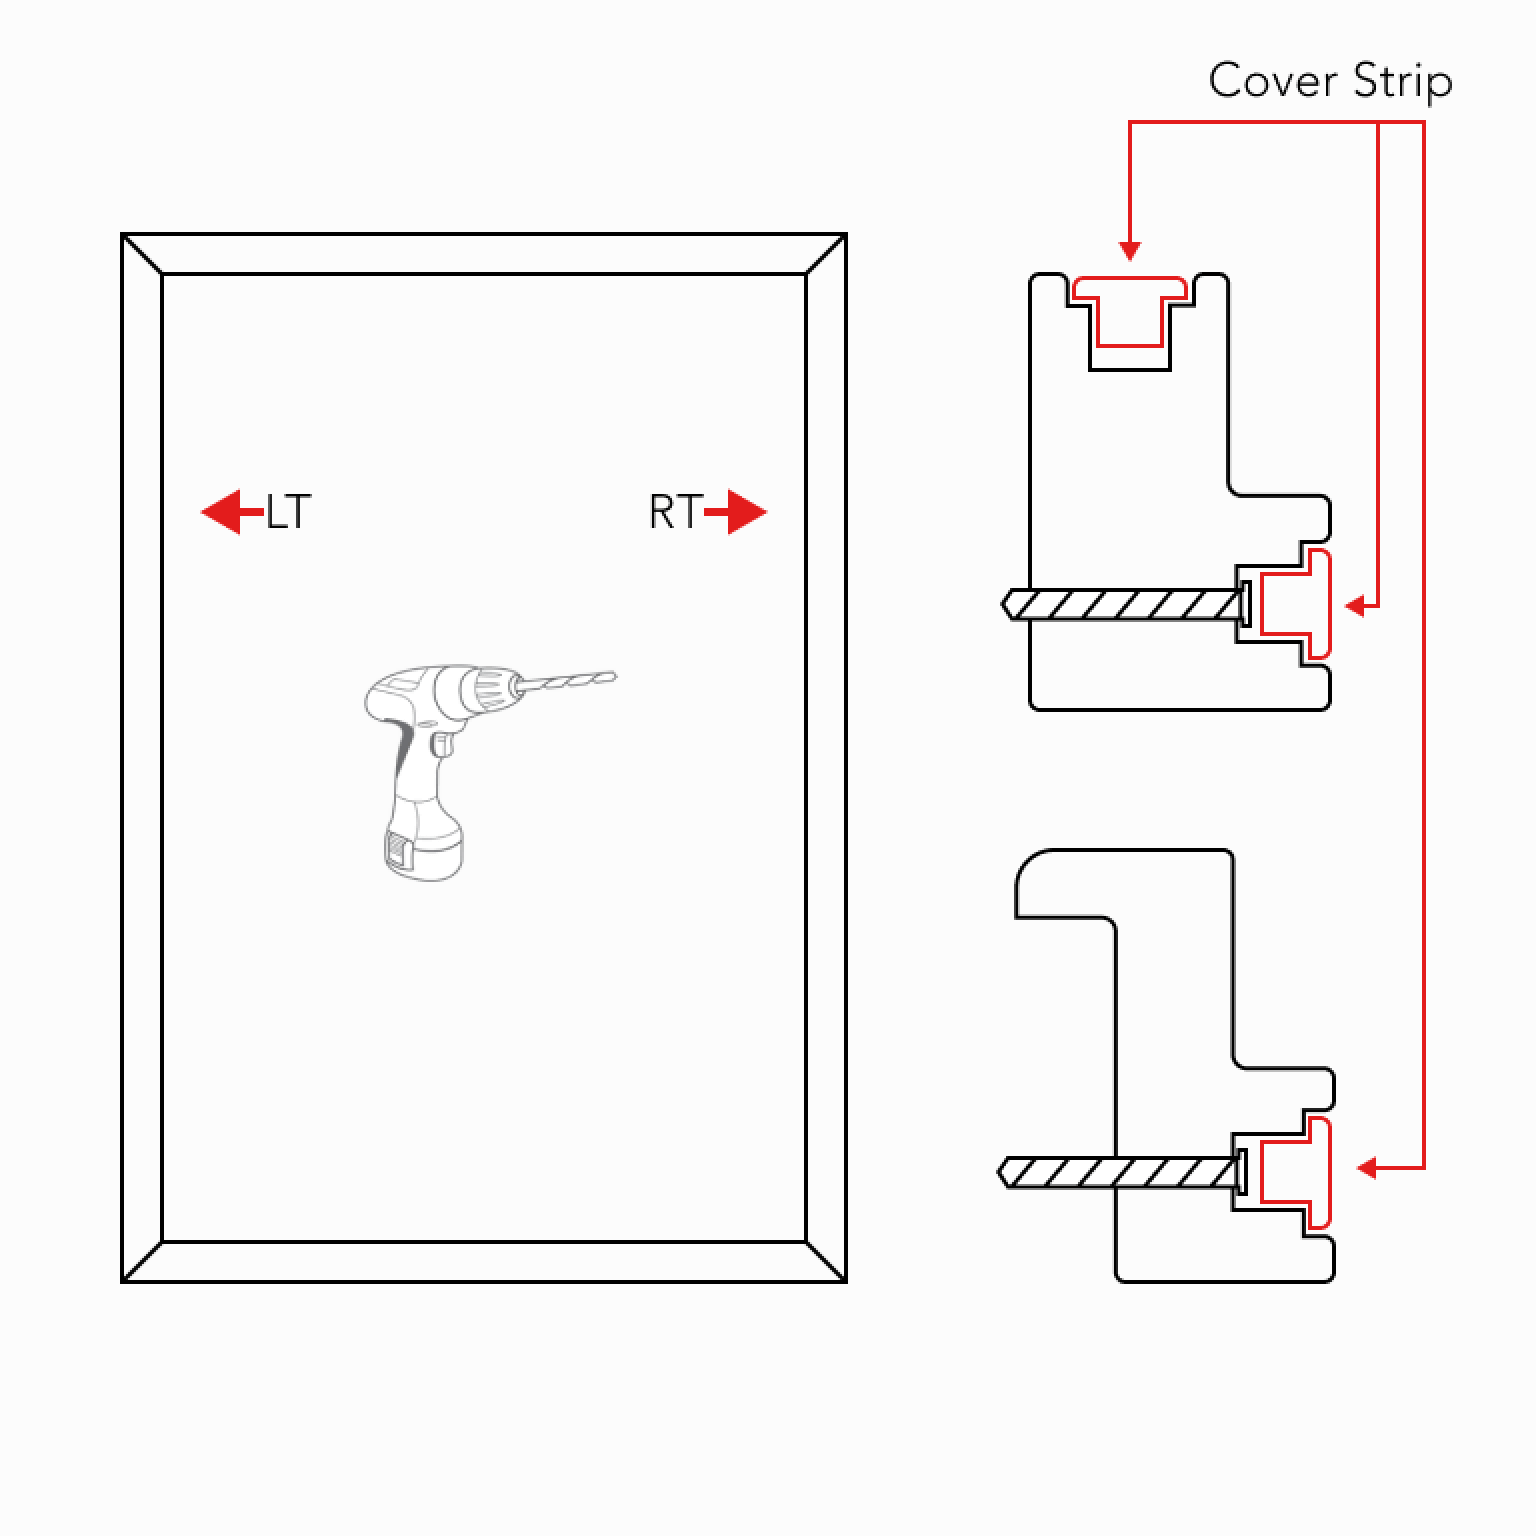
Connect the frames
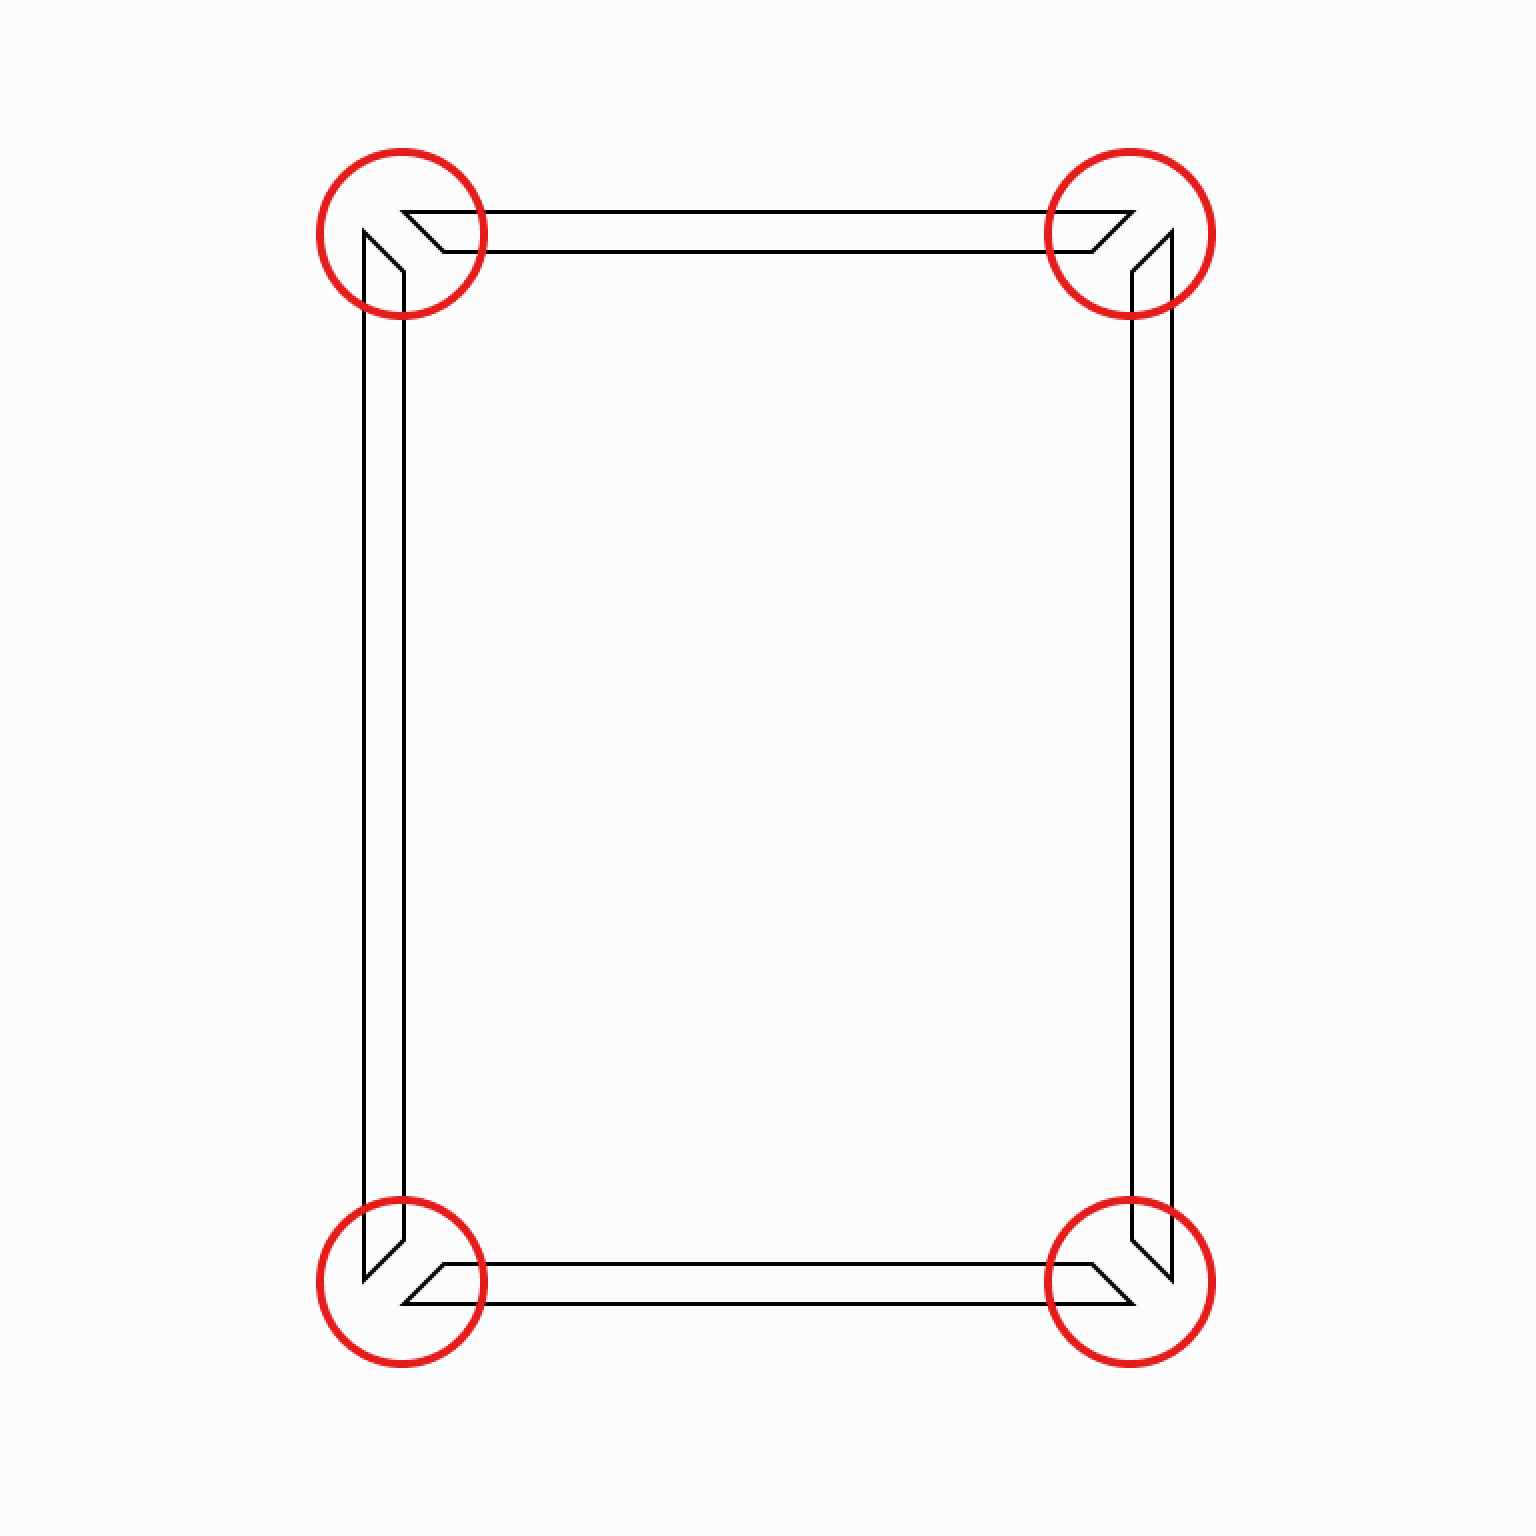
L Frames
Connect frames using the Hoffmann key provided when on the floor.
Slide each corner together.
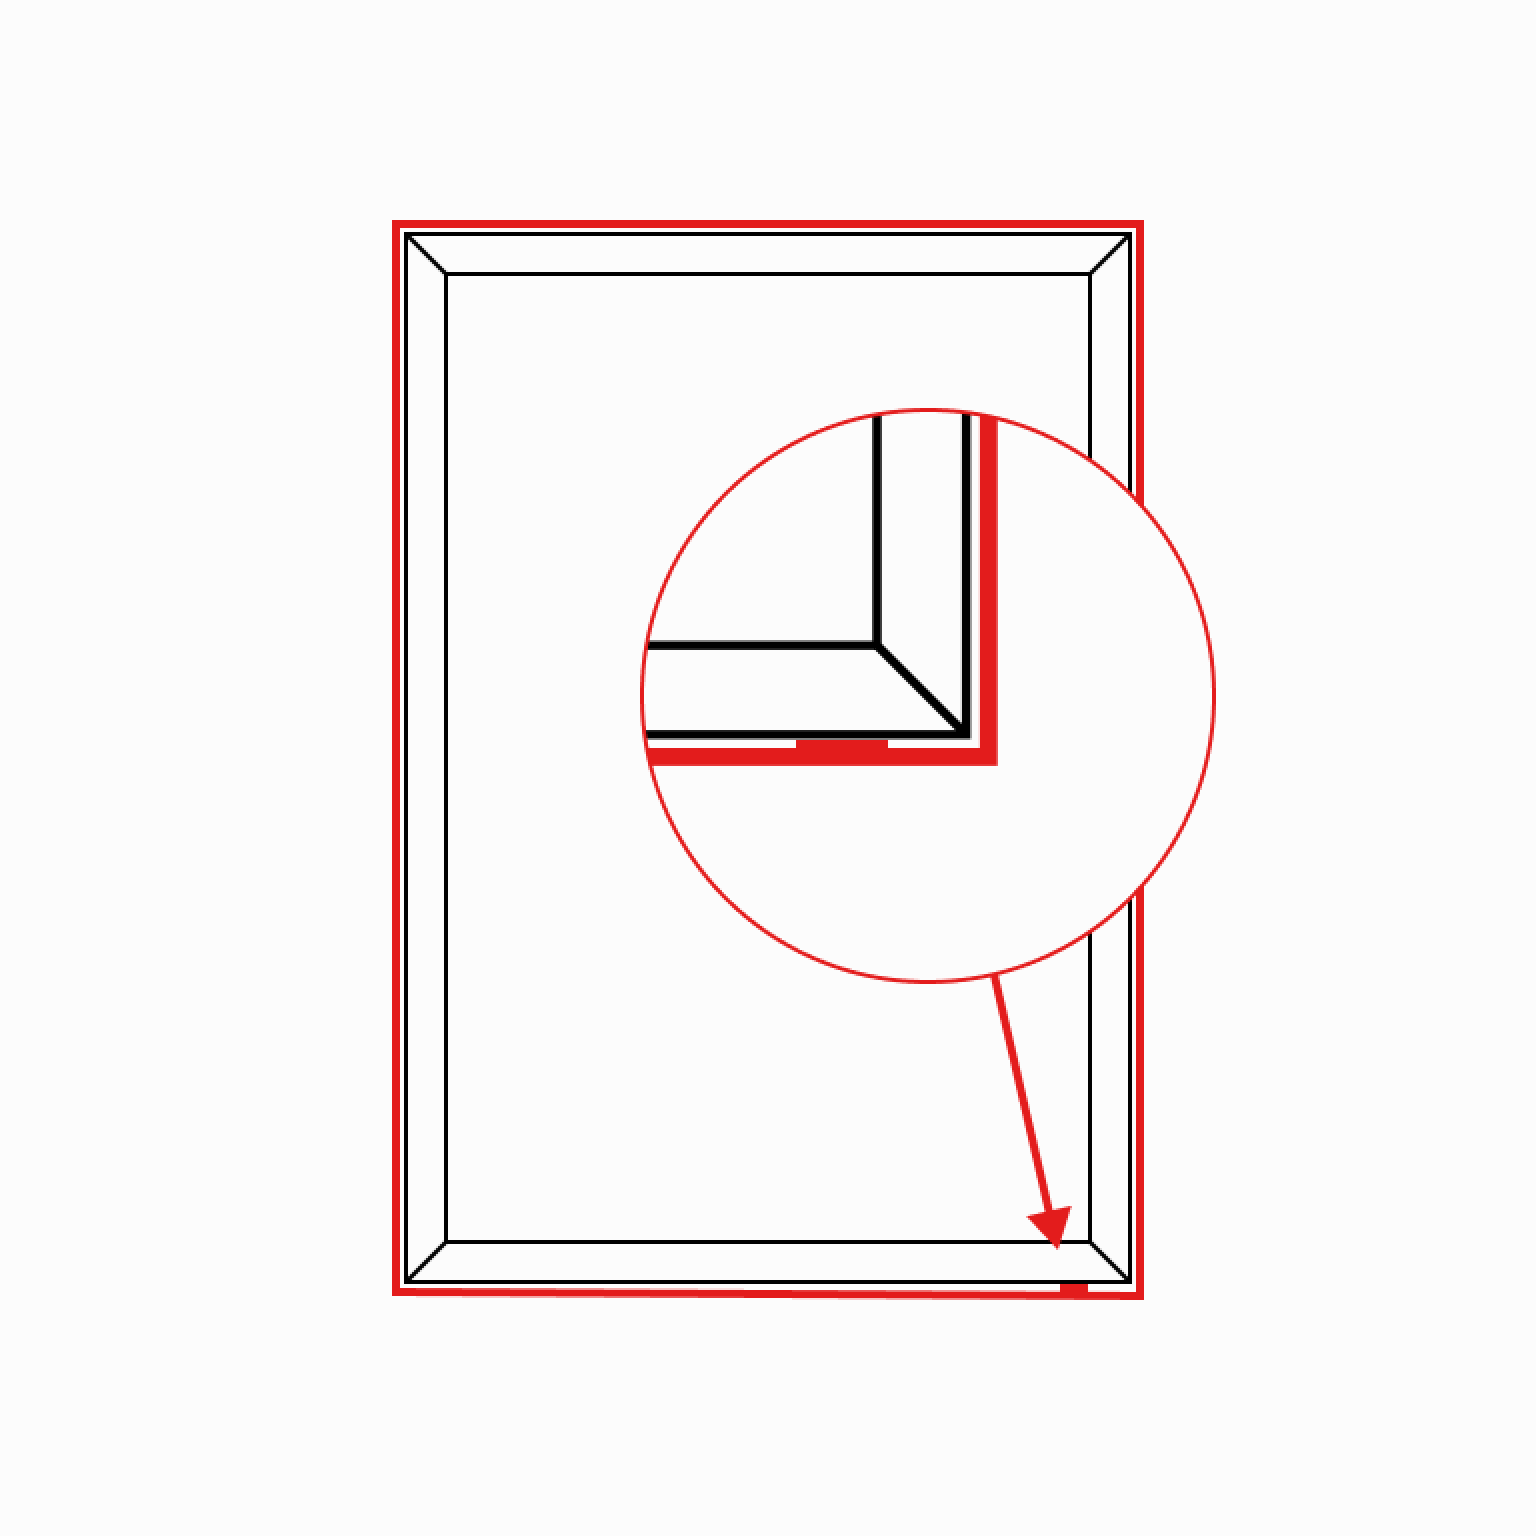
Z Frames
Unlike the L Frames, the bottom of the Z frame is secured with screws with pre drilled holes.
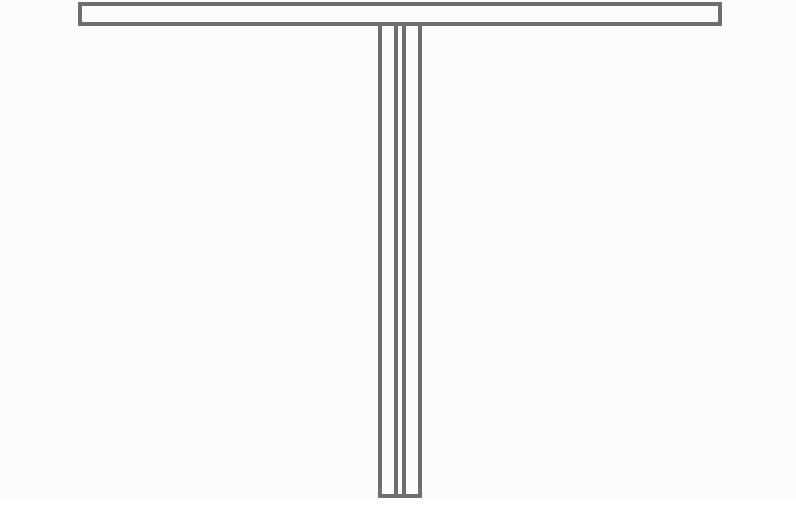
T Post
If your shutters include a T Post, this is the time to attach it.
With the frame on the floor and panels attached to the frame, use a packer wedge to give you a uniform gap top and bottom from the side of the shutter and the t-post.
Once happy with the placement, screw the t-posts into the top and bottom.
For more information, have a look to the end of this guide, on the “Important” step, where we specify how to mount the T Post.
Step 2
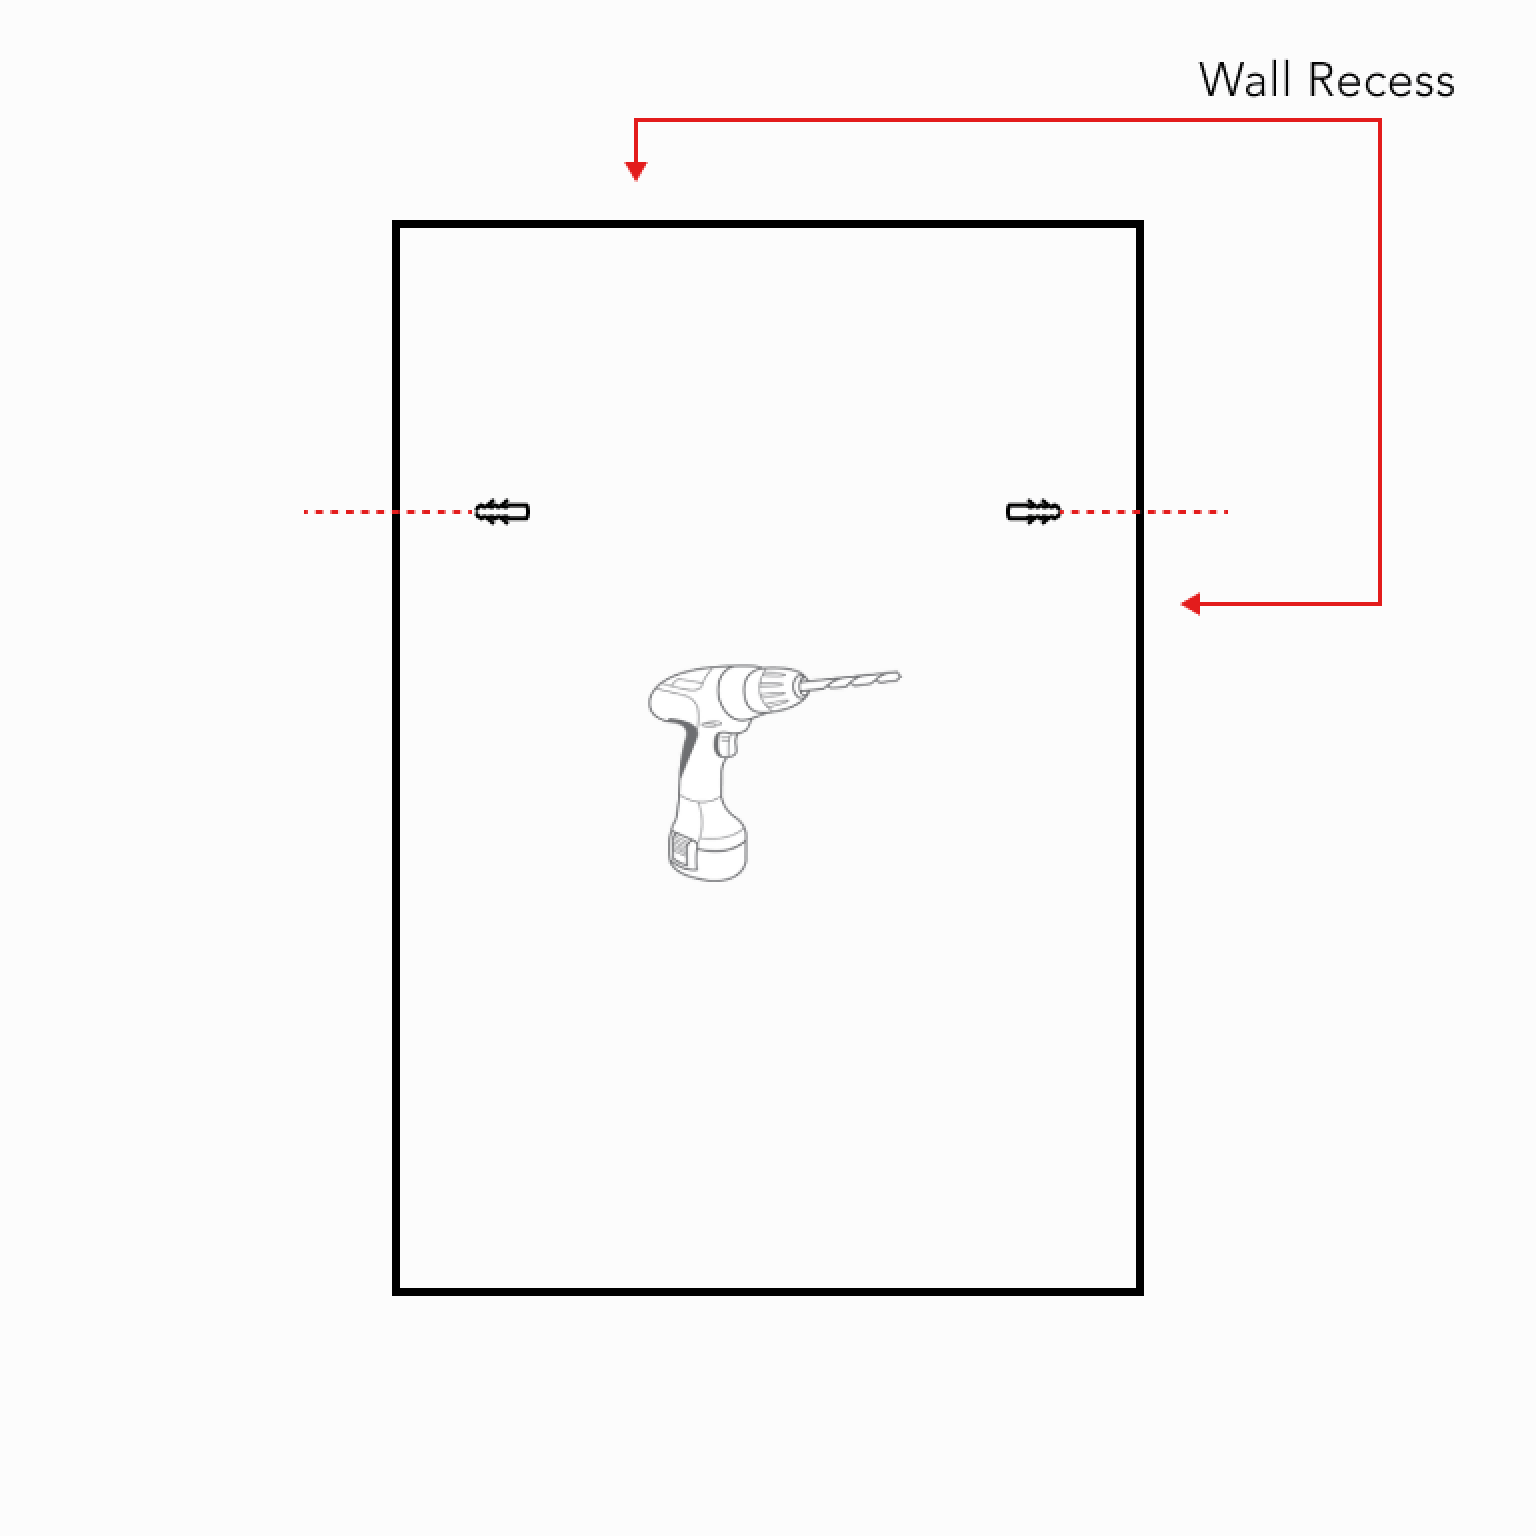
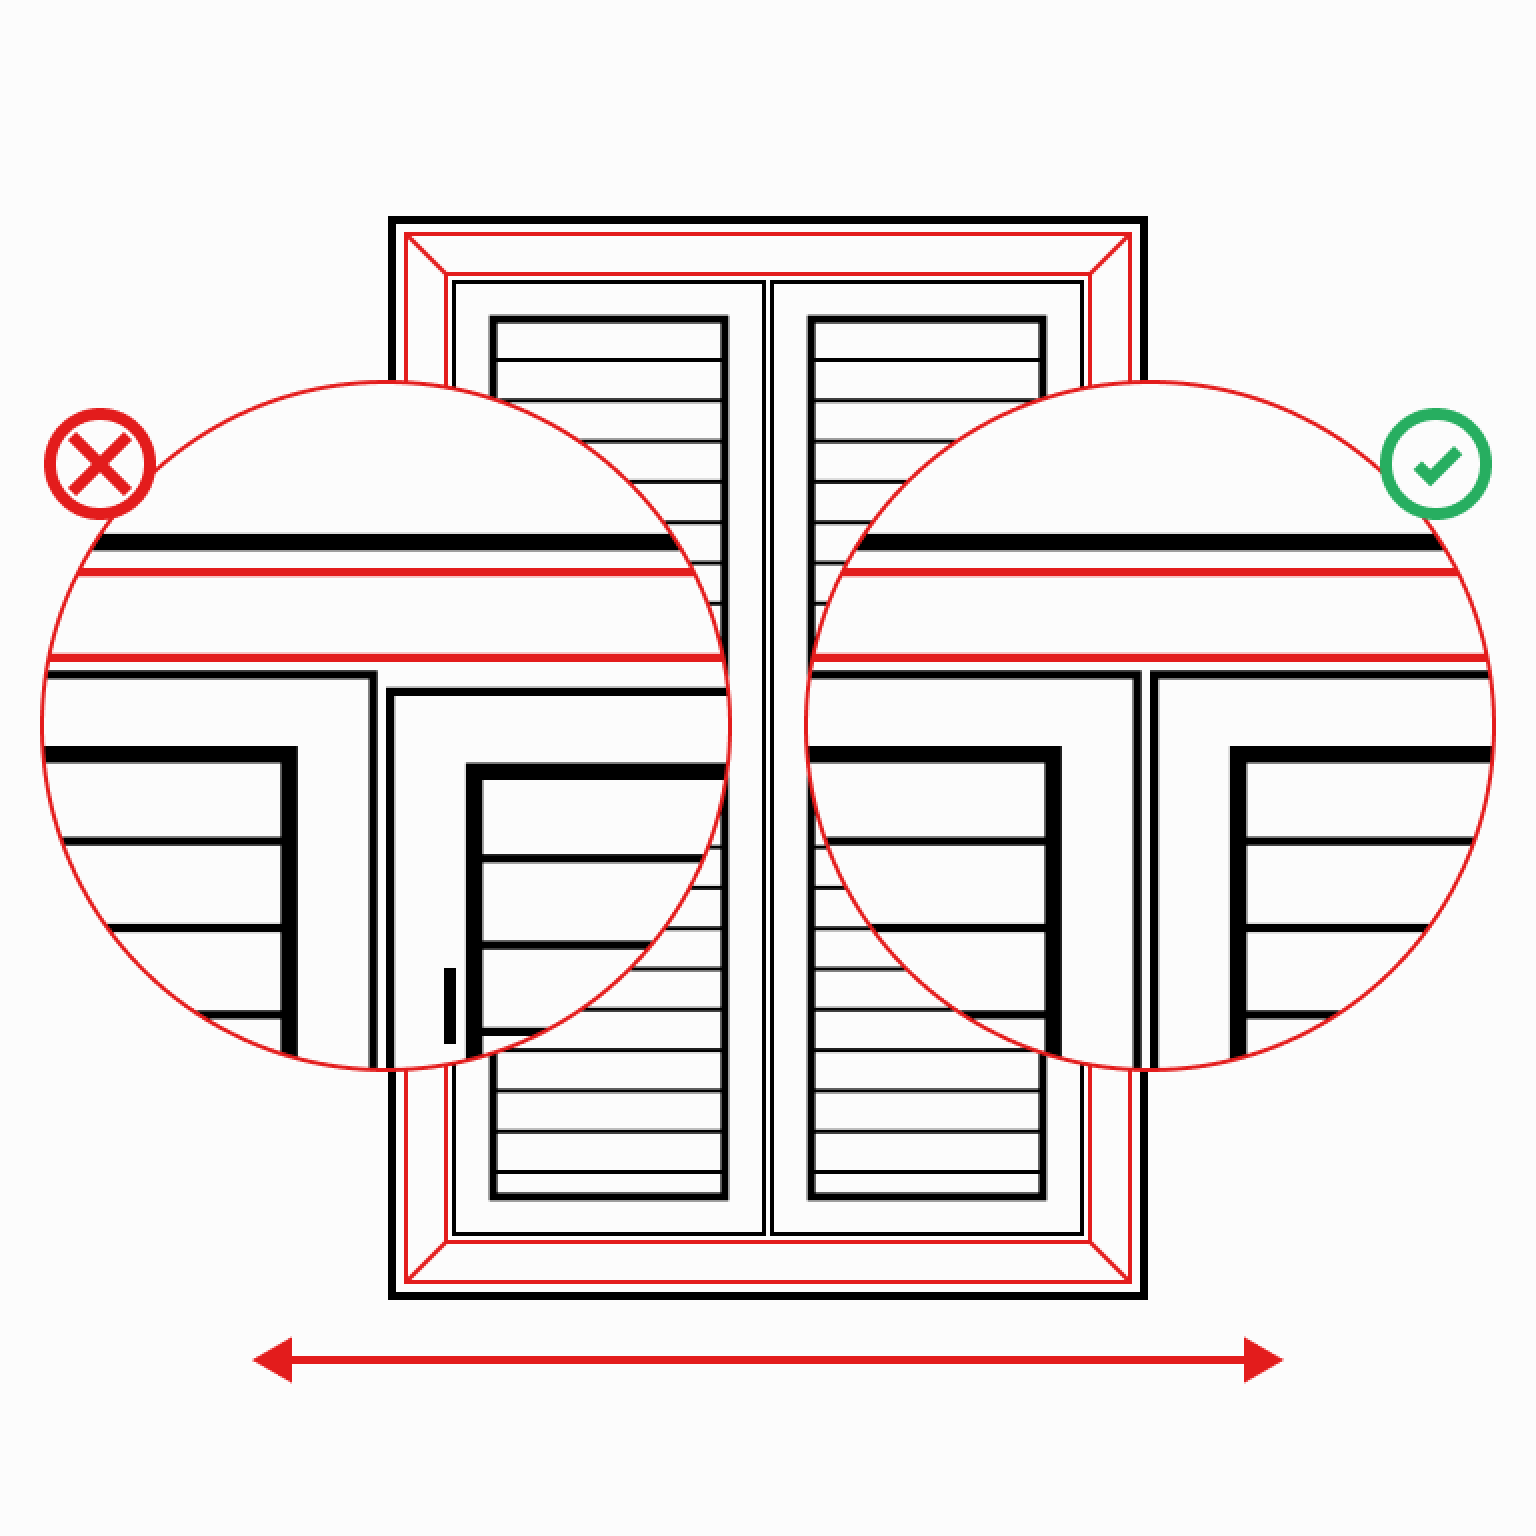
Position the frame within recess
Lift the frame into position and centre it within the width of the recess.
Use packer wedges to keep an even gap either side.
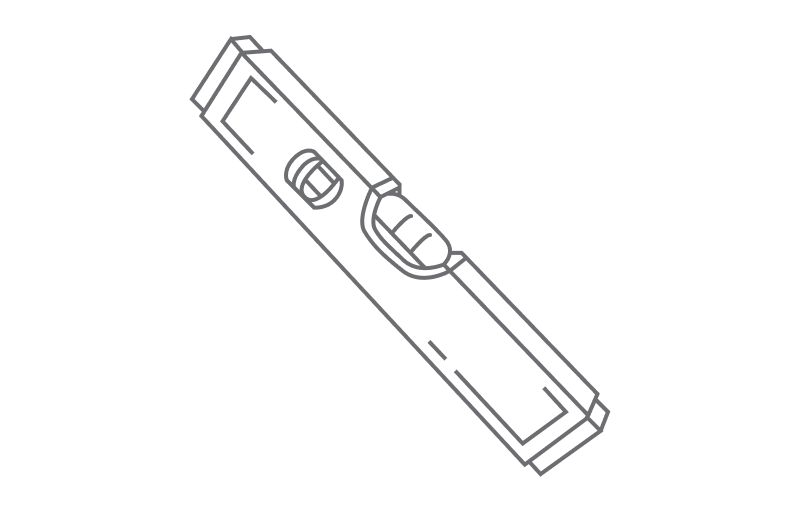
If possible, use a spirit level to check the frame is levelled.
This might be a 2 person task.
Step 3
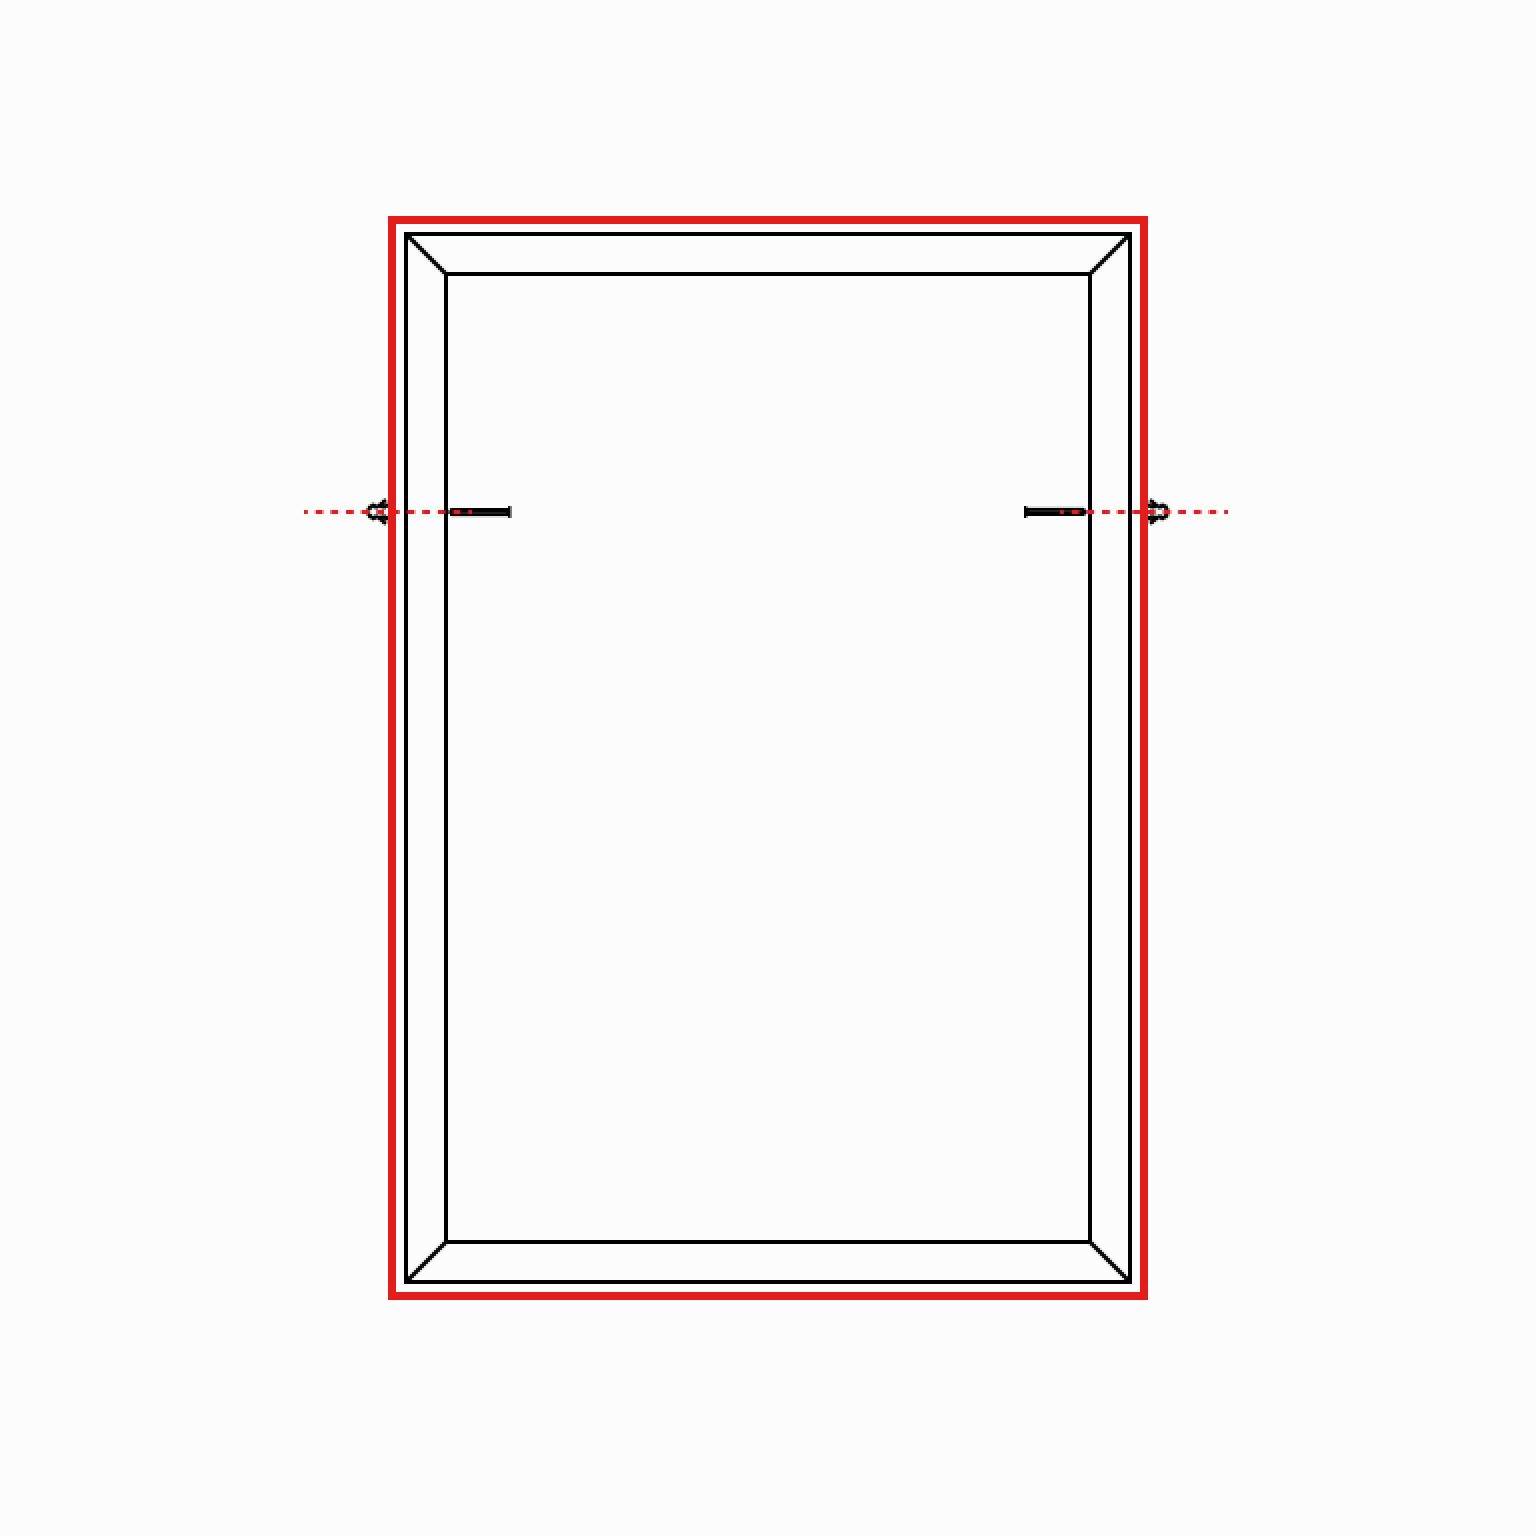
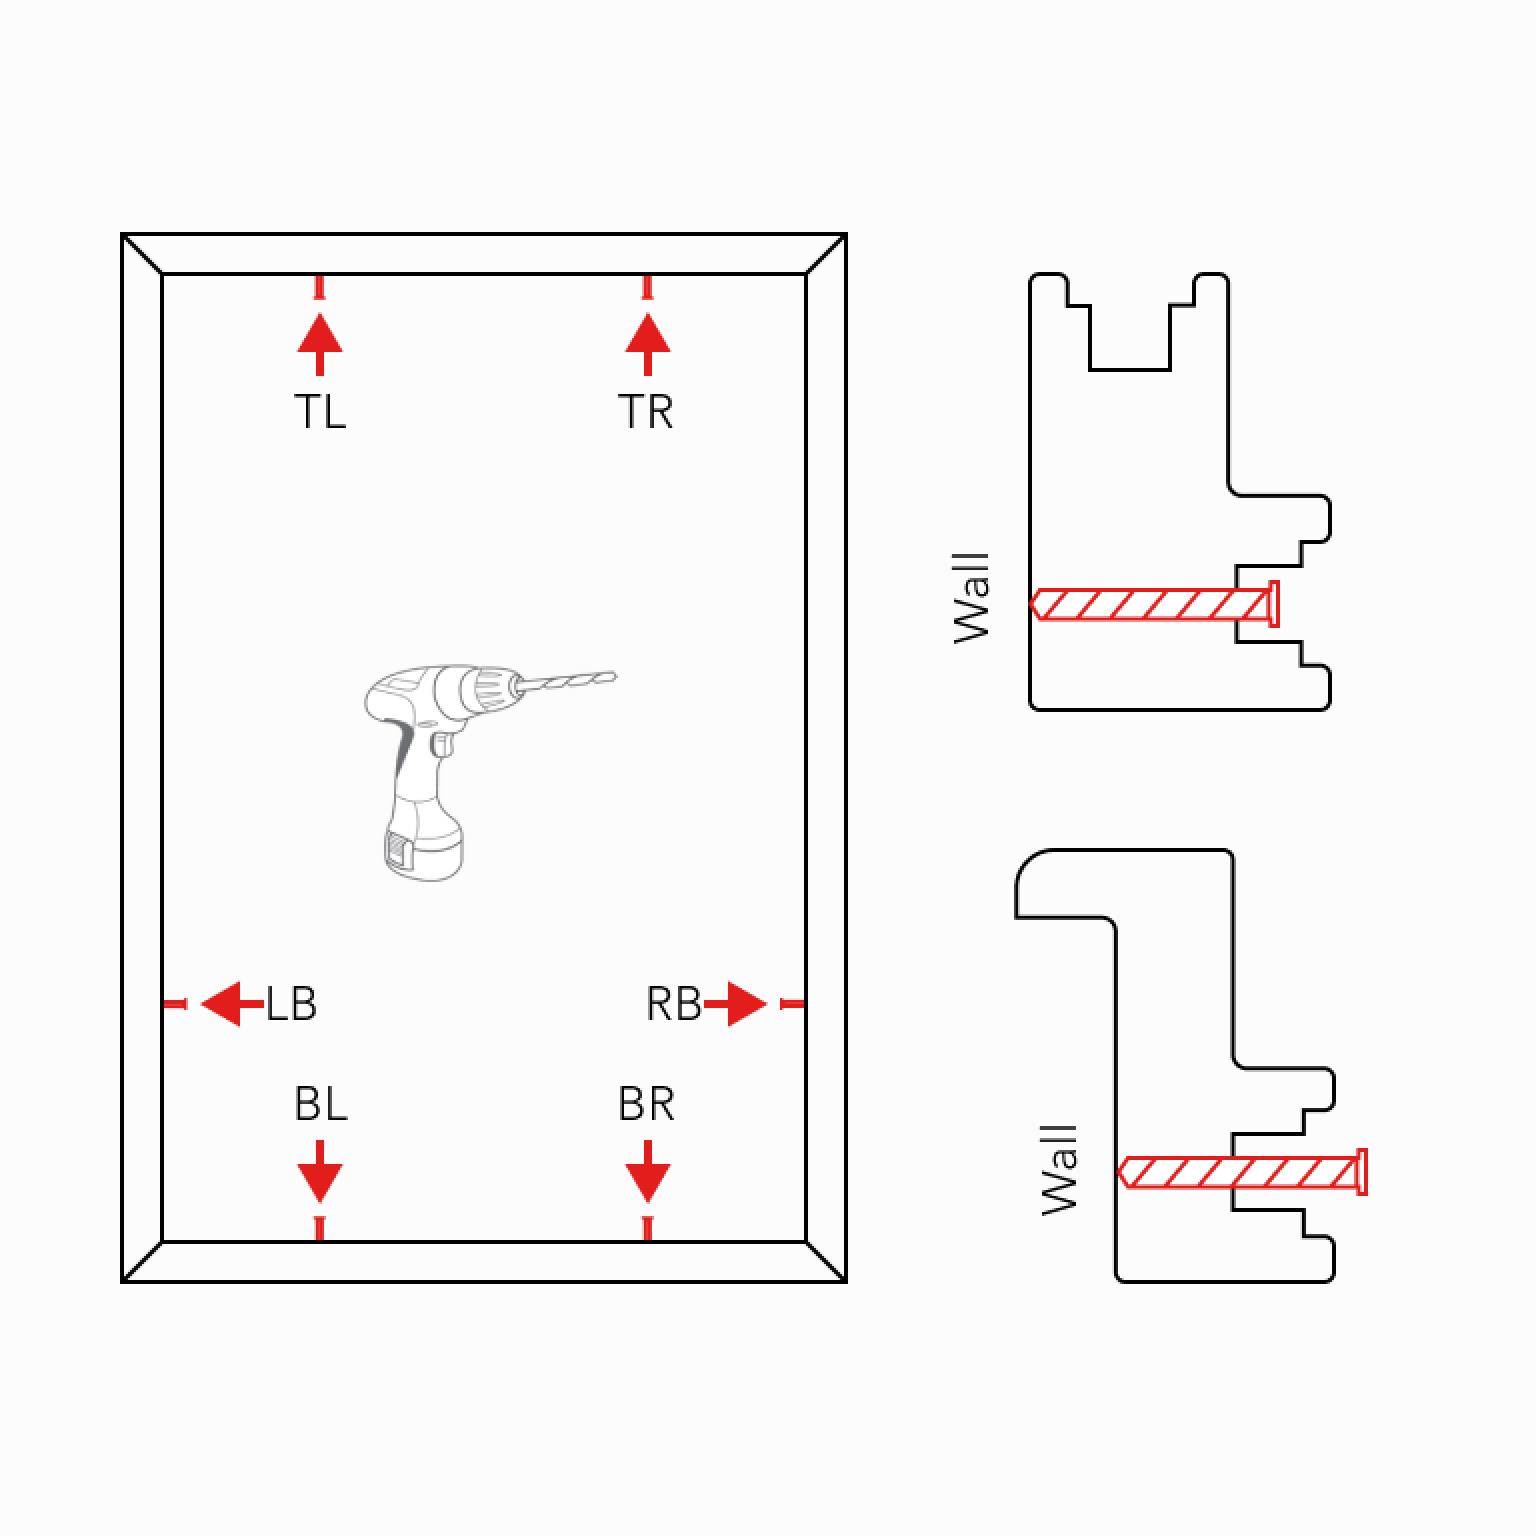
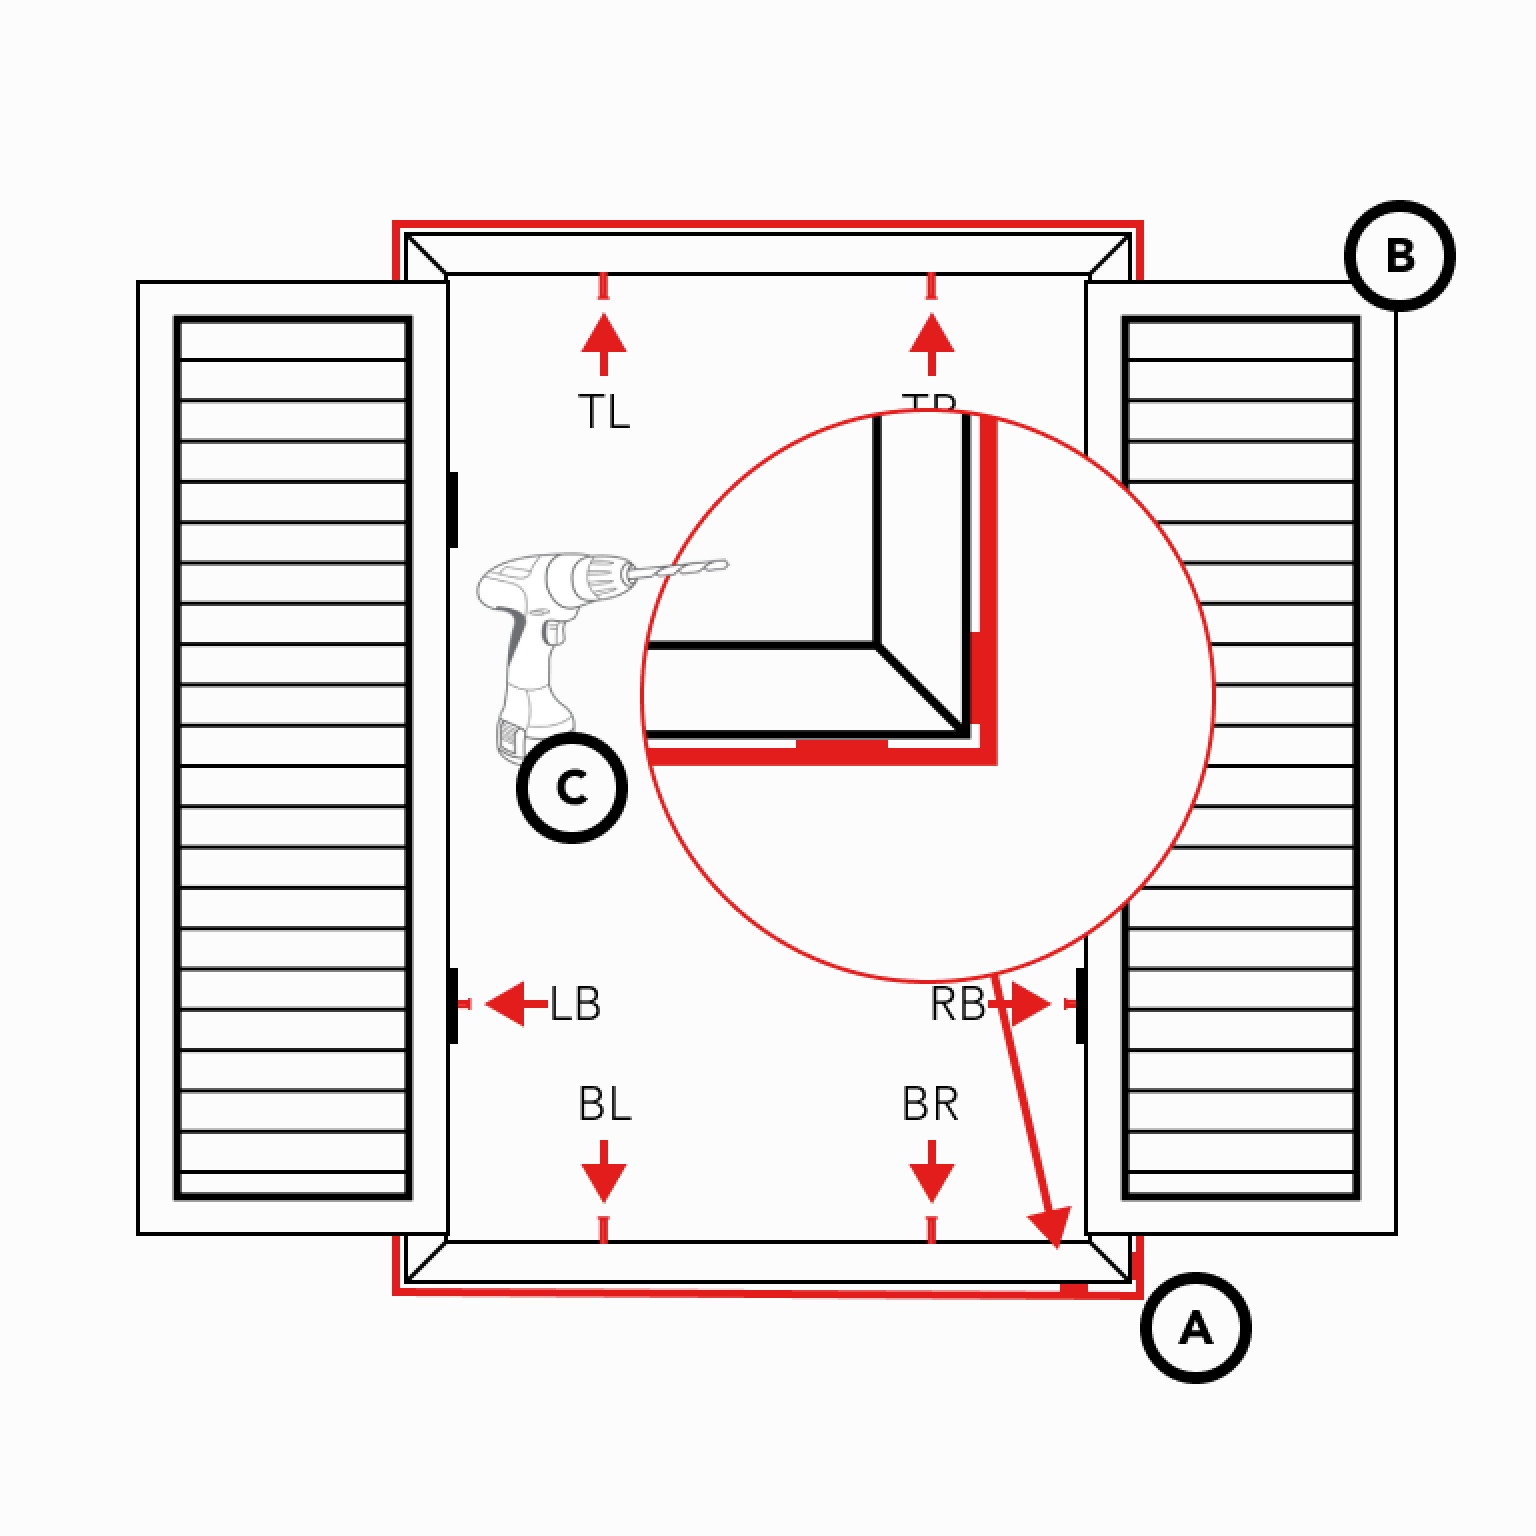
Pre-drill desired fixing points
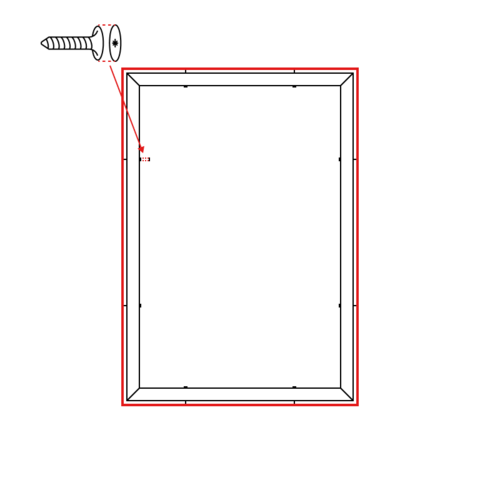
With the frame positioned within the recess, start with Left Top and Right Top screws.
Make the mark by screwing the screws partially into the wall, when done, unscrew them.
Push the frame away.
Before pre drilling the fixing points remove all the screw covers from the pre drilled holes in the
frame.
Step 4
Screw top fixing points
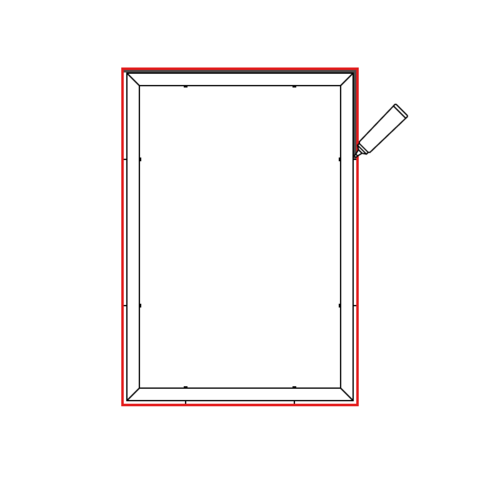
Using a power drill make a hole for the Left Top and another hole for the Right Top fixing point.
Then insert the wall plugs into the wall.
Step 5
Attach the frame to the recess
Bring back the frame and screw halfway the screws into the holes so that you can hold the frame in place but you will also be able to make adjustments to the position.
Step 6
Place the rest of the screws
Place the rest of the screws into the pre drilled holes so they are ready to mark the hole when the frame is positioned.
Step 7

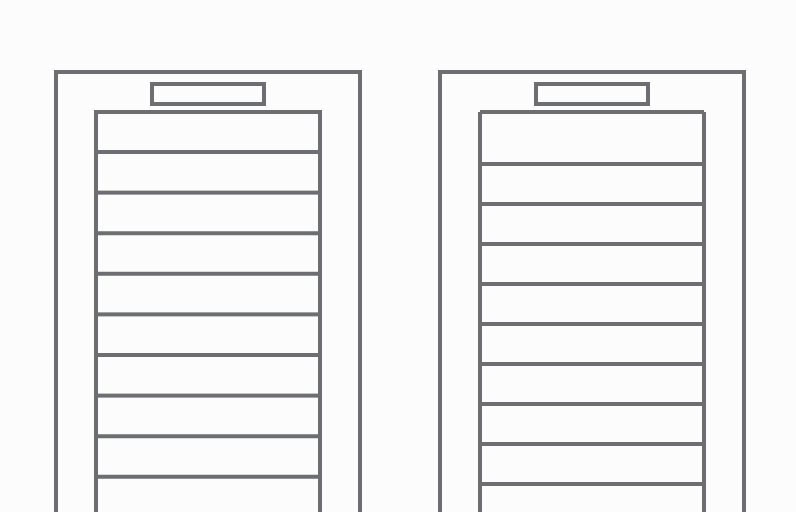
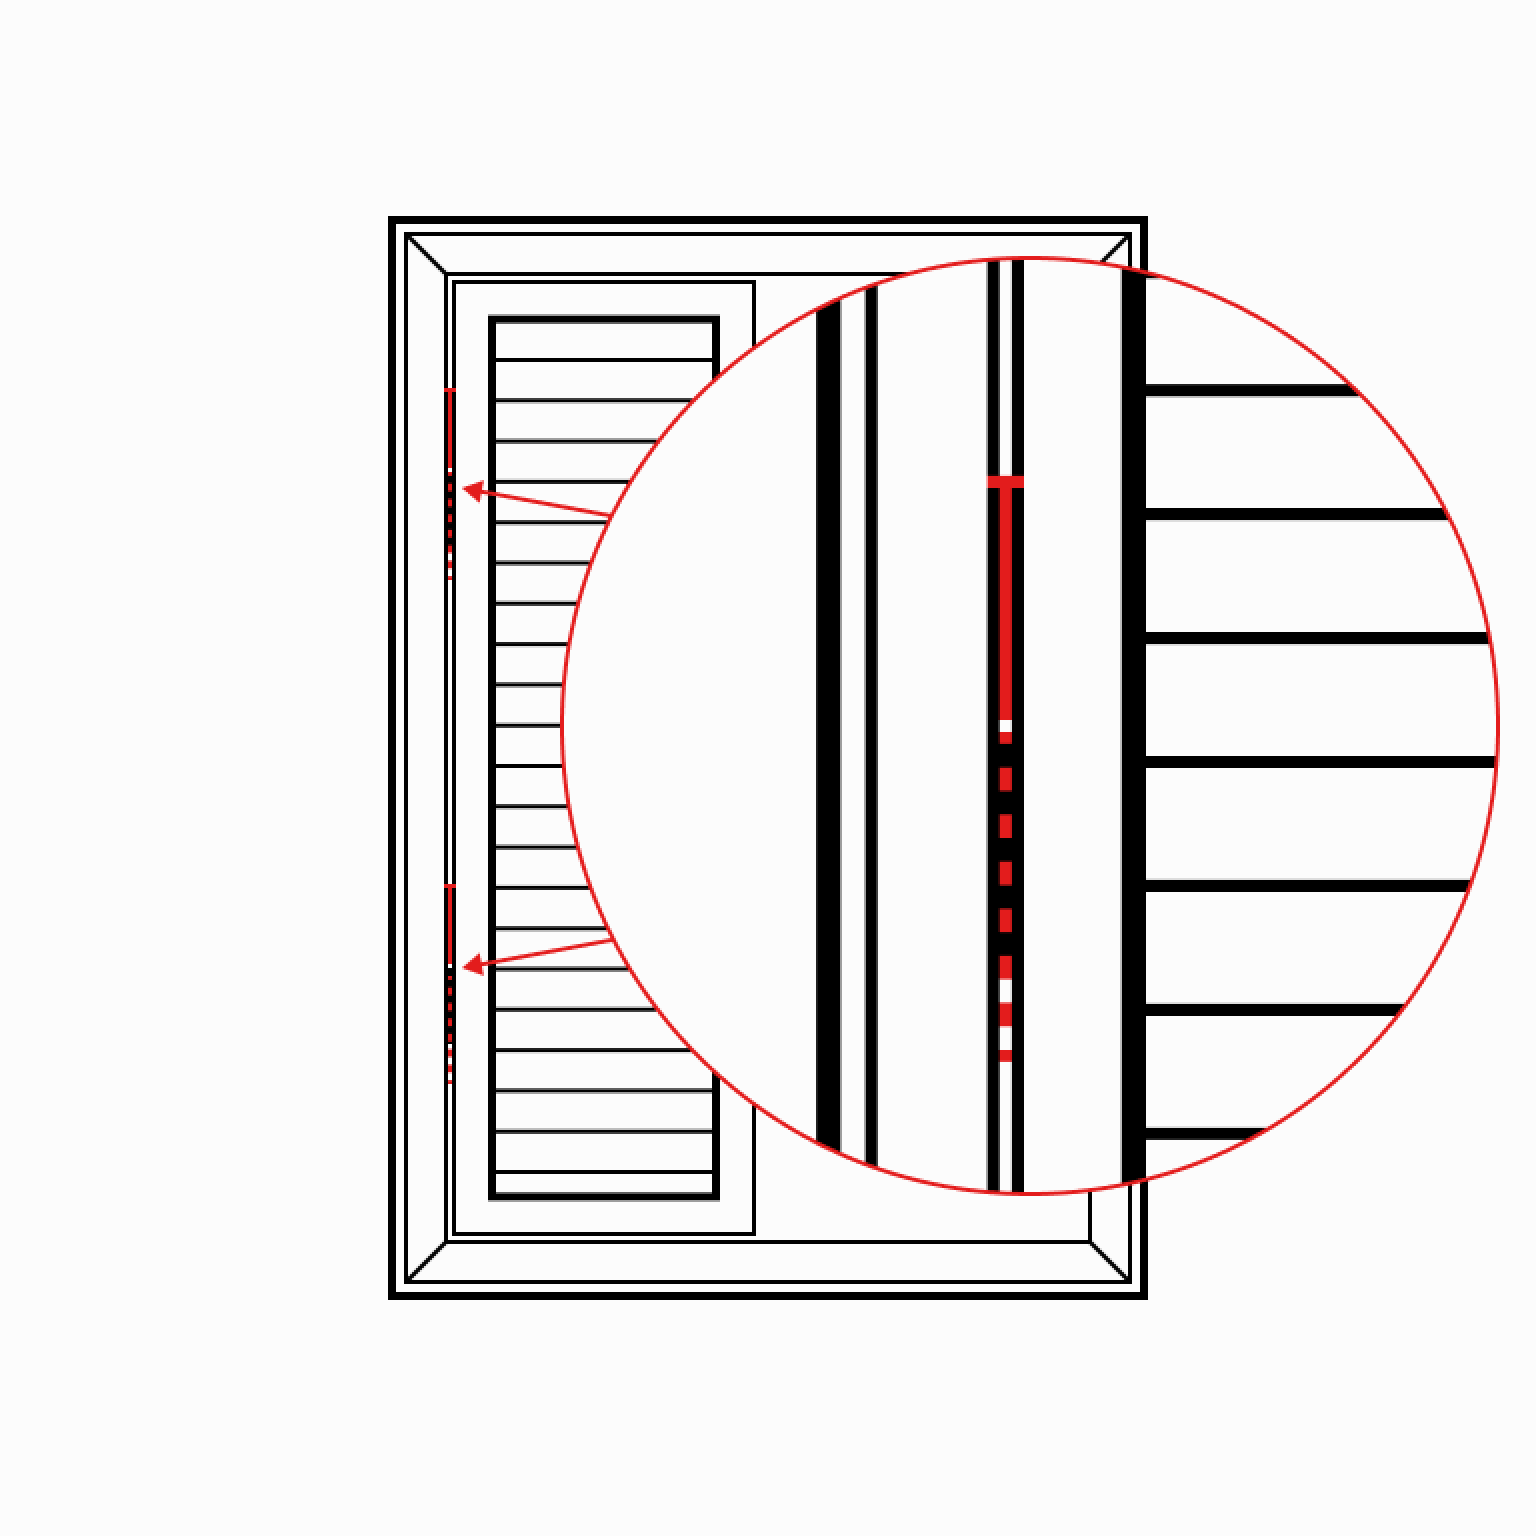
Mount the panels
Panels come labelled. They must be mounted from left to right, being A the one on the very left and
B the one on the right if the shutter contains just 2 panels. If your shutter contains 4 panels, A
and B are the two on the left and C and D the two on the right.
Ensure they are right way up with the label on the top edge.
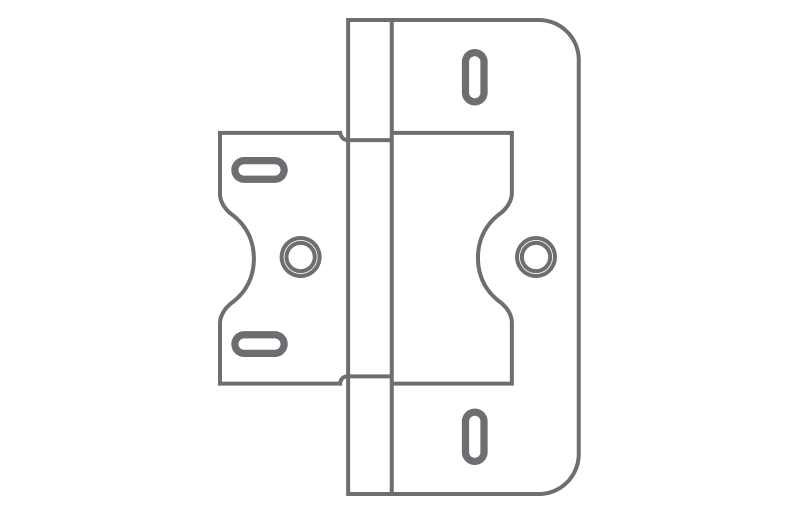
Secure sliding the hinge pin into each hinge.
Repeat with panel B.
Step 8
Line up panels
Close the panels and move the frame left to right until the panels line up at the top.
Step 9
Re pack the frame and make holes
Once the panels are lined up at the top do the following:
A- Re pack the frame
B- Open the panels
C- Mark the position of the screw holes by partially screw them in to mark the wall.
When done, remove the screws.
Step 10

Screw the rest of fixing points
Carefully remove the hinge pins, the panels, unscrew the Left Top and Right Top screws and lift down
the frame.
Using a power drill make a hole for the rest of the fixing point.
Then insert the wall plugs into the wall.
Step 11

Tight screws
Once all fixing points were drilled and all holes have a wall plug in it, bring back the frame to
the recess.
*Pack the frame as before so all drilled holes in the wall align with the frame holes.
Place all the other screws into the frame.
Step 12
Mount the panels back
Mount the panels back as before securing them with the hinge pins.
Step 13
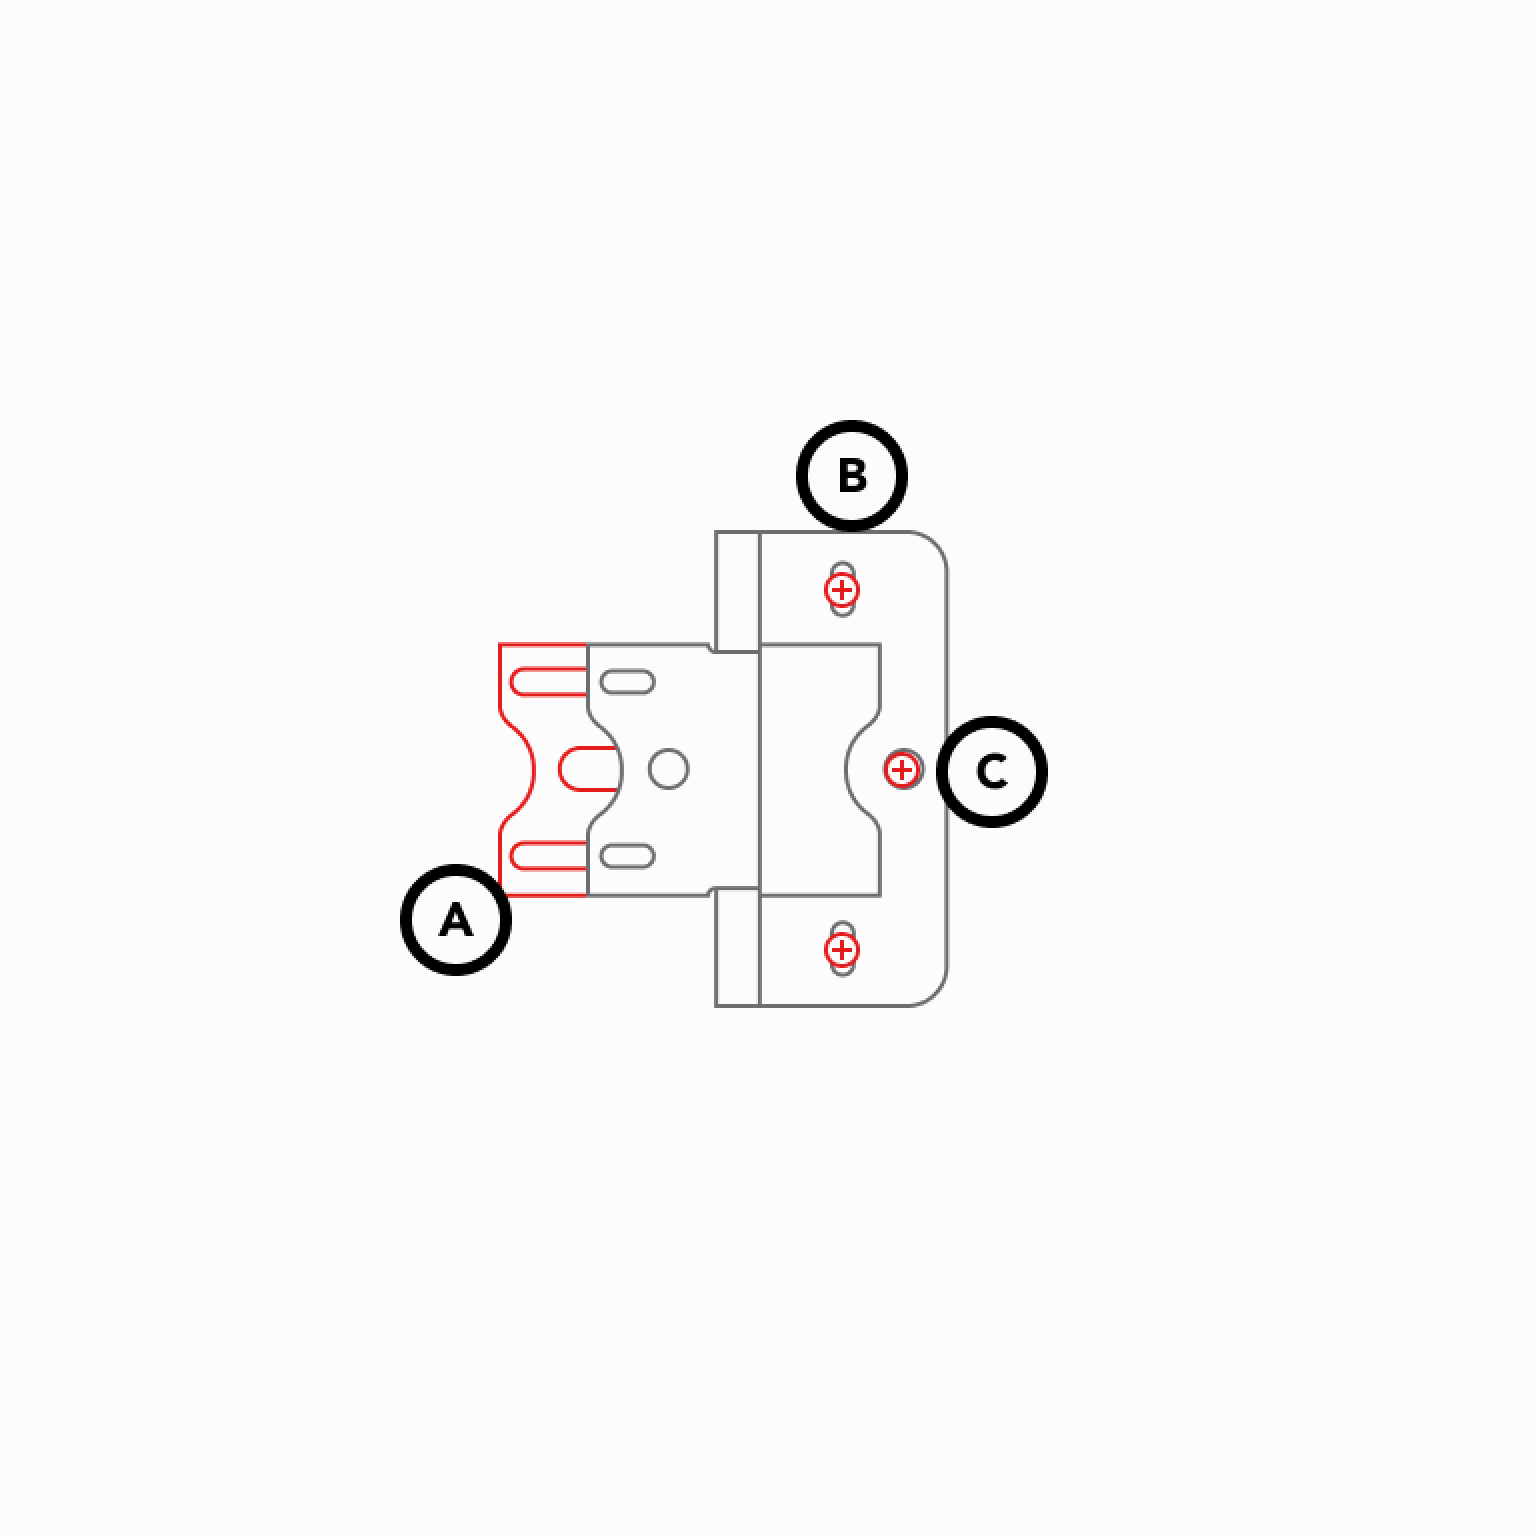
Adjust the hinges
If needed, you can do small adjustments to the hinges:
A- Use the hinge packers to adjust the Z axis.
B- Adjust the hinges vertically by loosing the external screws and moving the panel vertically.
C- Once adjusted, put the middle locking hinge screw.
Step 14
Place screw covers to the screw holes
Once the hinges are adjusted, place the screw covers to the screw holes.
Step 15
Seal gaps
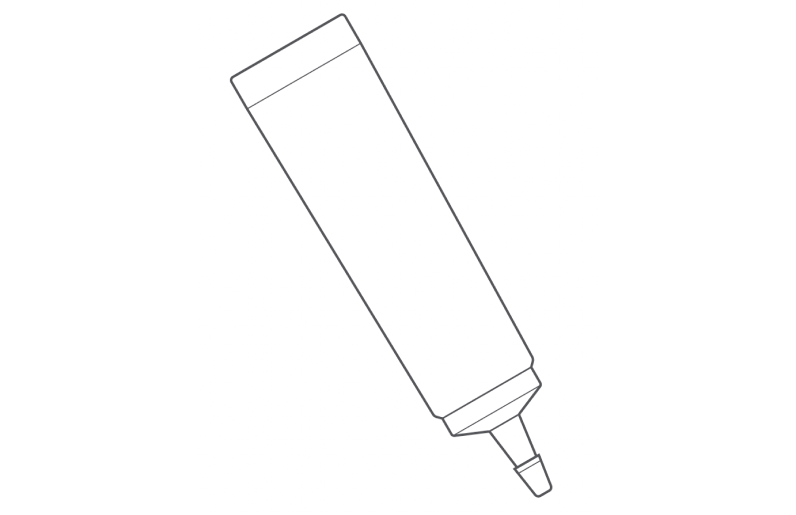
Using decorator caulk you can seal the gaps between the frame and the window recess.
Z Frames
You might also need to seal gaps between the mitred corner frames, and in the back side, where the frame meets the wall.
Important
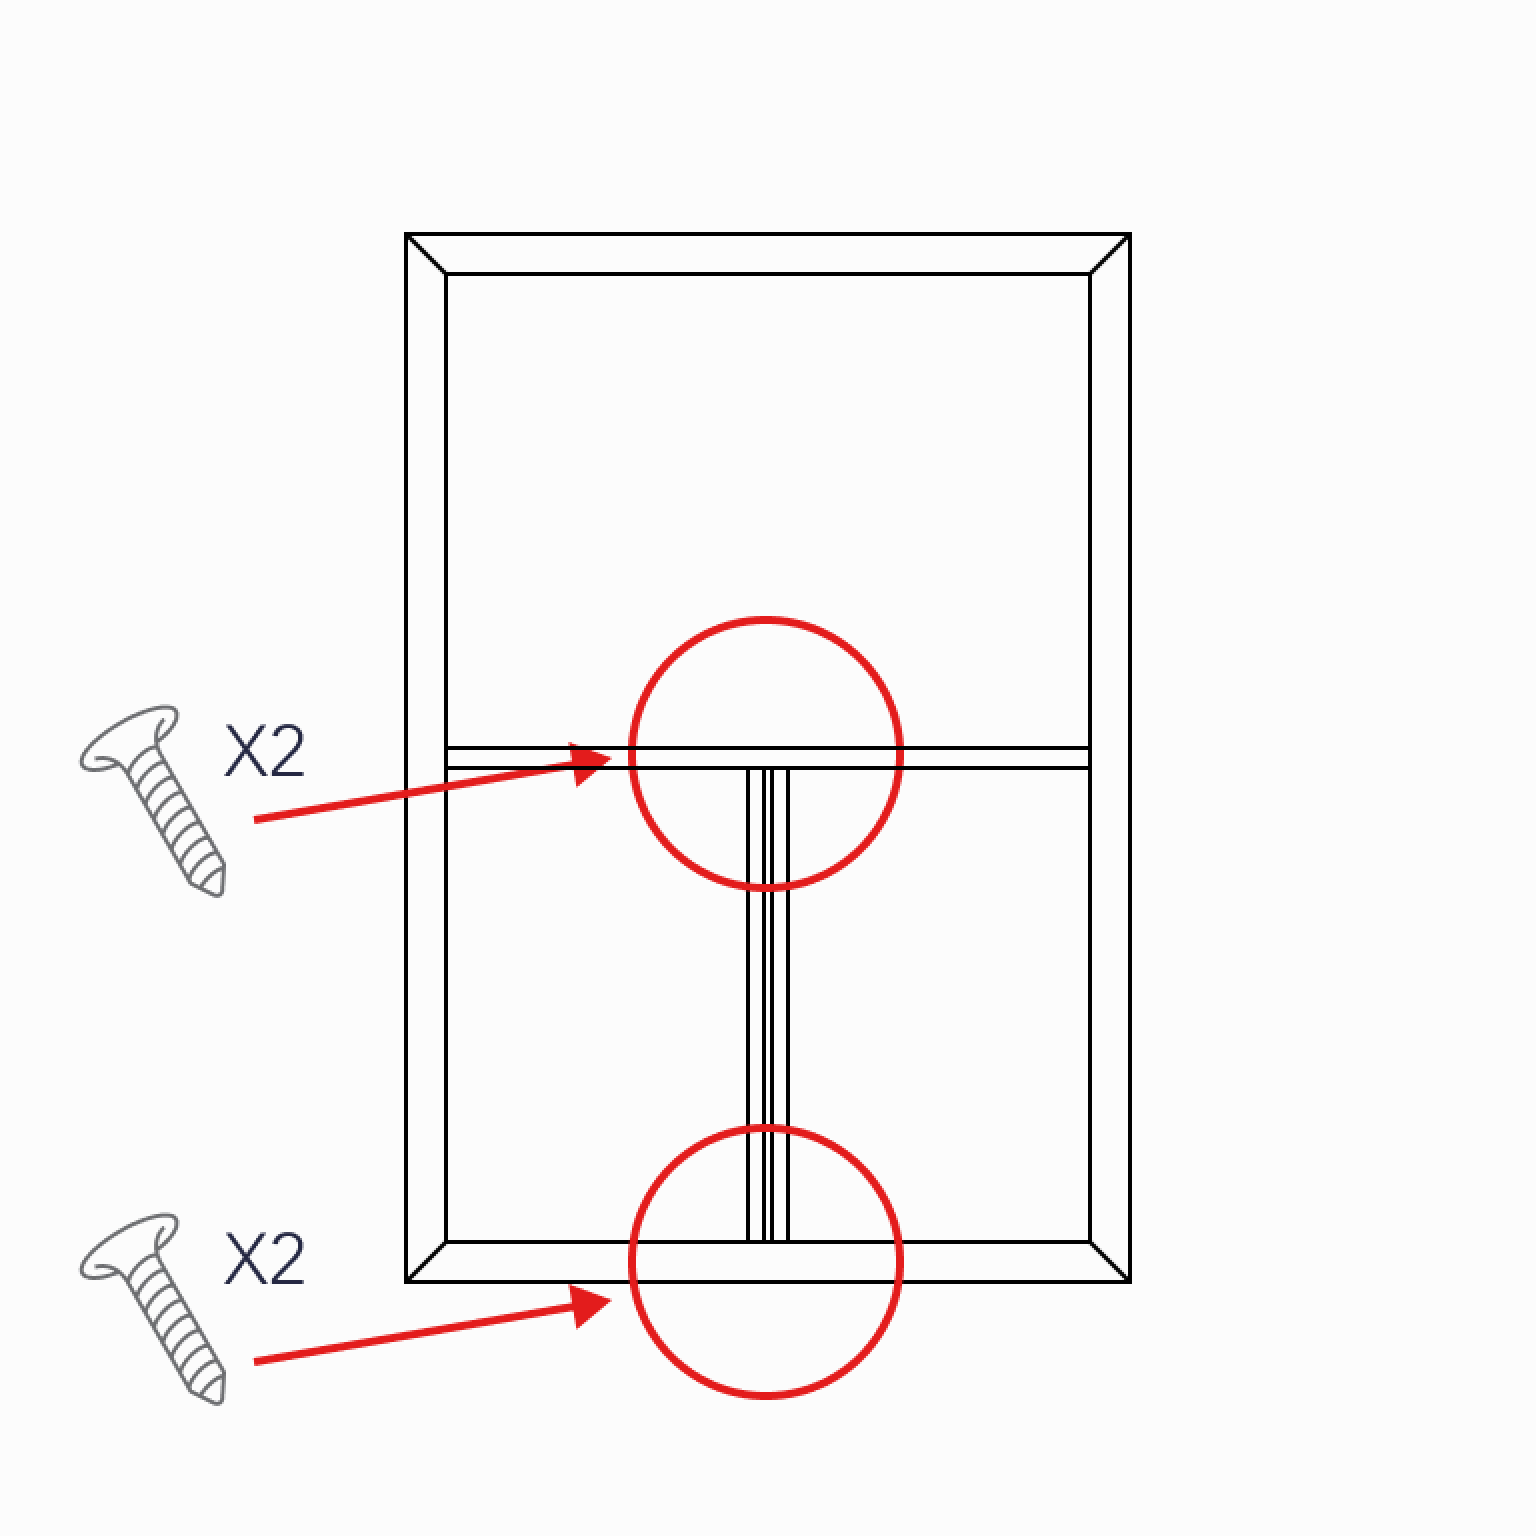
T Post?
If your shutters include a T Post, attach it when lining up the 4 panels. You can use packer wedges to have even gaps between the panels and the T post.
If the t-post is not straight, the panels may drop and will have an uneven gap from top to bottom.
Please fit at least two screws (top and bottom) per t-post, as only fitting one can allow the t-post to rotate.