How to Install Roman Blinds
Installing Roman blinds has never been easier! Our detailed guide walks you through every step of the process, ensuring your blinds are hung perfectly. With clear instructions and helpful tips, you’ll have your new Roman blinds installed with confidence, creating a beautiful and polished look in any room.
What You'll Need
To install your new blinds you will need the below tools.
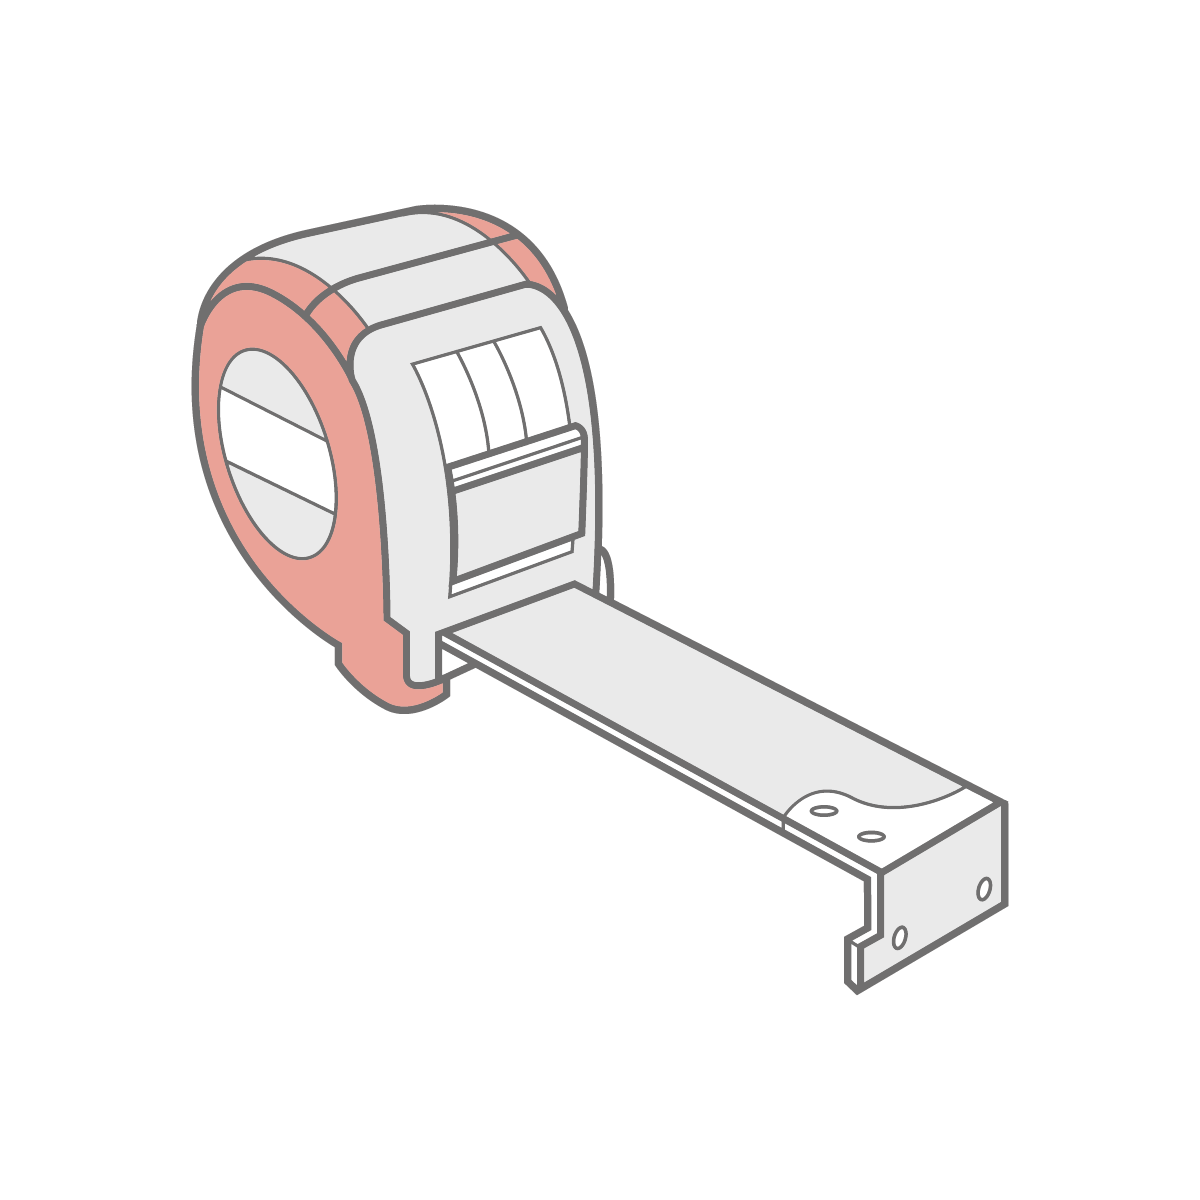
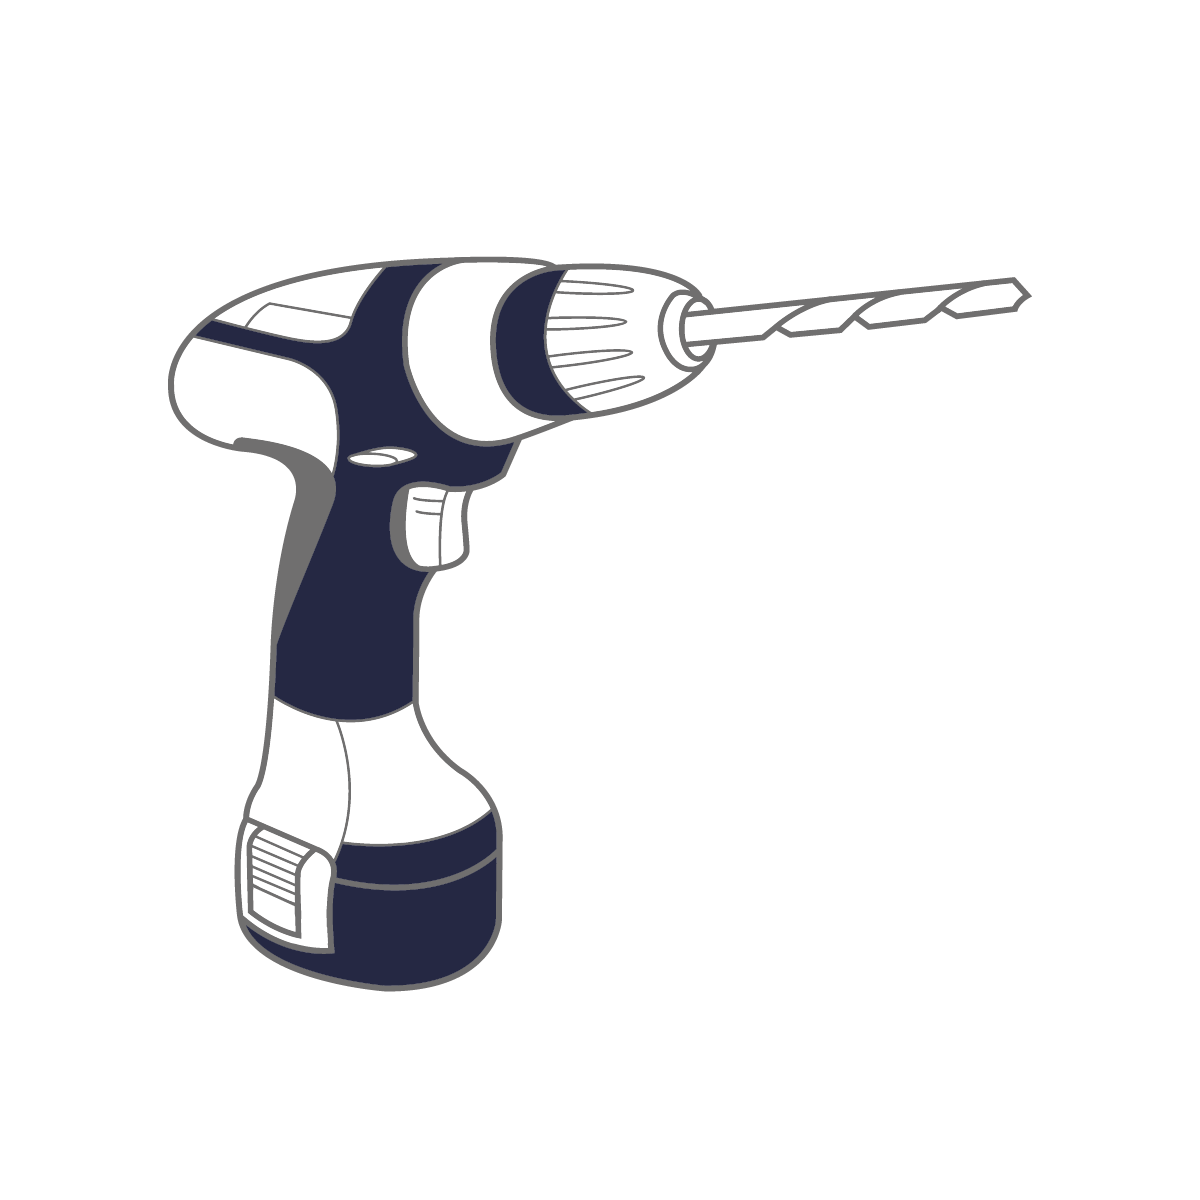
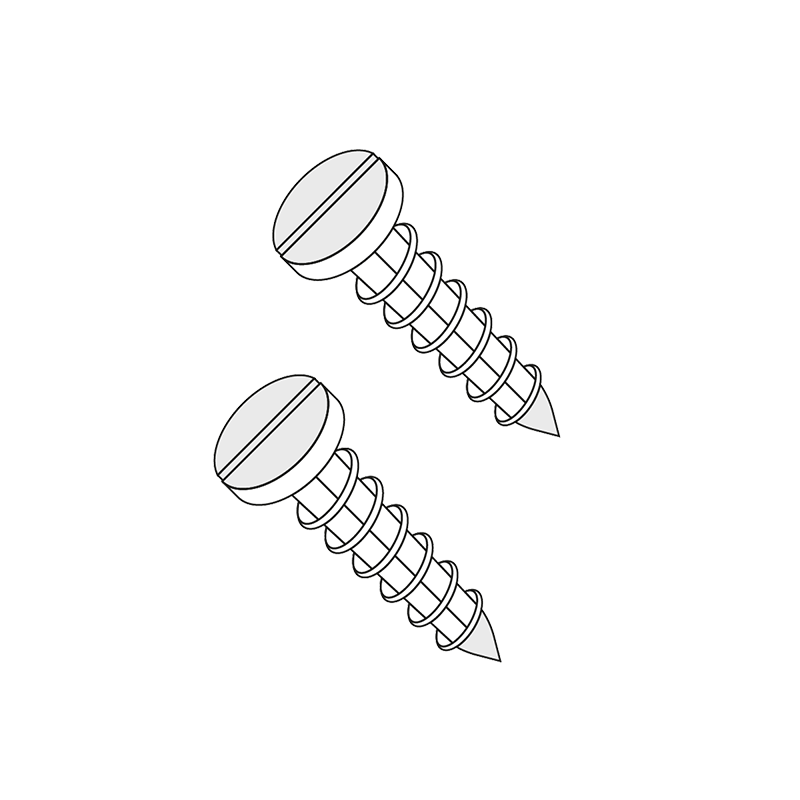
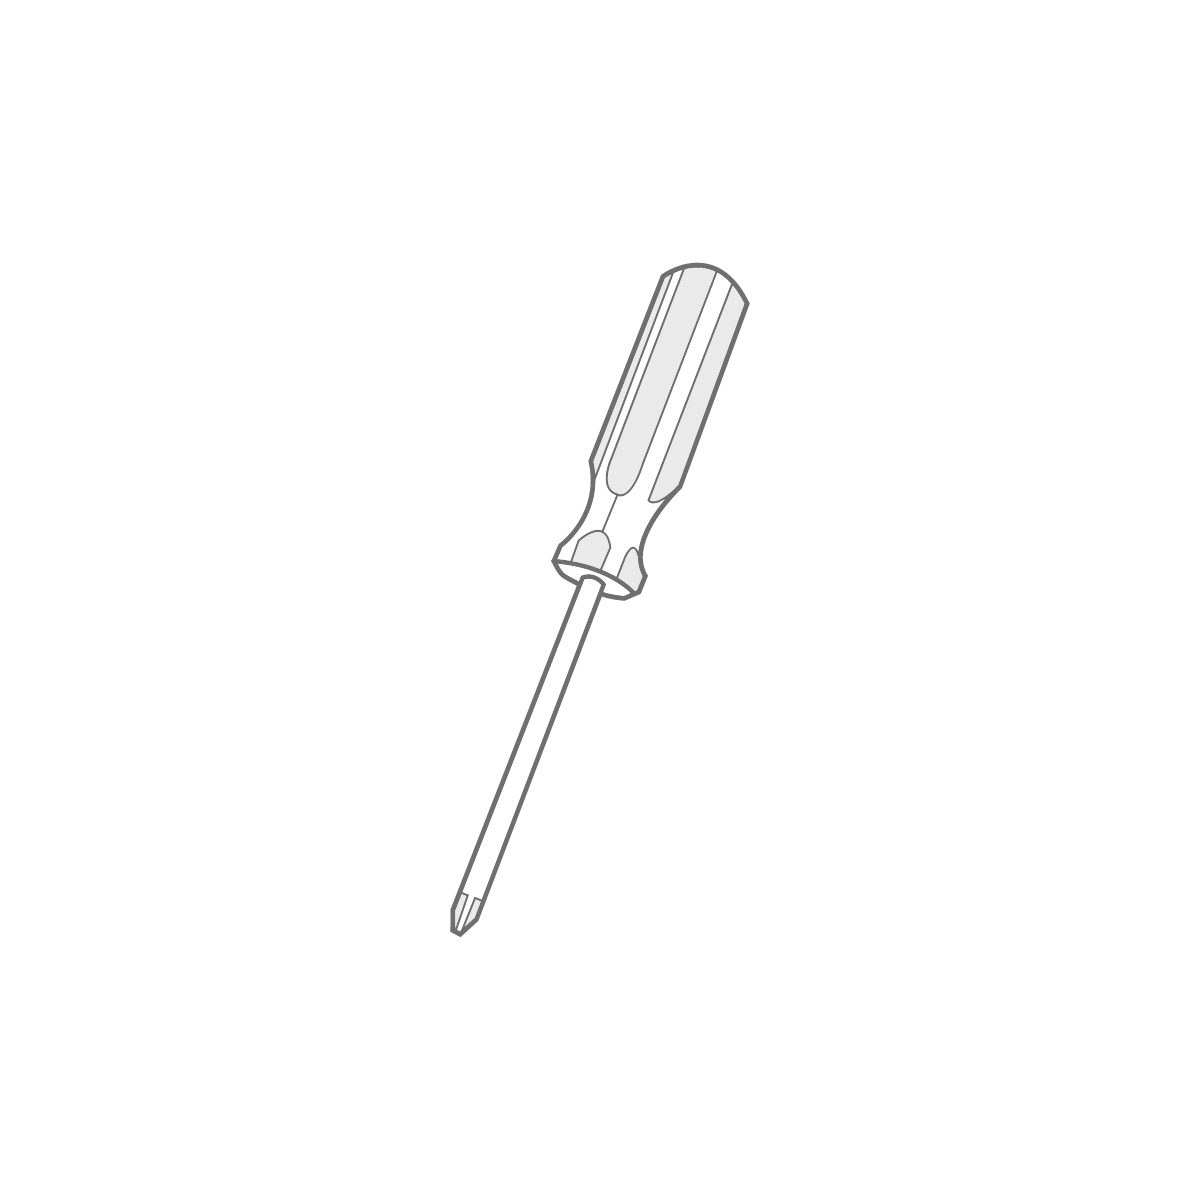
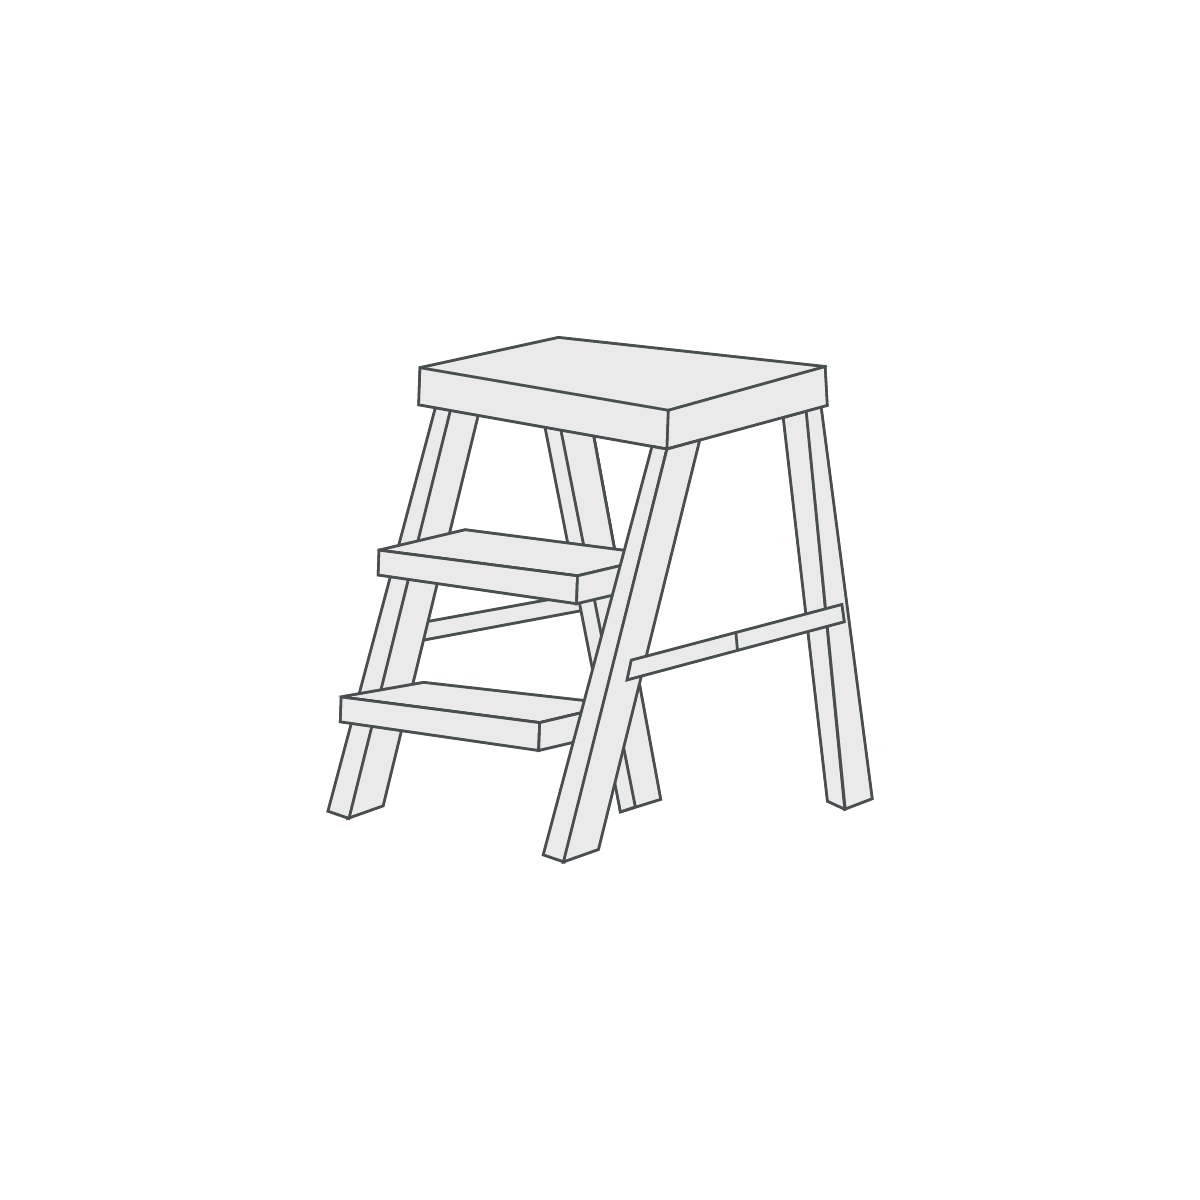
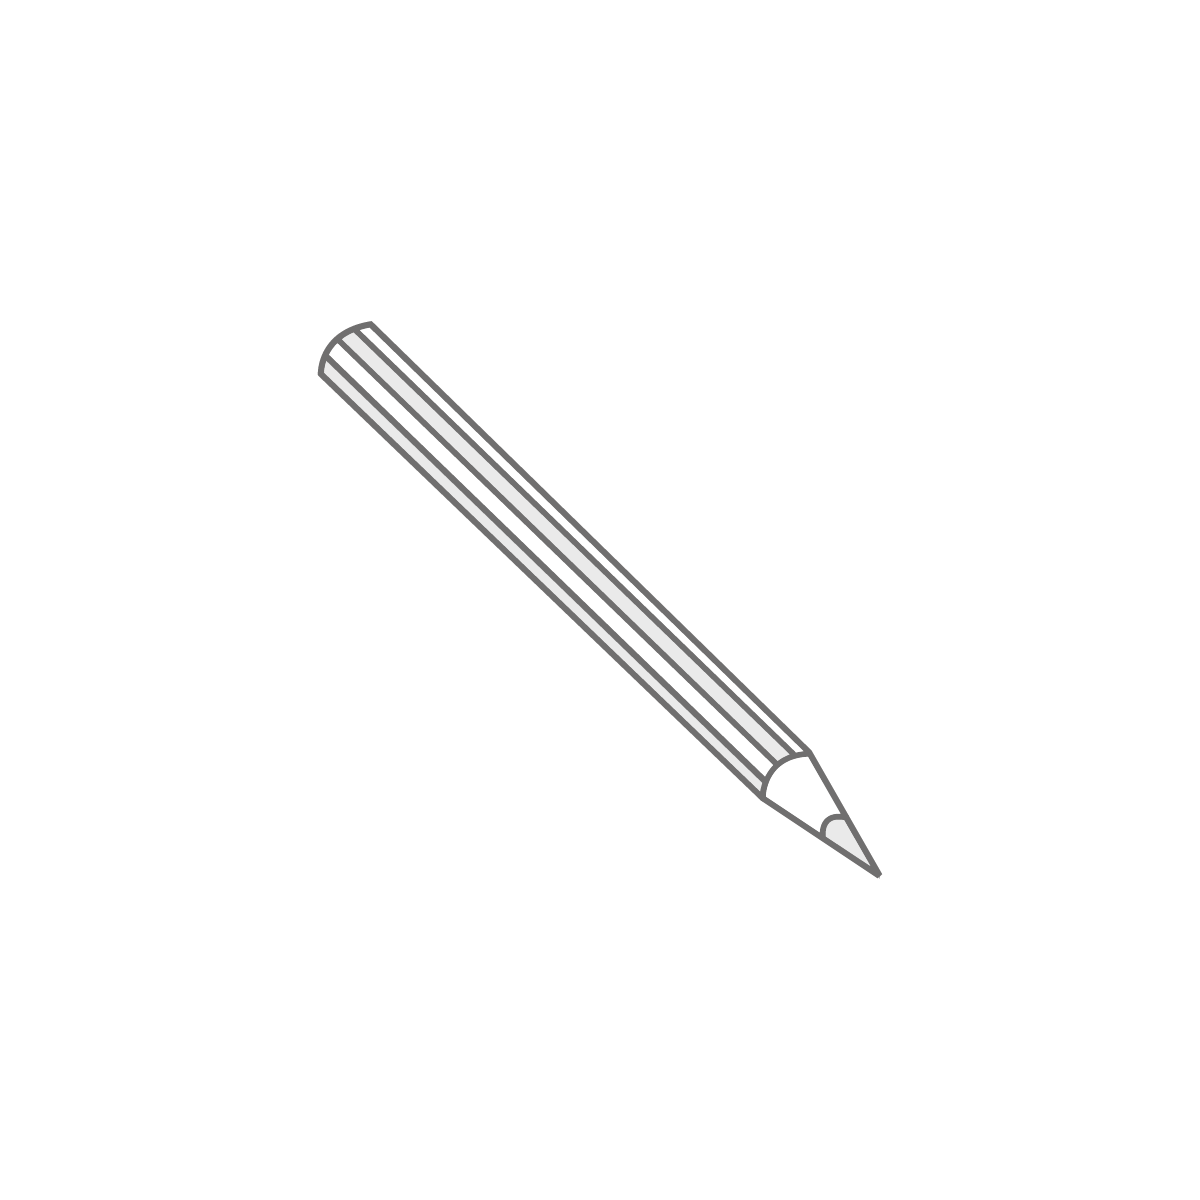
Note: You will need to provide your own screws, as the required type depends on the surface you're fixing to. Use 4mm diameter screws that are appropriate for the material you’re installing into.
Video
We recommend watching our how to install video guide first.
Deciding where to mount the brackets
Ensure that brackets are positioned a suitable distance away from any window, door handles or any other obstructions to allow the blind to operate smoothly.
Fitting Instructions
Step 1
Bracket Positioning
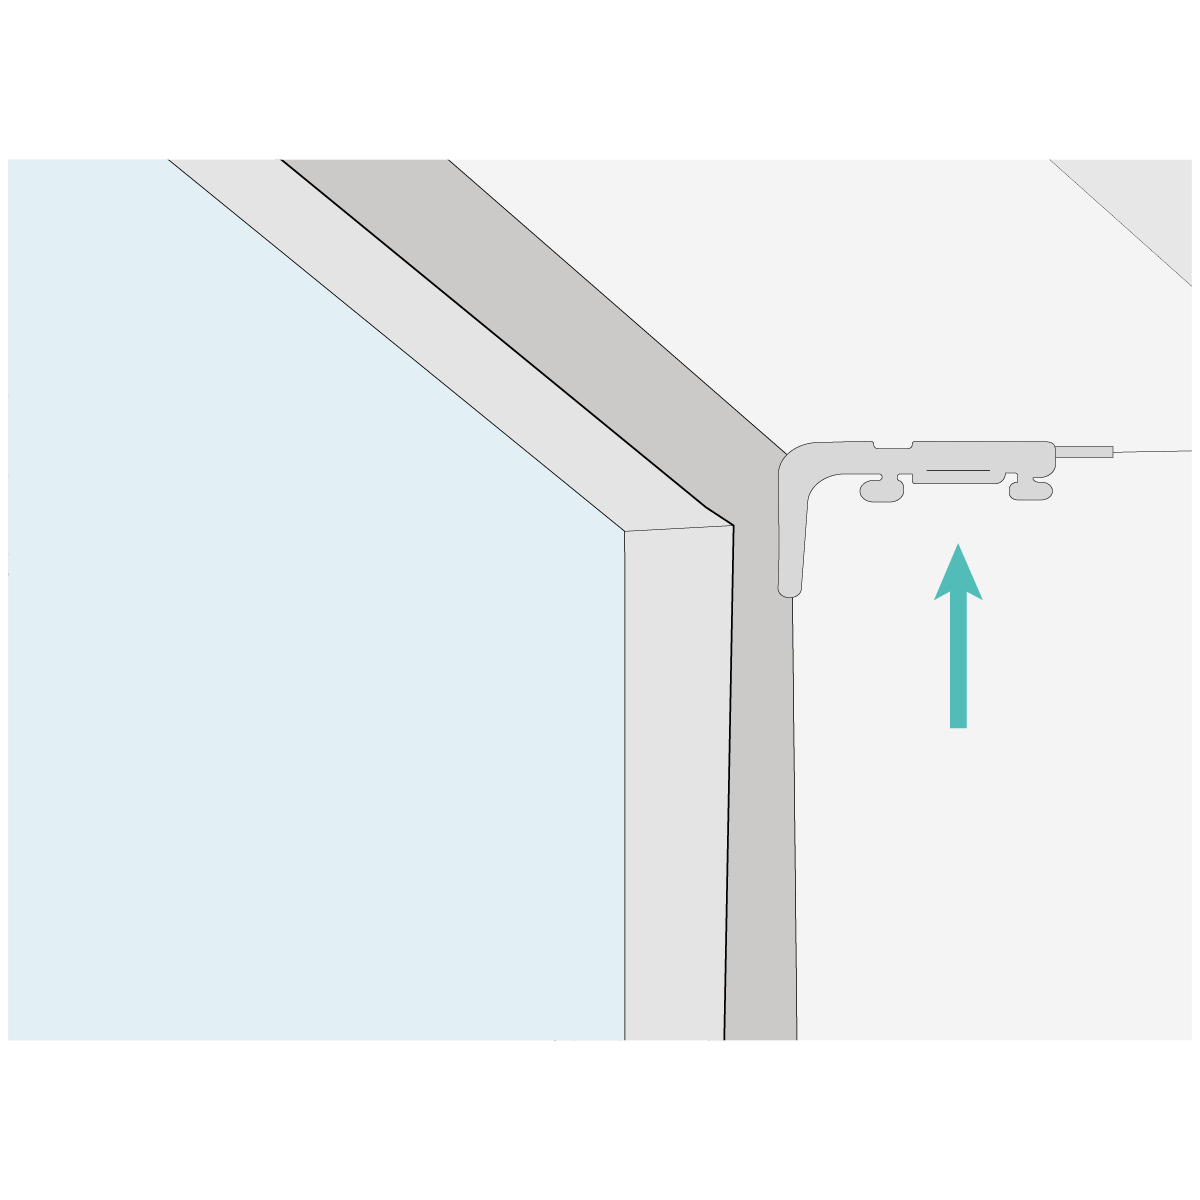
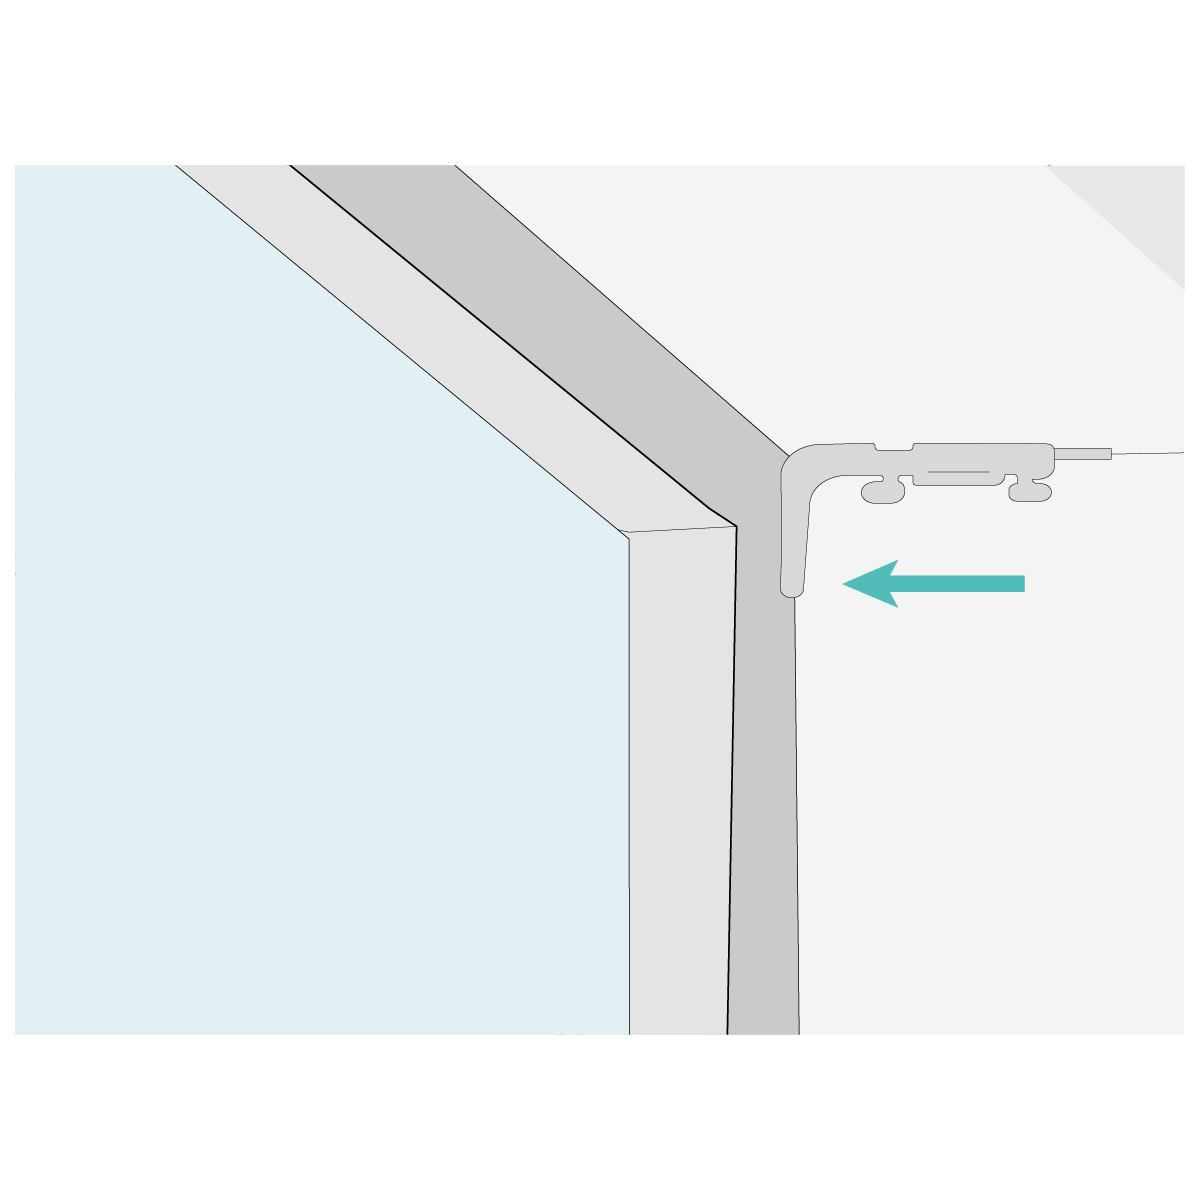
Choose how to mount the brackets. The brackets are a universal type that can be used to top fix or face fix.
If you are looking to mount the blind onto the ceiling or underside of a recess you will need a top fixing.
For fixing onto a wall or window frame, use a face mounting.
Mounting the Brackets
A bracket should sit either side of the rail, 110mm away from the end. Remaining brackets should be equally distributed along the width.
Hold each bracket into place and mark the hole positions using a pencil. Fit each bracket using 2 screws provided.
If a pilot hole is required, use a 2.5mm drill bit. Ensure the brackets are level to ensure the smooth operation of the blind. For fixing to alternative surfaces i.e. plaster or stroke concrete, alternative suitable fixings should be used.
Step 2
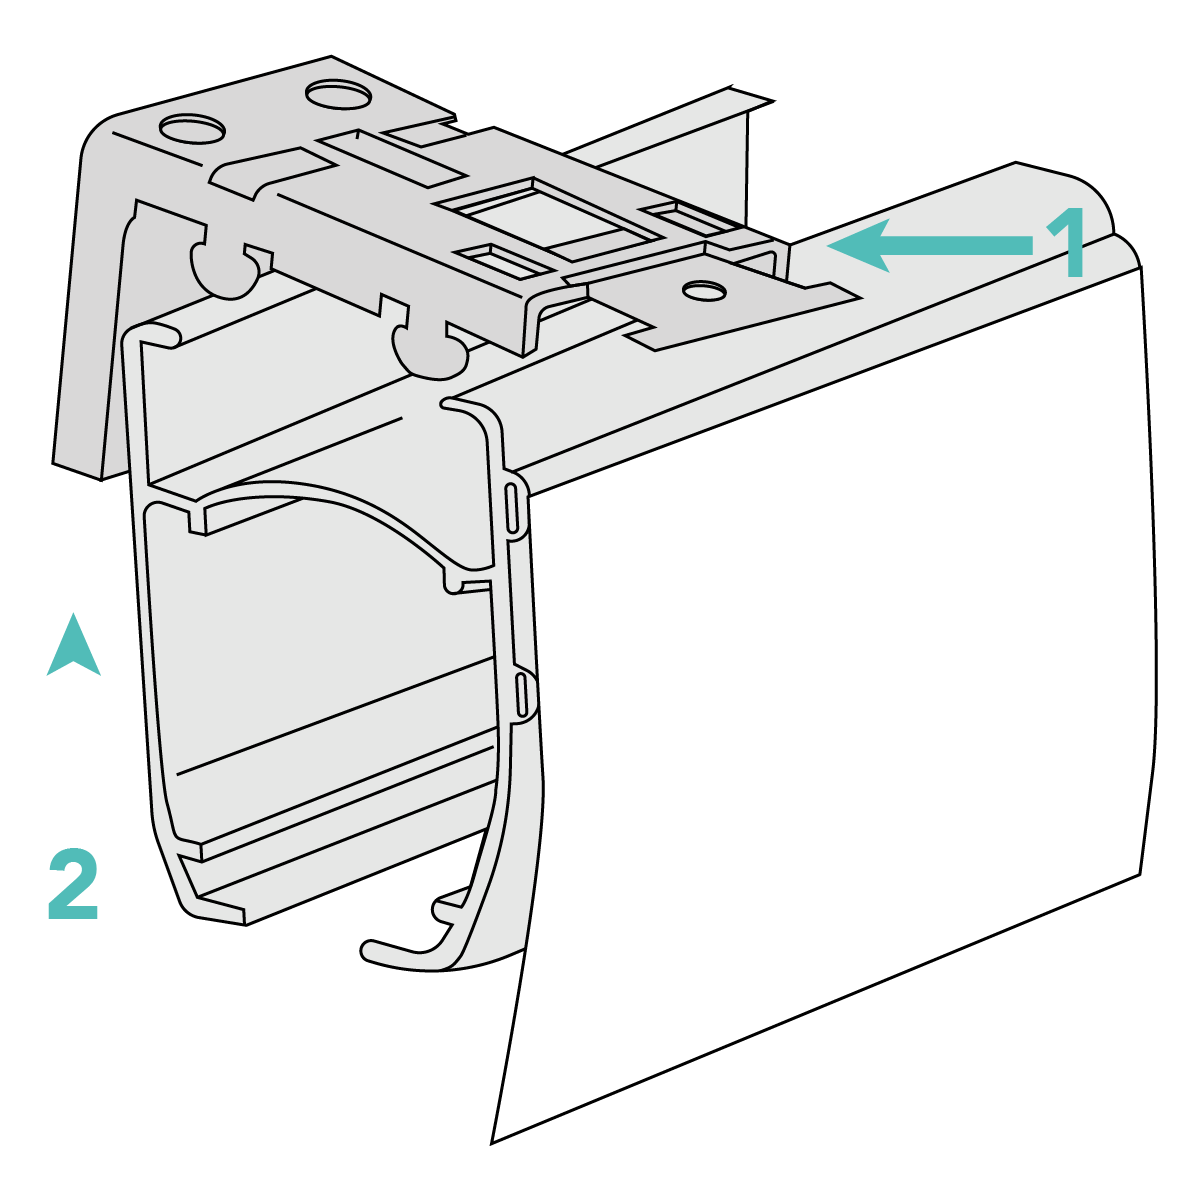
Fitting the Blind
When the brackets have been fitted to the window area, holding the blind up, rest the front ridge of the rail onto the front lip of the bracket.
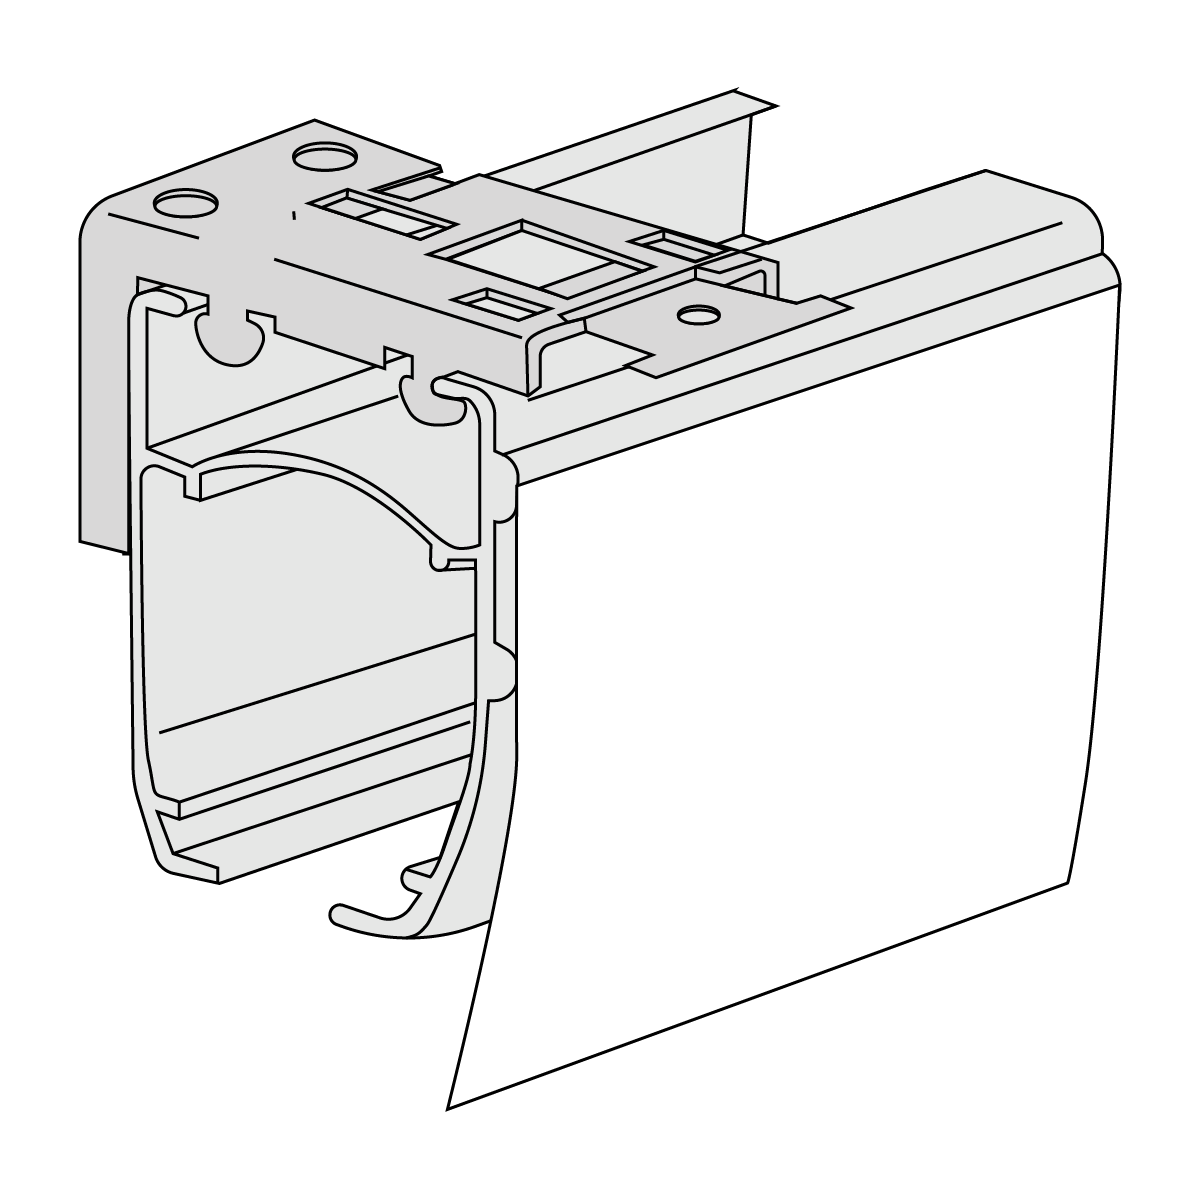
Lift the back of the rail to meet the bracket, push centre of the spring so that it clicks into place securely and release.
Step 3
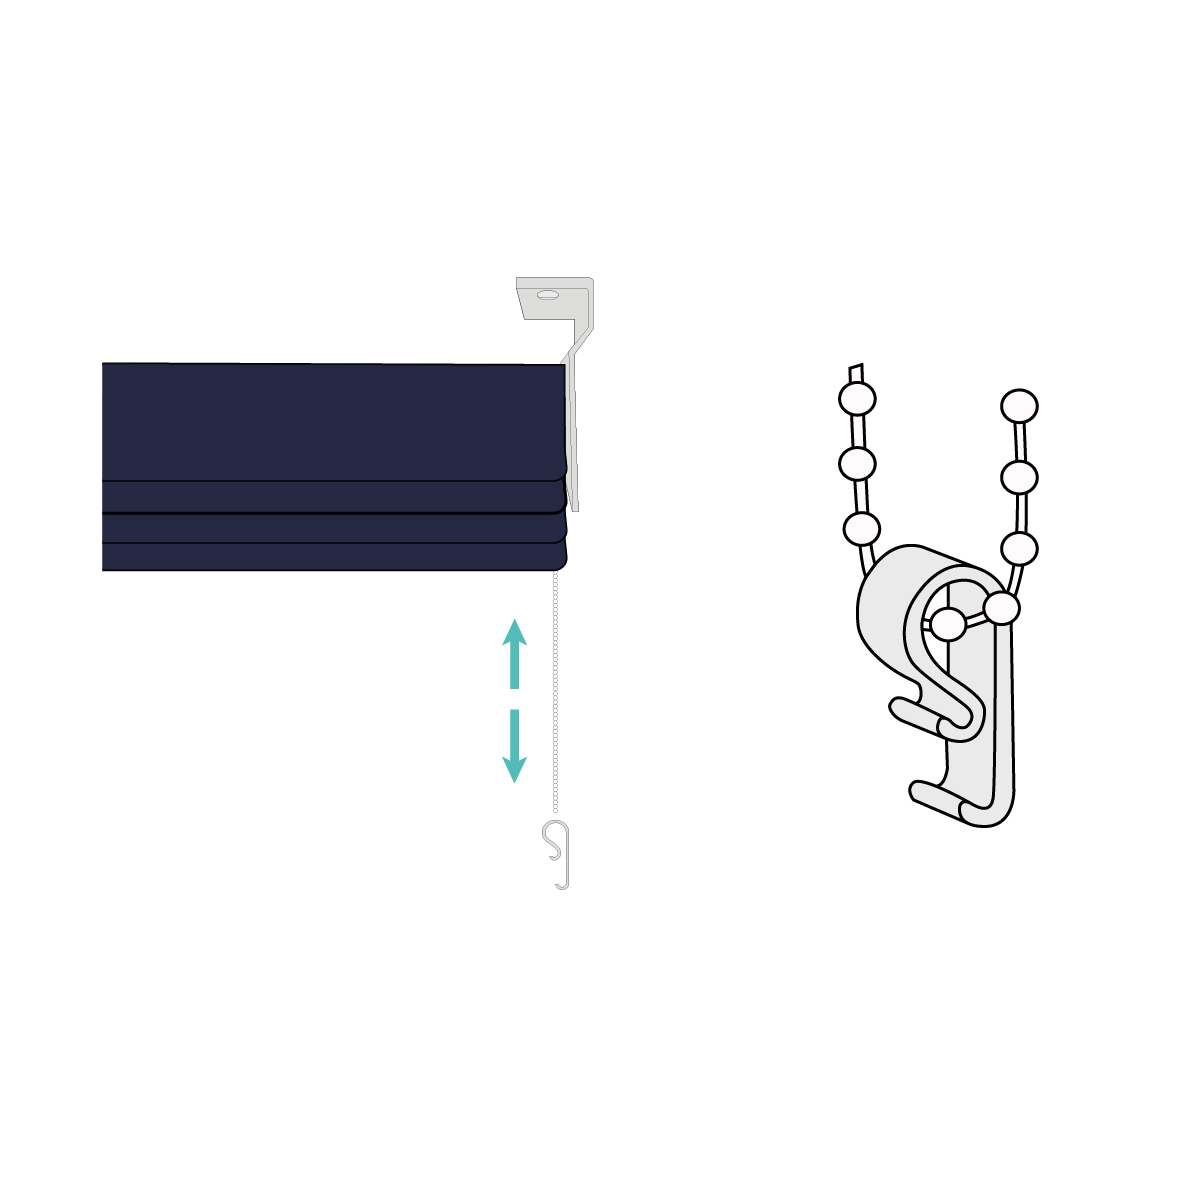
Child Safety
With the Idle pin end now in place. Insert the control end into the opposite bracket by depressing the pin end. Then, pull down vertically until the control end clicks into position.
Maintenance
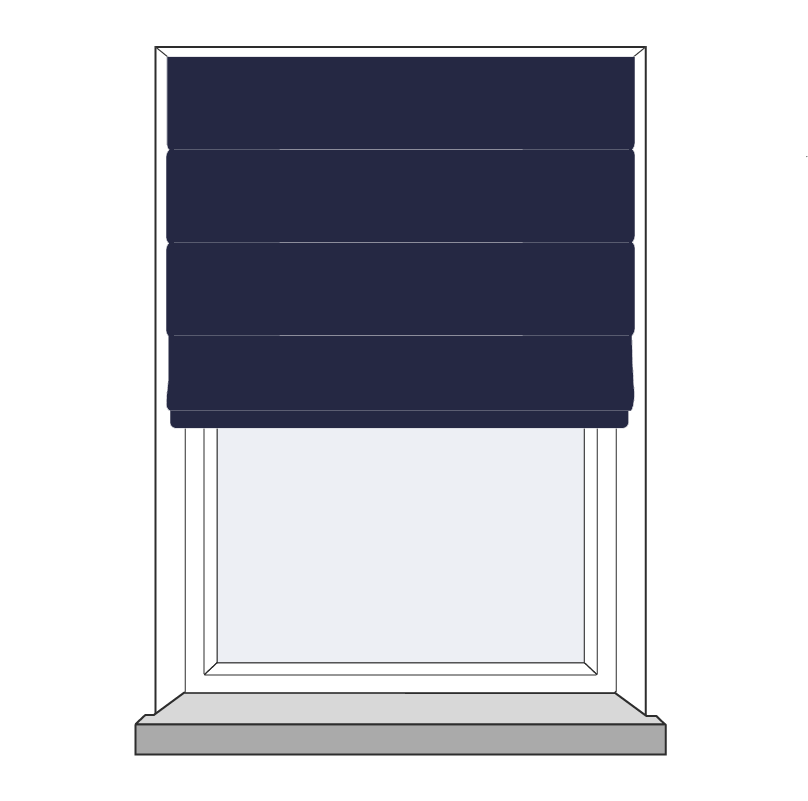
Visual Checks
Your new blinds is maintenance free, however we recommend that regular visual checks are completed to ensure that no components have been damaged, which could result in operating difficulties and/or cause a safety risk.
If any maintenance is required please contact us right away.
Troubleshooting
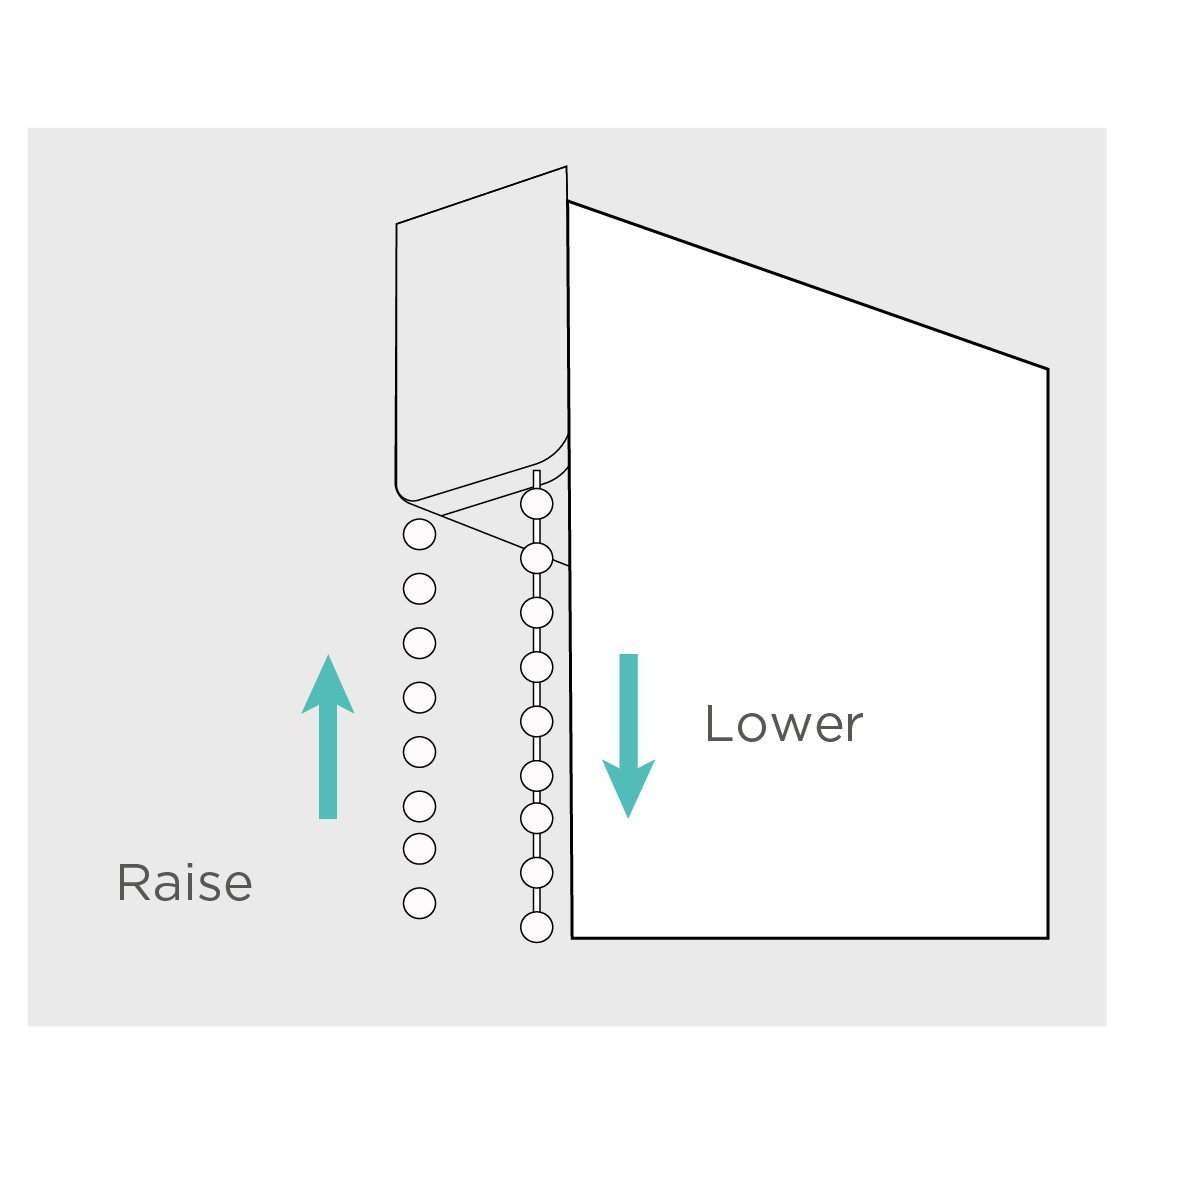
Troubleshooting
If you pull the cord to open or close the blind but the blind doesn’t move, then take the blind down and look inside the headrail to make sure that the metal tilt rod is fully engaged with the sidewinder mechanism. This rod should rotate when the side chain is pulled. If it doesn’t, take off the headrail end cap located at the opposite end of the rail to the chain mechanism and push the metal rod until it’s fully engaged with the sidewinder mechanism. The chain should now rotate the rod.
Visual Checks
Your new blinds is maintenance free, however we recommend that regular visual checks are completed to ensure that no components have been damaged, which could result in operating difficulties and/or cause a safety risk.
If any maintenance is required please contact us right away.
- Don’t allow moisture to settle on the blinds.
- Wipe with a clean damp cloth.
- Vacuum your roman blind using the vacuum upholstery attachment.
- Don’t use any type of detergent to clean your blind.
- Don’t oil or lubricate any part of the blind to prevent damage.
- Dry cleaning recommended.