How to Install Pleated Blinds
Installing pleated blinds is simpler than you might think, and our guide is here to help every step of the way! Follow our step-by-step instructions and practical tips, to ensure a smooth and hassle-free installation process. Get ready to hang your blinds like a pro in no time at all!
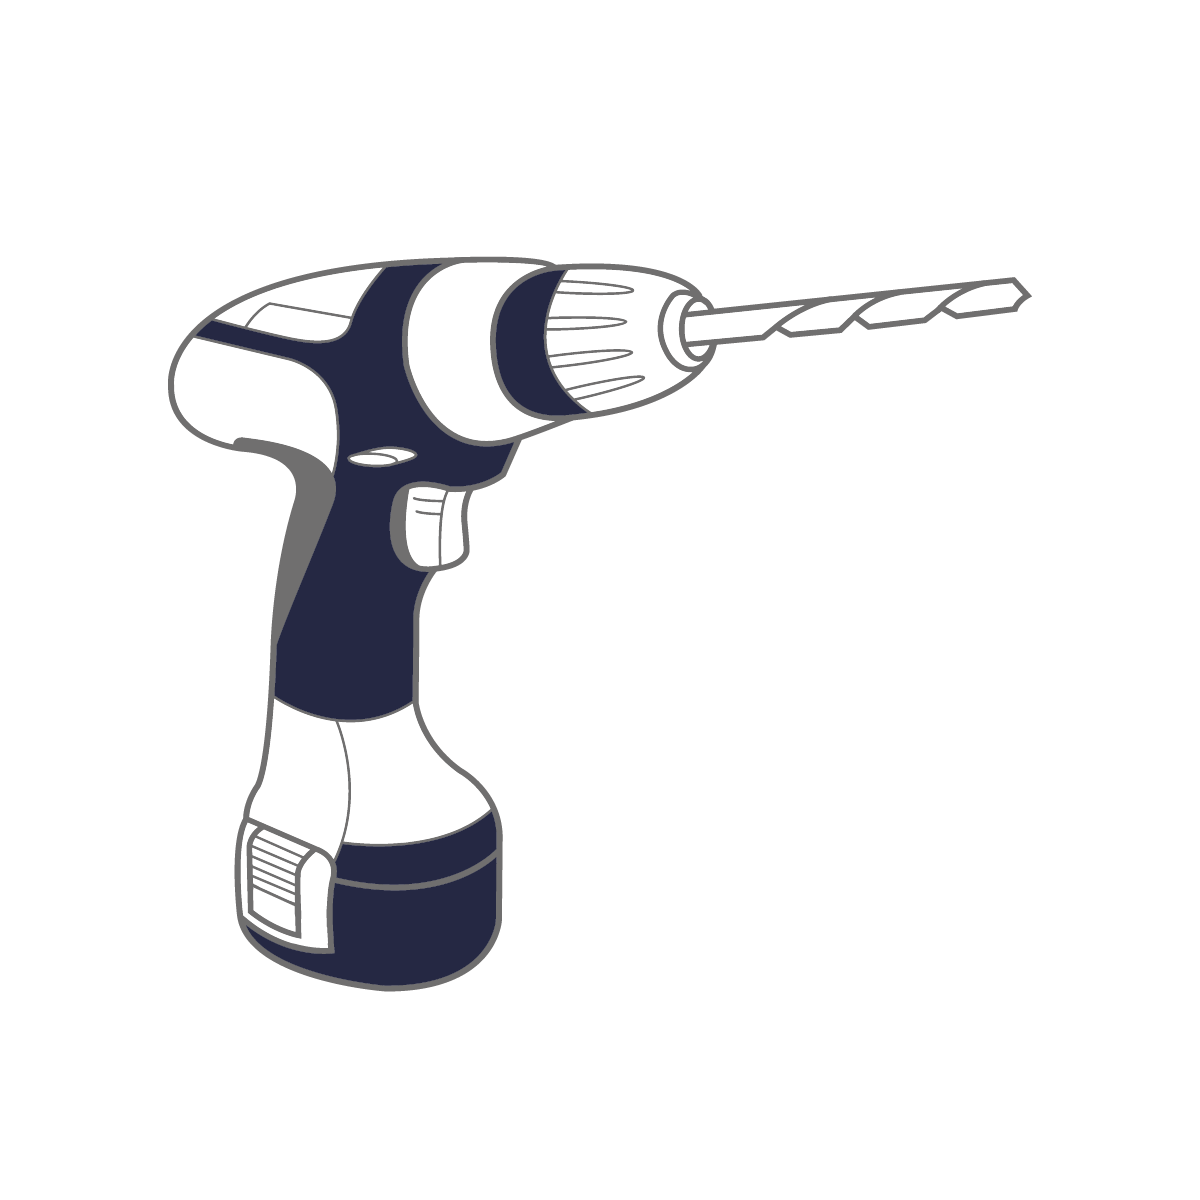
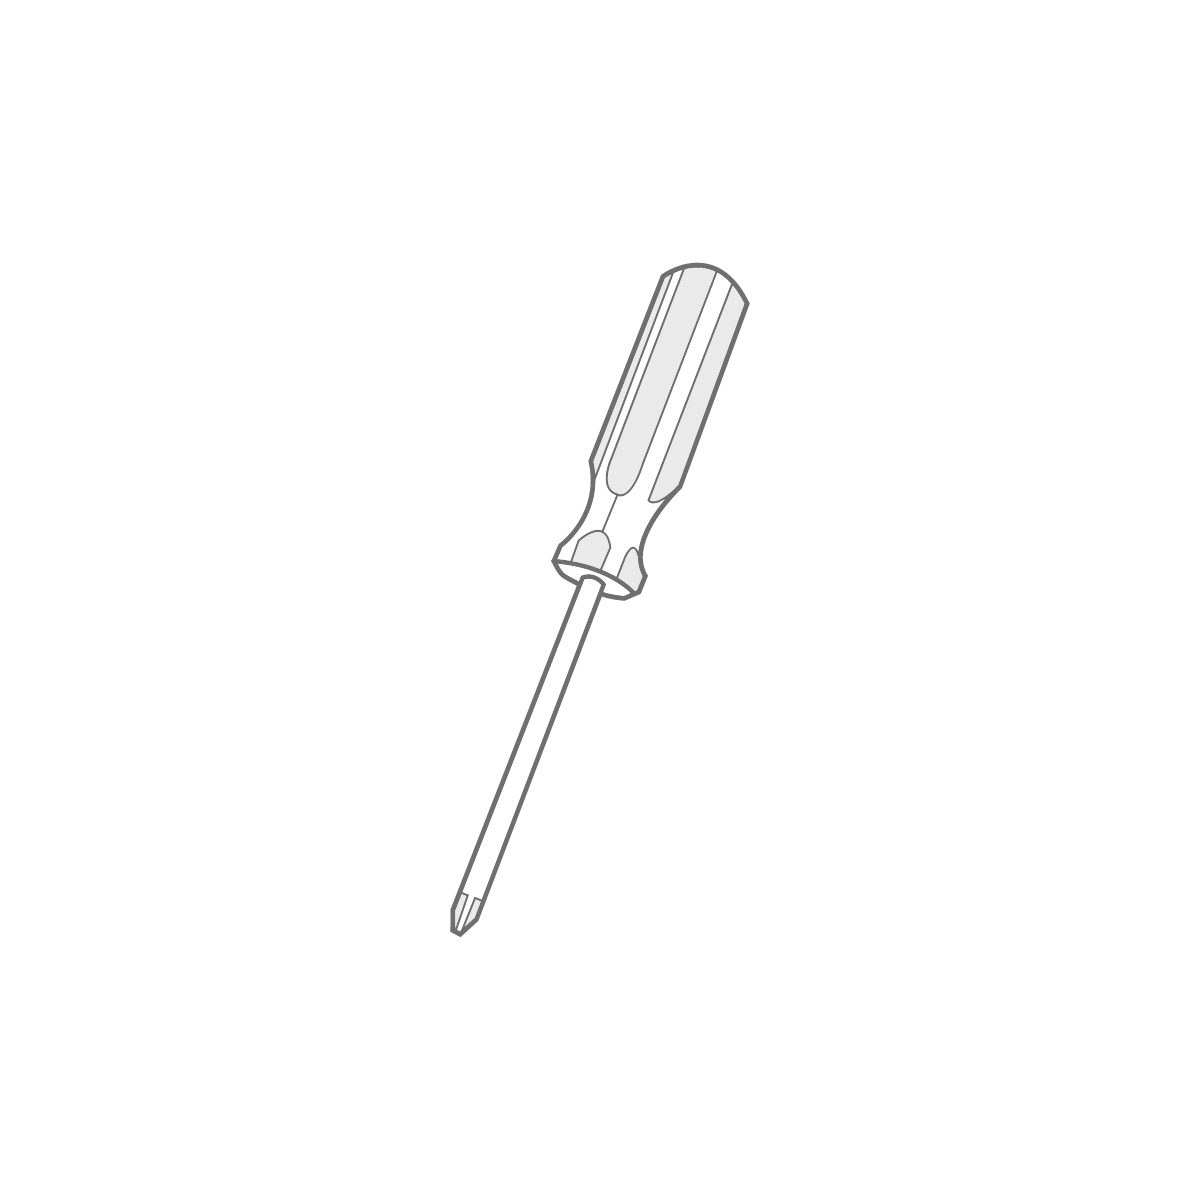
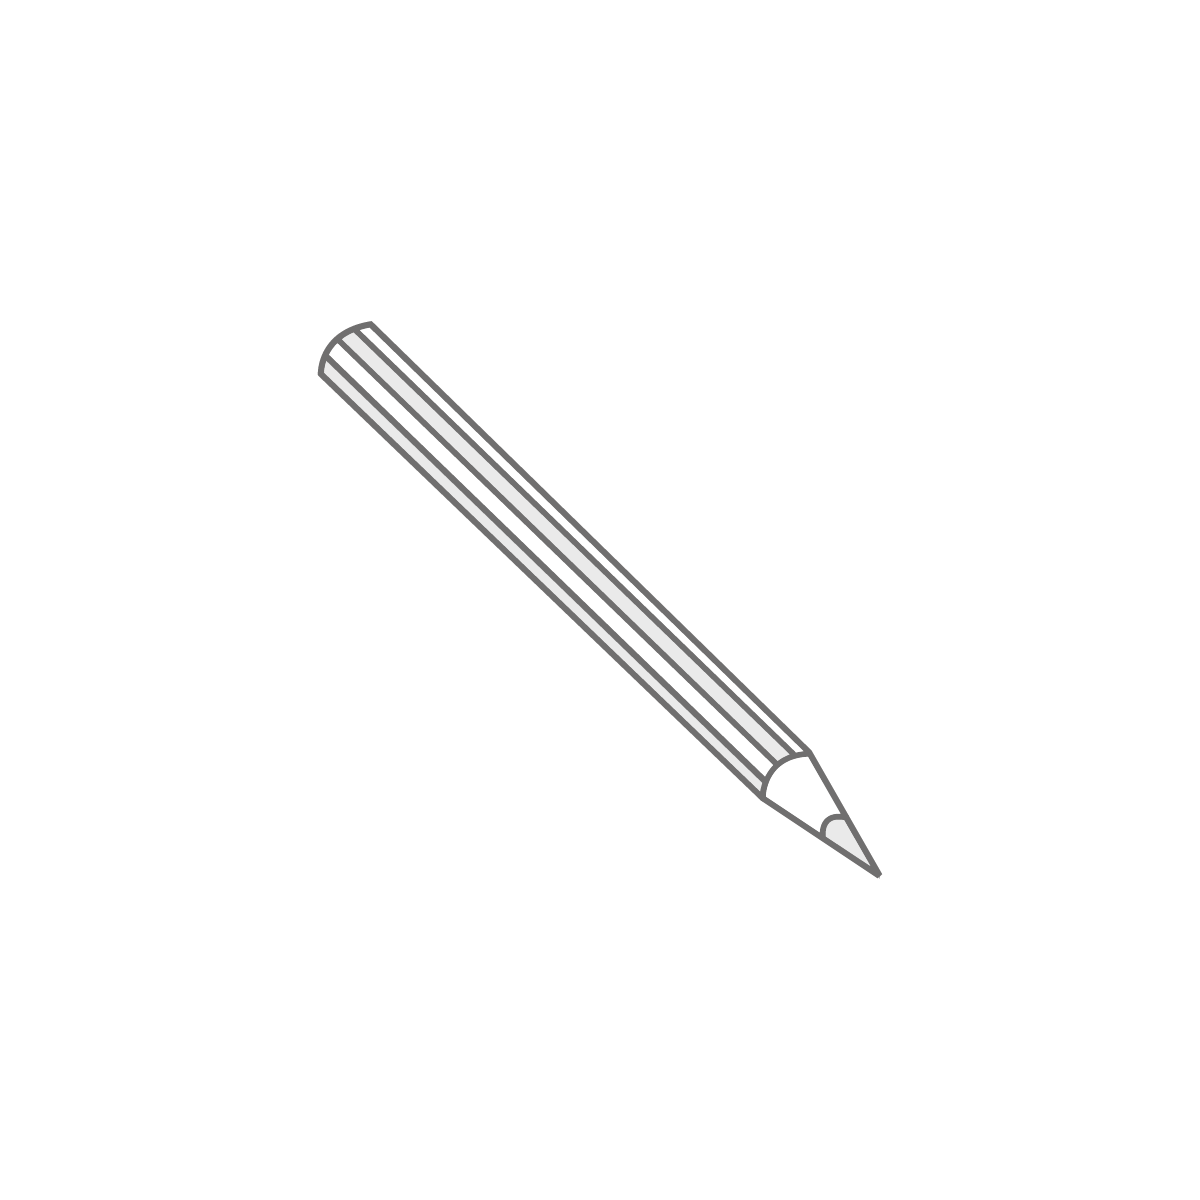
What You'll Need
To install your new blinds you will need the below tools.


Note: You’ll need to supply your own screws because the type of screw depends on the surface you’re attaching the blinds to. Make sure to use screws that are 4mm wide and are right for the material you're fixing them into.
Fitting Instructions - Free Hanging
Ensure that brackets are positioned a suitable distance away from any window, door handles or any other obstructions to allow the blind to operate smoothly.
Step 1
Recess Fitting
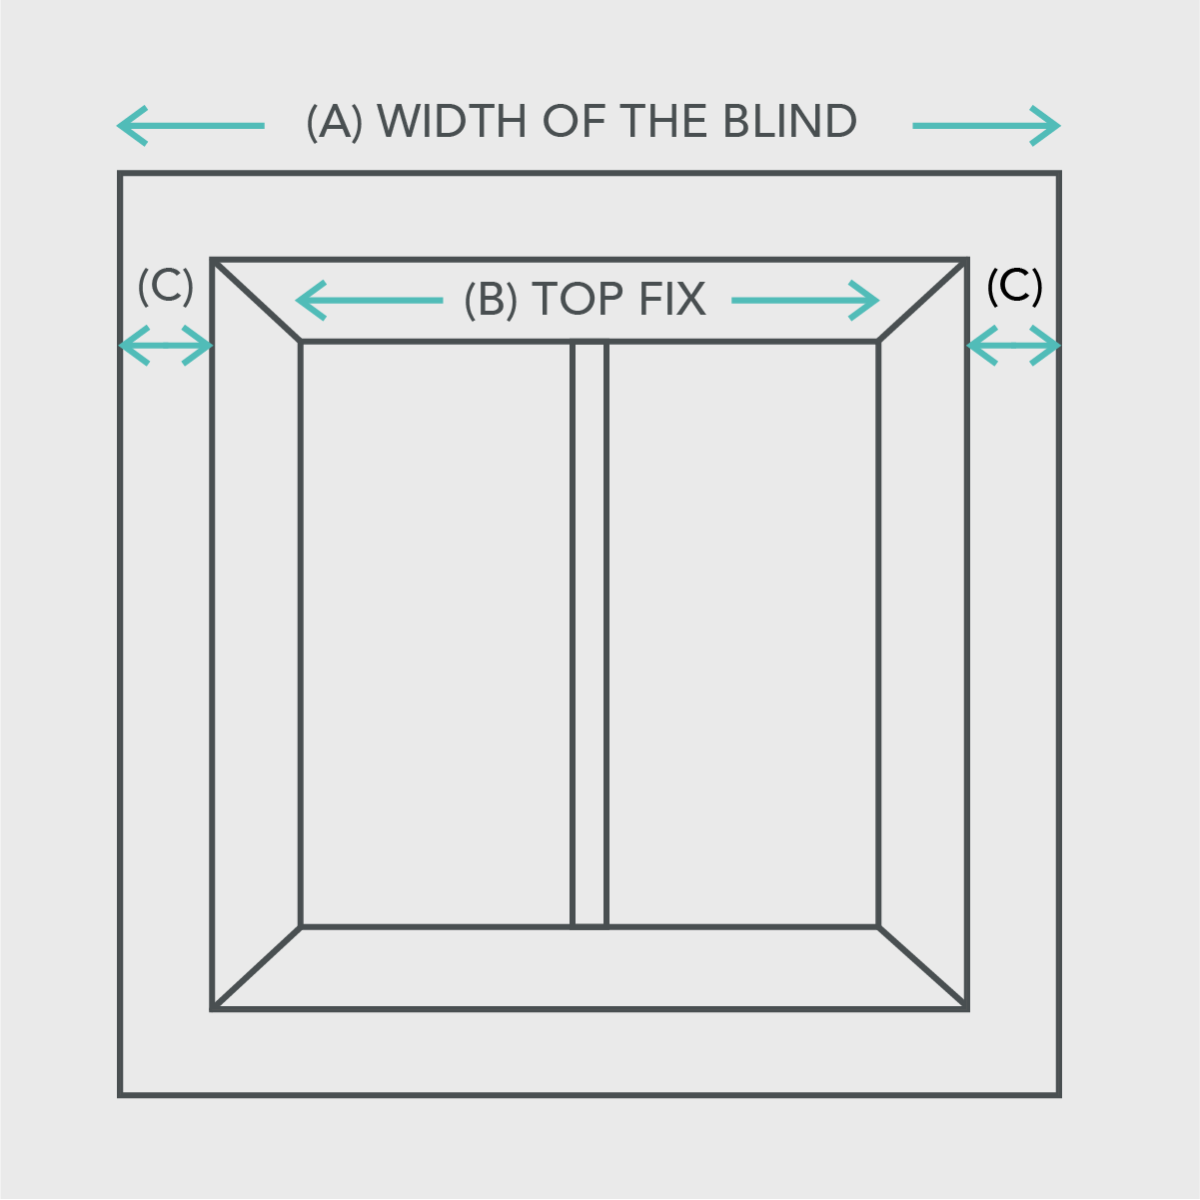
Outside Recess
If you are mounting the pleated blind outside the window recess, ensure that dimension C is the same on both sides. Follow the instructions for wall mounting. To calculate C, use the formula: (A-B)/2.
Inside Recess
For ceiling mounting, attach the blind to the lining. For wall mounting, attach it to the window frame.
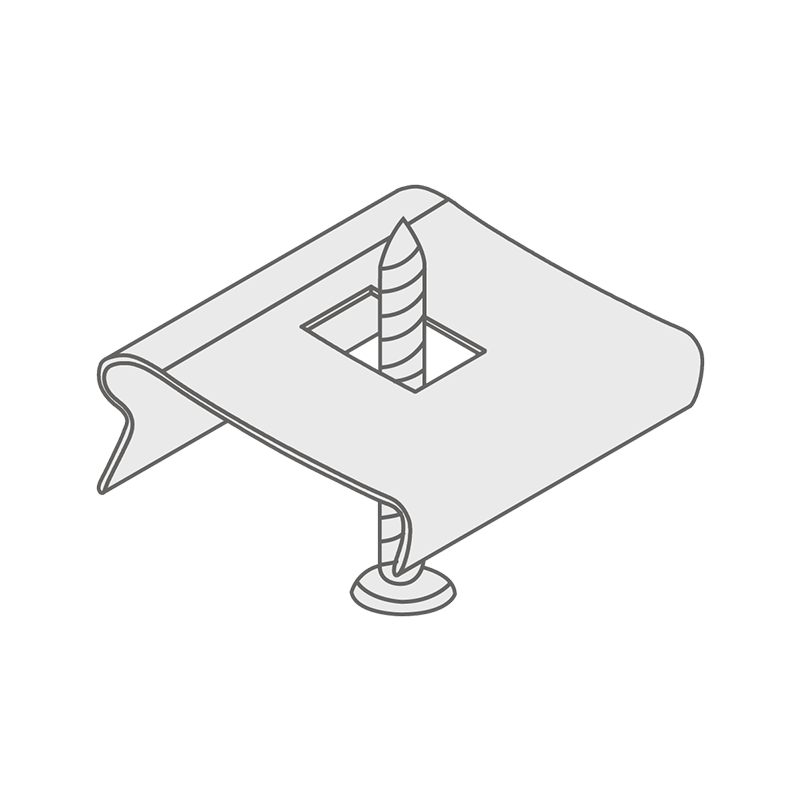
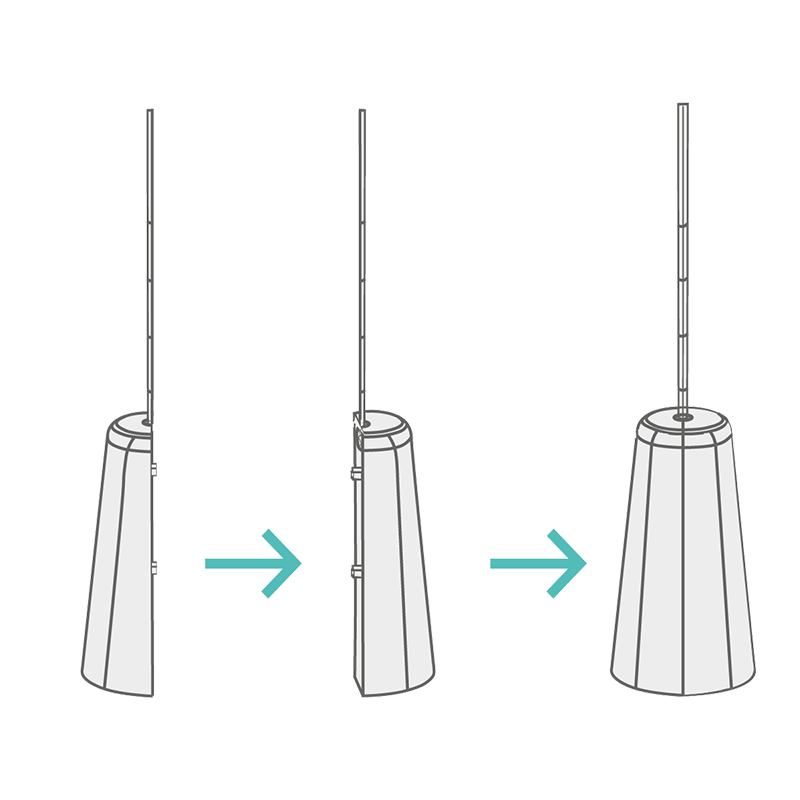
Roof Assembly
Measure and mark the distance between the wall and the back of the bracket, considering any obstacles like protruding handles. Position the mounting brackets evenly along the pleated curtain. Hold each bracket in place and mark the hole locations. Ensure the screws you use are appropriate for the wall or surface you are mounting on.
Step 2
Wall Mount
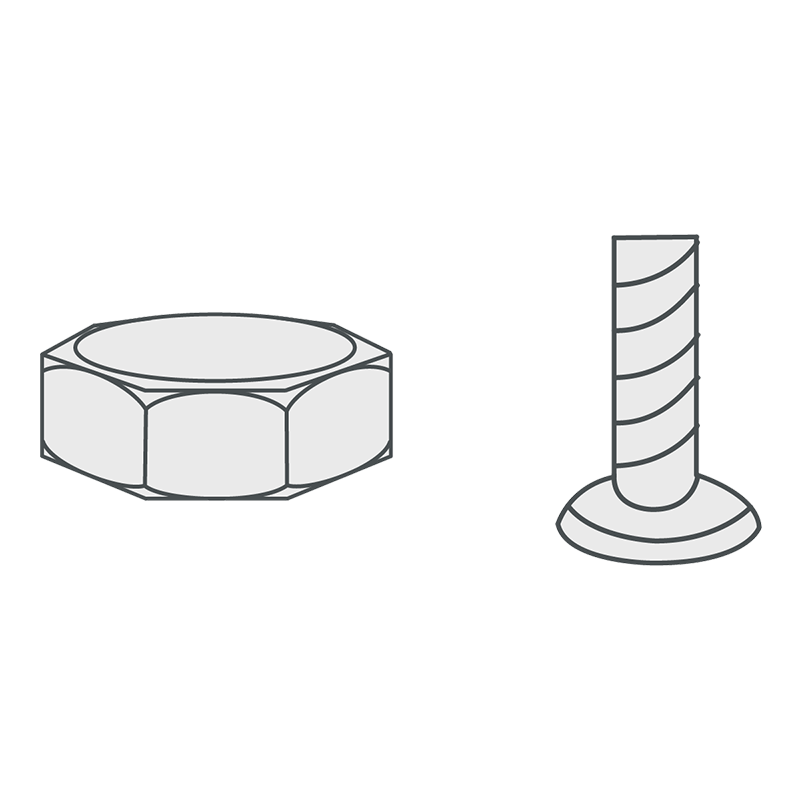
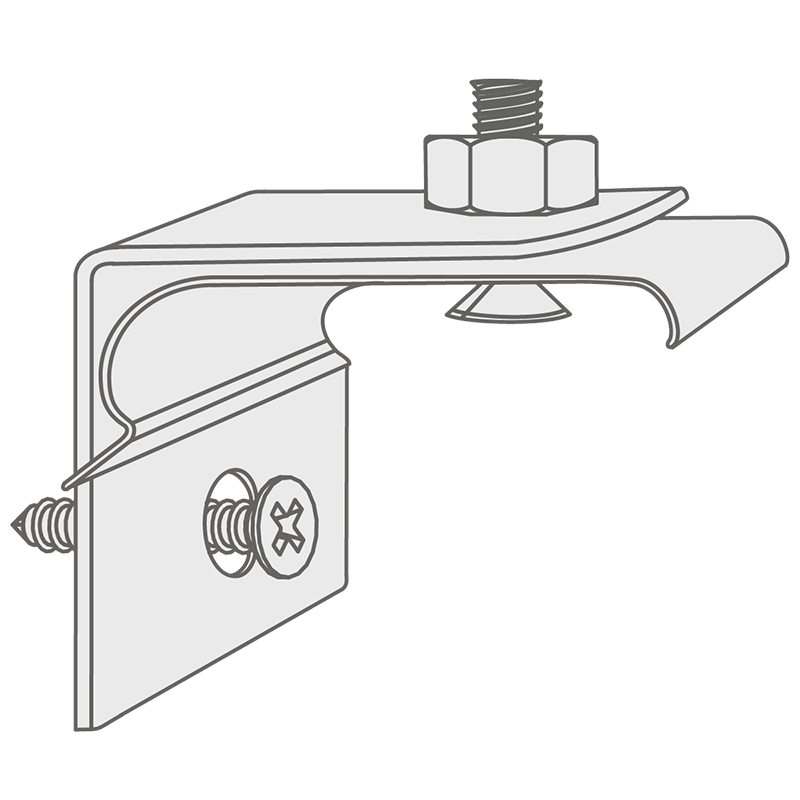
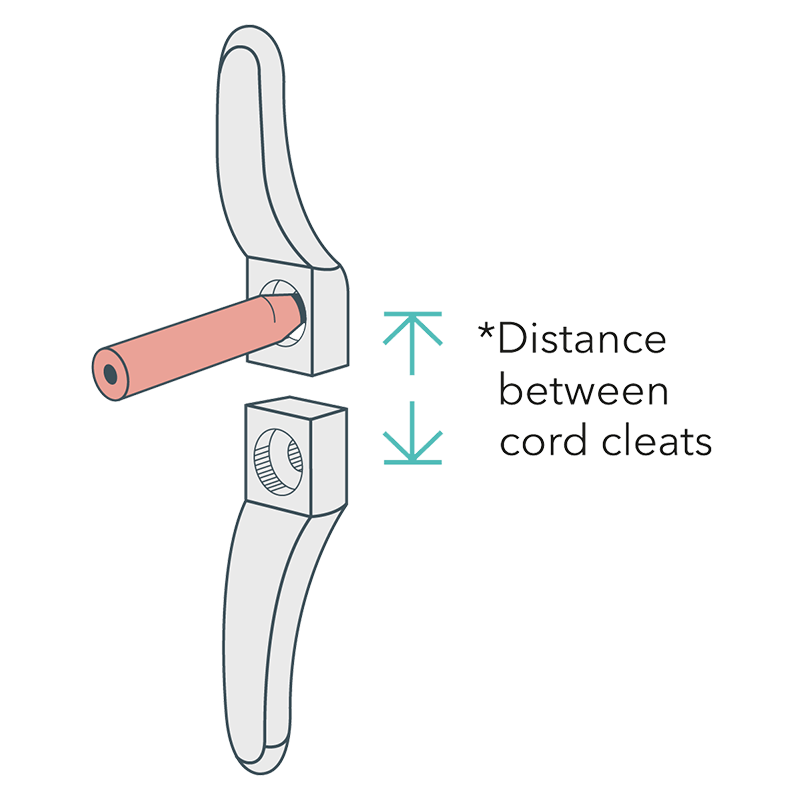
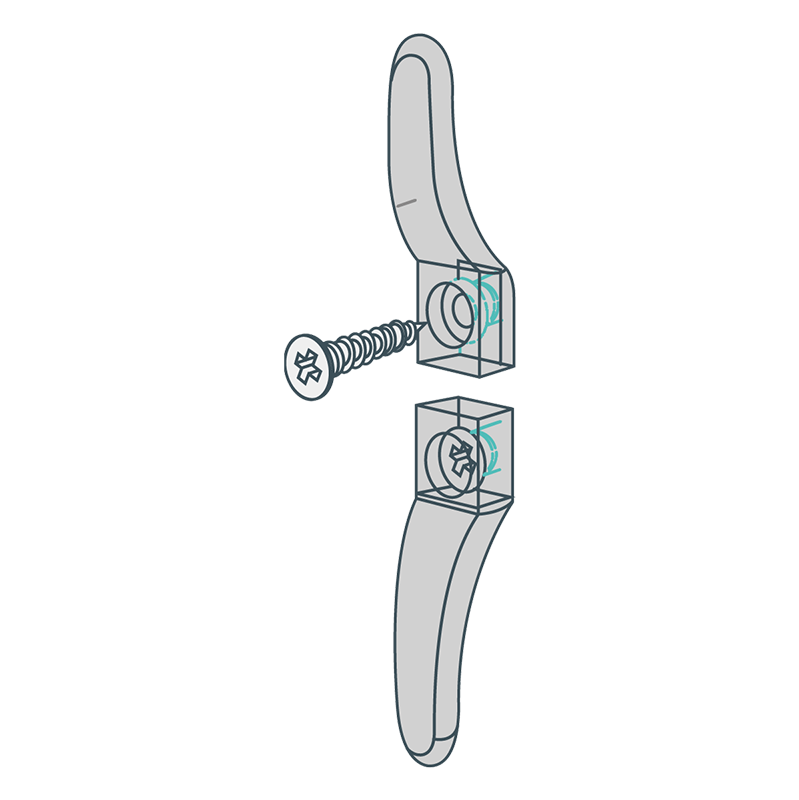
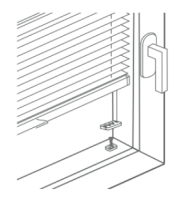
Assemble the roof bracket with the other bracket. Use the nuts and bolts provided to assemble them. Use the image above to understand how to put them together.
Step 3
Inserting the Headrail
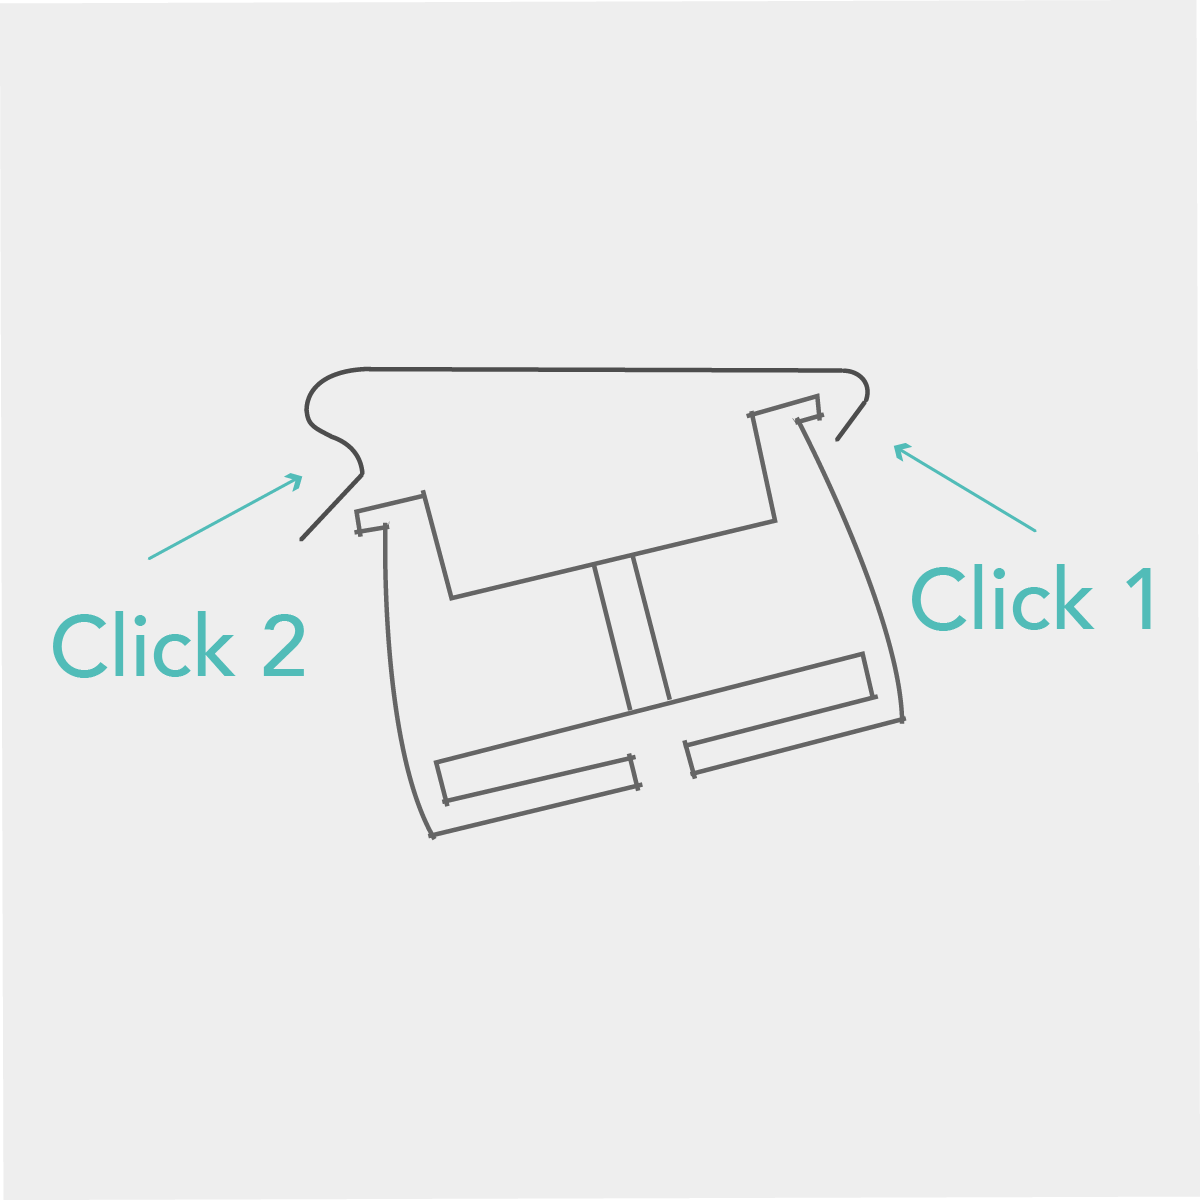
Insert the head rail into the brackets as shown, then push it up until it clicks into place completely.
Step 4
Child Safety
The safety device must be mounted as close to the top rail as possible and always at least 1500 mm above the floor. The cord must be completely wrapped around the safety device when the pleated blind is not in use.
Place the safety device in the desired position on the wall and mark the hole positions with a pencil. Use suitable screws to securely fasten the safety device to the wall.
Wrap the ropes around the safety device. When the ropes are wound - make sure they are wound properly.
NOTE! - CHILDREN CAN BE INJURED IF A SAFETY DEVICE IS NOT INSTALLED. ALWAYS USE A SAFETY DEVICE TO KEEP ROPES AND CHAINS OUT OF THE REACH OF CHILDREN.
Attaching the Safety Cleat
There is a safety cassette on the ropes so that it breaks when a strong horizontal pull occurs on the ropes to reduce the risk of getting stuck. Use suitable screws to attach the safety cleat securely to the wall.
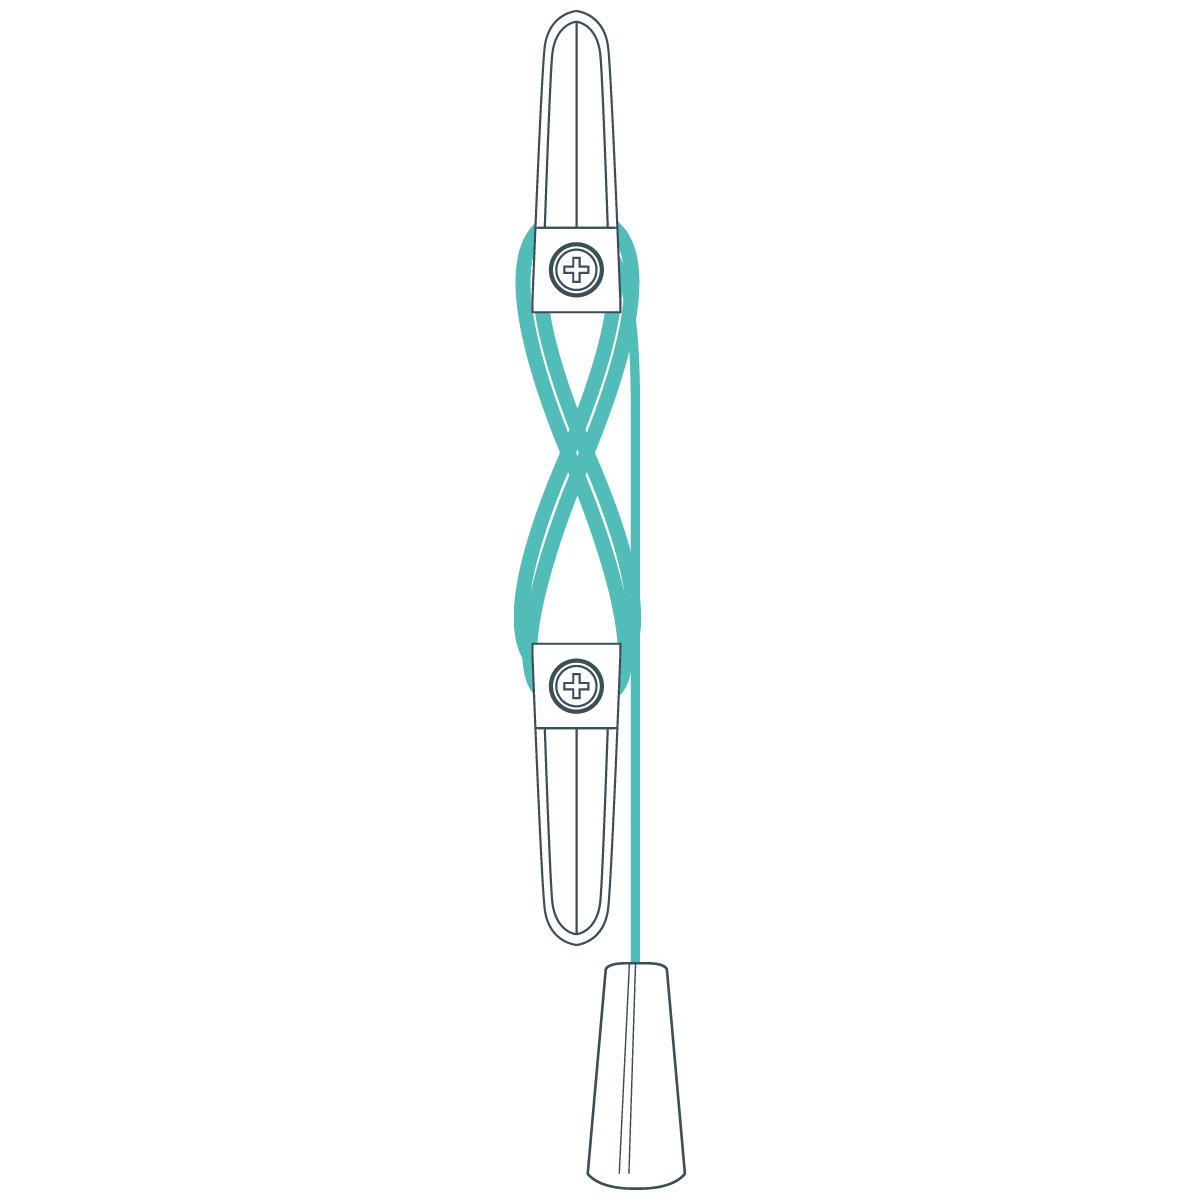
Wrapping the Cords
Wrap the cords around the cord cleats in a figure of 8.
When the cords are fully accumulated ensure they are secure so when any cord is pulled no excess cord is released.
Step 5
Operation
To lower blind: Move the cord to the center of the pleated curtain and slowly pull down until the string catch releases.
To raise blind: Pull the cord until the pleated curtain has reached the desired height.
To lock cords: Pull the cord to the outside of the pleated curtain (upwards), the curtain should now close automatically.
Important Note
Breakaway Safety Tassel
Breakaway safety tassel is pre-fitted to the lift cords so that when a horizontal force is applied to the cords entering the tassel it safely breaks away eliminating any hazardous loops.
If the breakaway safety tassel is pulled apart untangle and untwist cords. For 2 cords: Press the breakaway safety tassel together until it is fully closed. For 3 cords: Place the loose cord in the opening in one half of the breakaway safety tassel and press the breakaway safety tassel together until it is fully closed.
If there are any doubts that the breakaway safety tassel has not been re-attached correctly it can tested by placing your arm between the cords and pressing downwards. The breakaway safety tassel should break apart with minimal force.
Fitting Instructions - Tensioned
Ensure that brackets are positioned a suitable distance away from any window, door handles or any other obstructions to allow the blind to operate smoothly.
Step 1
Recess Fitting
Outside Recess
If you are mounting the pleated blind outside the window recess, ensure that dimension C is the same on both sides. Follow the instructions for wall mounting. To calculate C, use the formula: (A-B)/2.
Inside Recess
For ceiling mounting, attach the blind to the lining. For wall mounting, attach it to the window frame.
Roof Assembly
Measure and mark the distance between the wall and the back of the bracket, taking into account obstacles such as protruding handles. The mounting brackets should be placed evenly over that pleated curtain. Hold each fastener in its intended location and mark the hole locations. Make sure the screws you use are suitable for the wall/surface you are mounting on.
Step 2
Wall Mount
Assemble the roof bracket with the other bracket. Use the nuts and bolts provided to assemble them. Use the image above to understand how to put them together.
Step 3
Inserting the Headrail
Insert the head rail into the brackets as shown, then push it up until it clicks into place completely.
Step 4
Brackets
Pull down the pleated blind and use a pencil to mark where the window brackets should be positioned at the bottom. After marking, use suitable screws to attach the brackets to each corner.
Attaching the Safety Cleat
There is a safety cassette on the ropes so that it breaks when a strong horizontal pull occurs on the ropes to reduce the risk of getting stuck. Use suitable screws to attach the safety cleat securely to the wall.
Step 5
Operation
To lower blind: Pull the flap down until the pleated curtain has reached a desired height.
To raise blind: Pull the flap up until the pleated curtain has reached the desired height.