How to Install Electric Roller Blinds
Installing your new Electric roller blind is safe, easy, and there's no need for an electrician! In this step-by-step guide, we'll walk you through the process of installing electric roller blinds in your home. Whether you're a seasoned DIY enthusiast or new to home improvement projects, this guide will provide you with the knowledge and tips you need to successfully install electric blinds and enjoy the benefits they offer.
How do electric roller blinds work?
Electric roller blinds operate through a motor concealed within the roller tube. These blinds are powered by a rechargeable battery and can be controlled via remote, smartphone apps, timers, and voice commands through compatible smart home systems. When activated, the motor rotates the roller tube, causing the blinds to roll up to raise or unroll to lower. Electric roller blinds offer a convenient and customisable solution for controlling natural light and privacy.
How to install electric roller blinds - Step by Step
What comes with my electric roller blind?
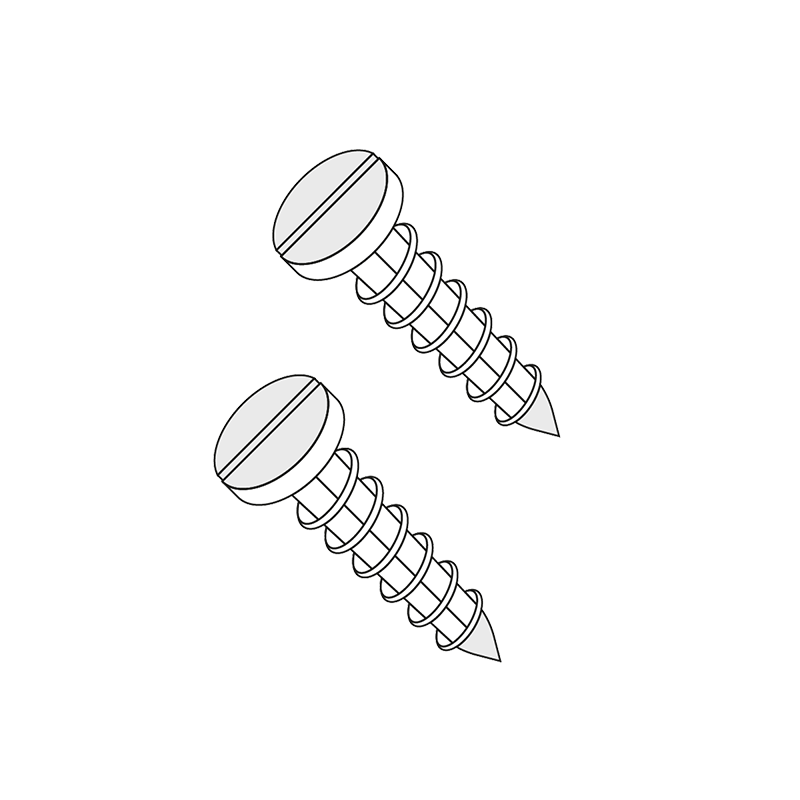
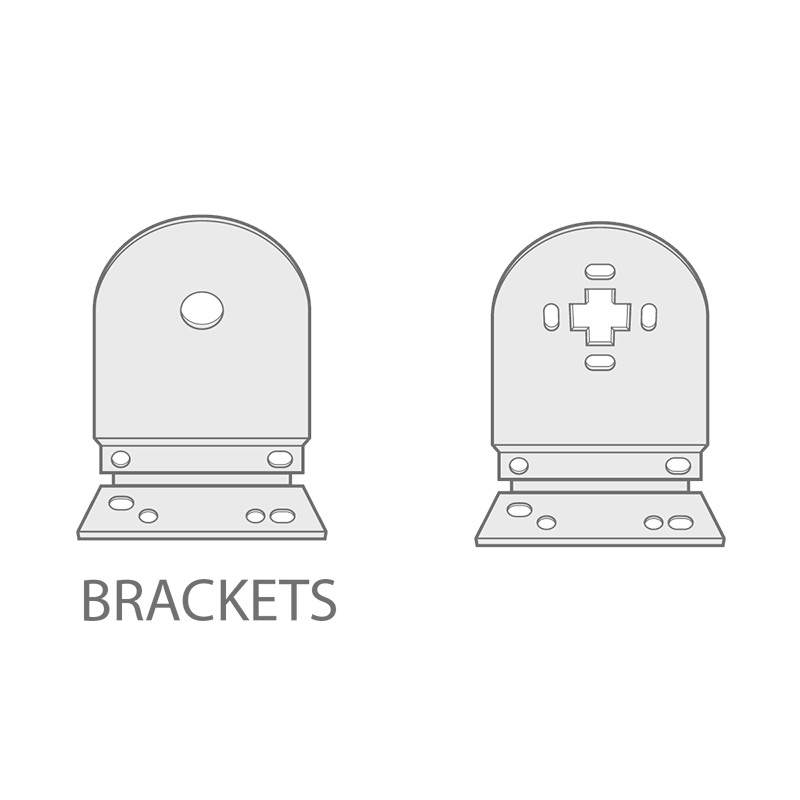
The fitting brackets will be included with your electric blinds. If you ordered a remote control, charger or smart hub you will also find these within the box. Screws do not come with your blind, this is because the type of screws required will depend on the surface you are fitting the brackets to. Your screws need to be 4mm and suitable for the surface.
What you'll need
To install your new blinds you will need the below tools.

Video tutorial
We recommend watching our how to install video guide first.
Fixing Options
Blind brackets can be fitted in two different ways.
Option 1
Top Fixing
If you’re looking to install your electric blind with a top fixing, the brackets will be fixed to the ceiling or lintel.
Option 2
Side Fixing
For a side fixing, the brackets will be fixed to each side wall inside or outside the recess.
Fitting the Brackets
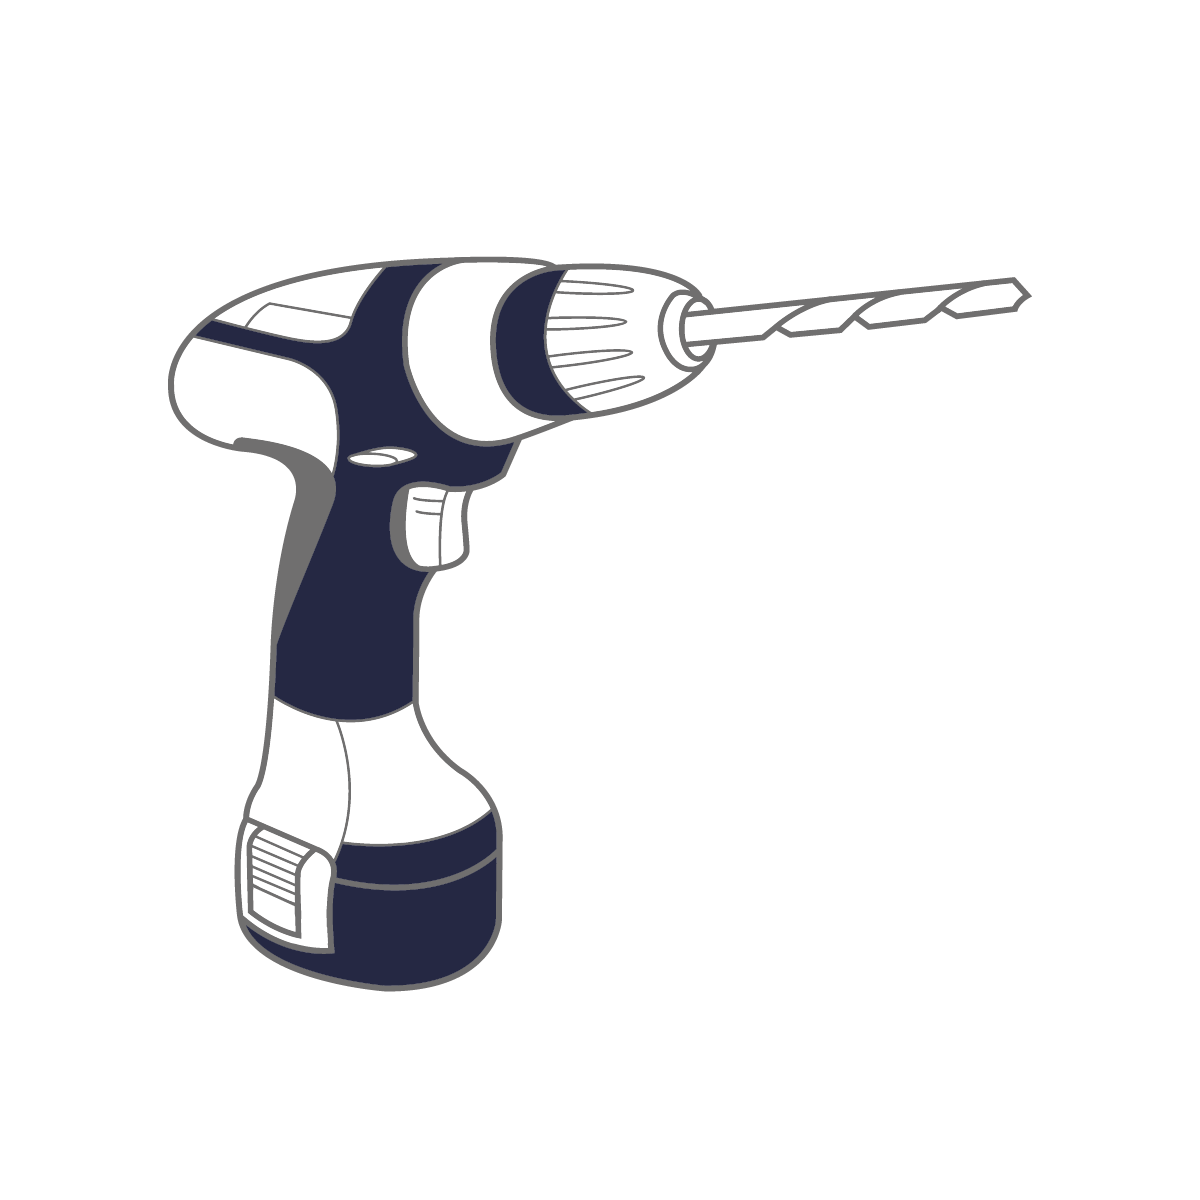
Grab your metal tape measure, an electric drill and a pencil for this section.
Step 1
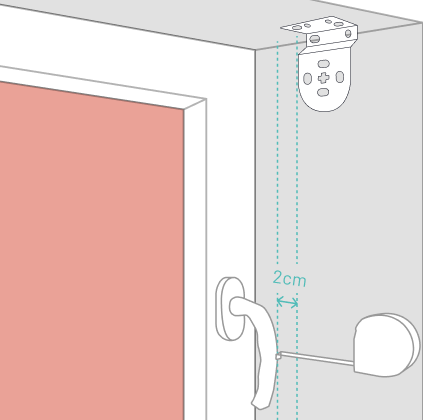
Measure Distances
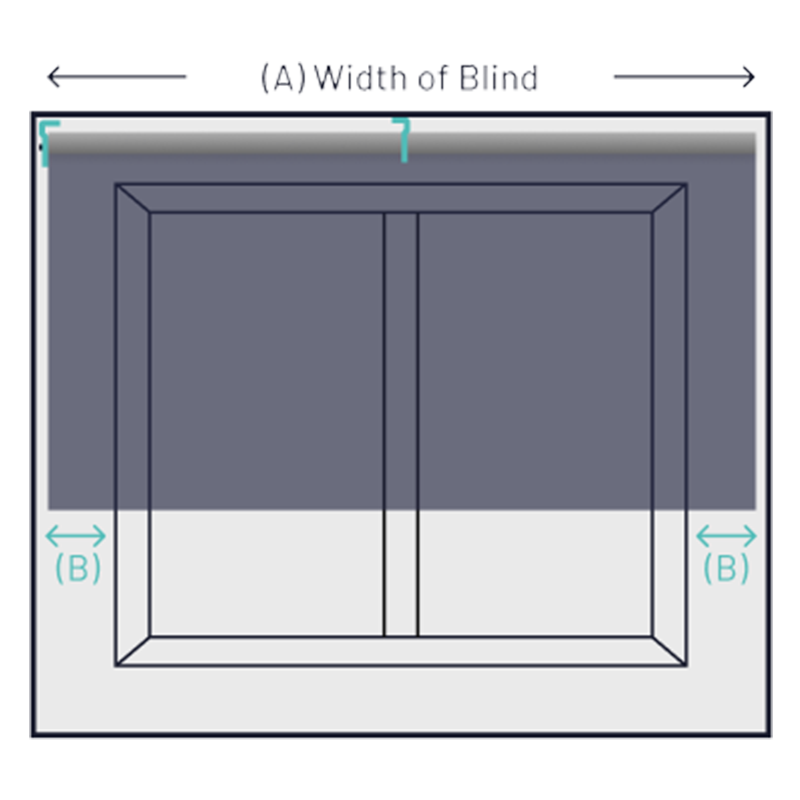
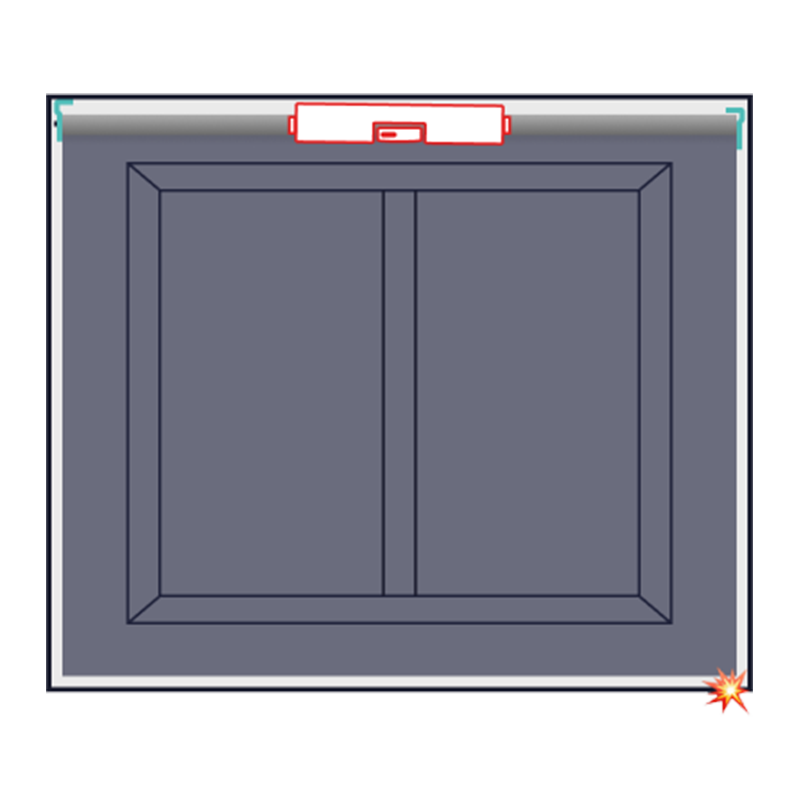
Using a tape measure ensure the distance between any obstruction such as handles, radiators, etc (A) and the bracket (B) is at least 2cm so that you can operate them smoothly.
Step 2
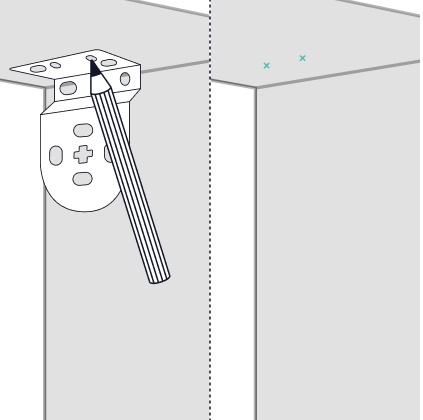
Mark the Holes
Position the brackets where do you want to fit them and using a pencil make a mark for the holes.
Step 3
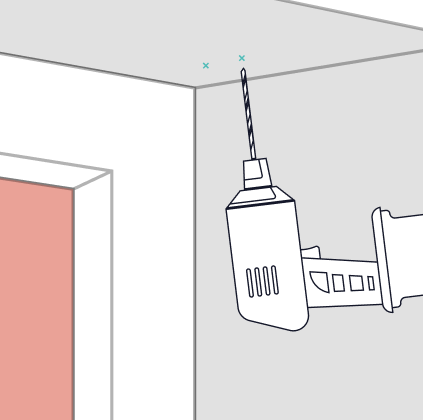
Drill the Holes
Using a drill make the holes using the marks you have previously done as reference. Use a sturdy ladder if you find it difficult to reach the lintel or ceiling.
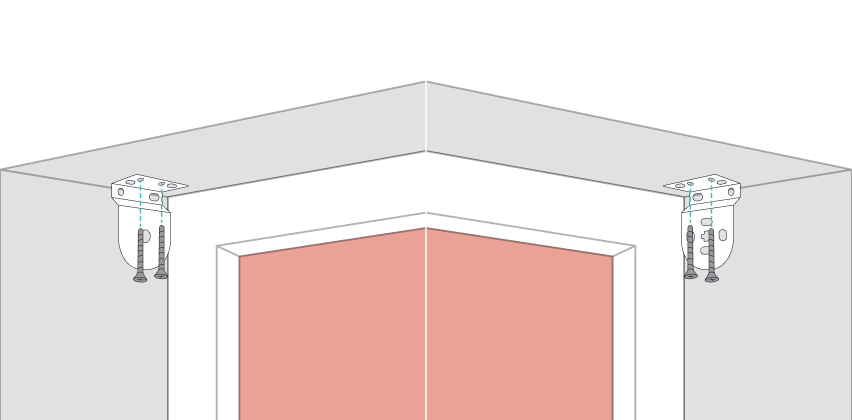
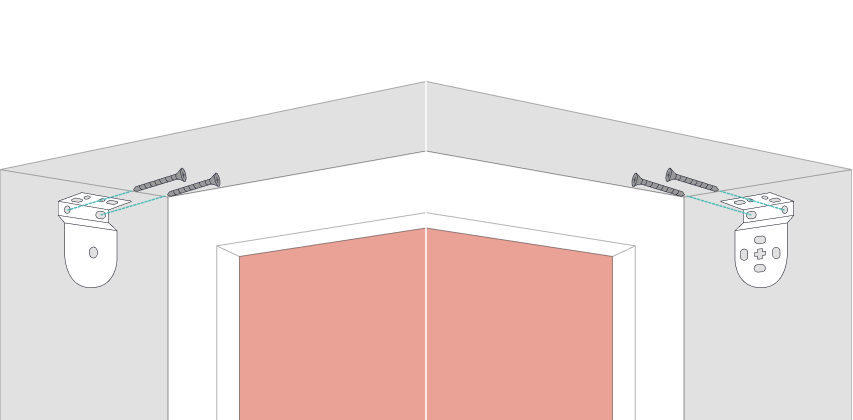
Step 4
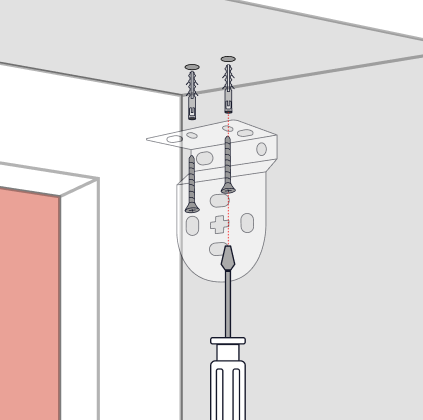
Fix the Brackets
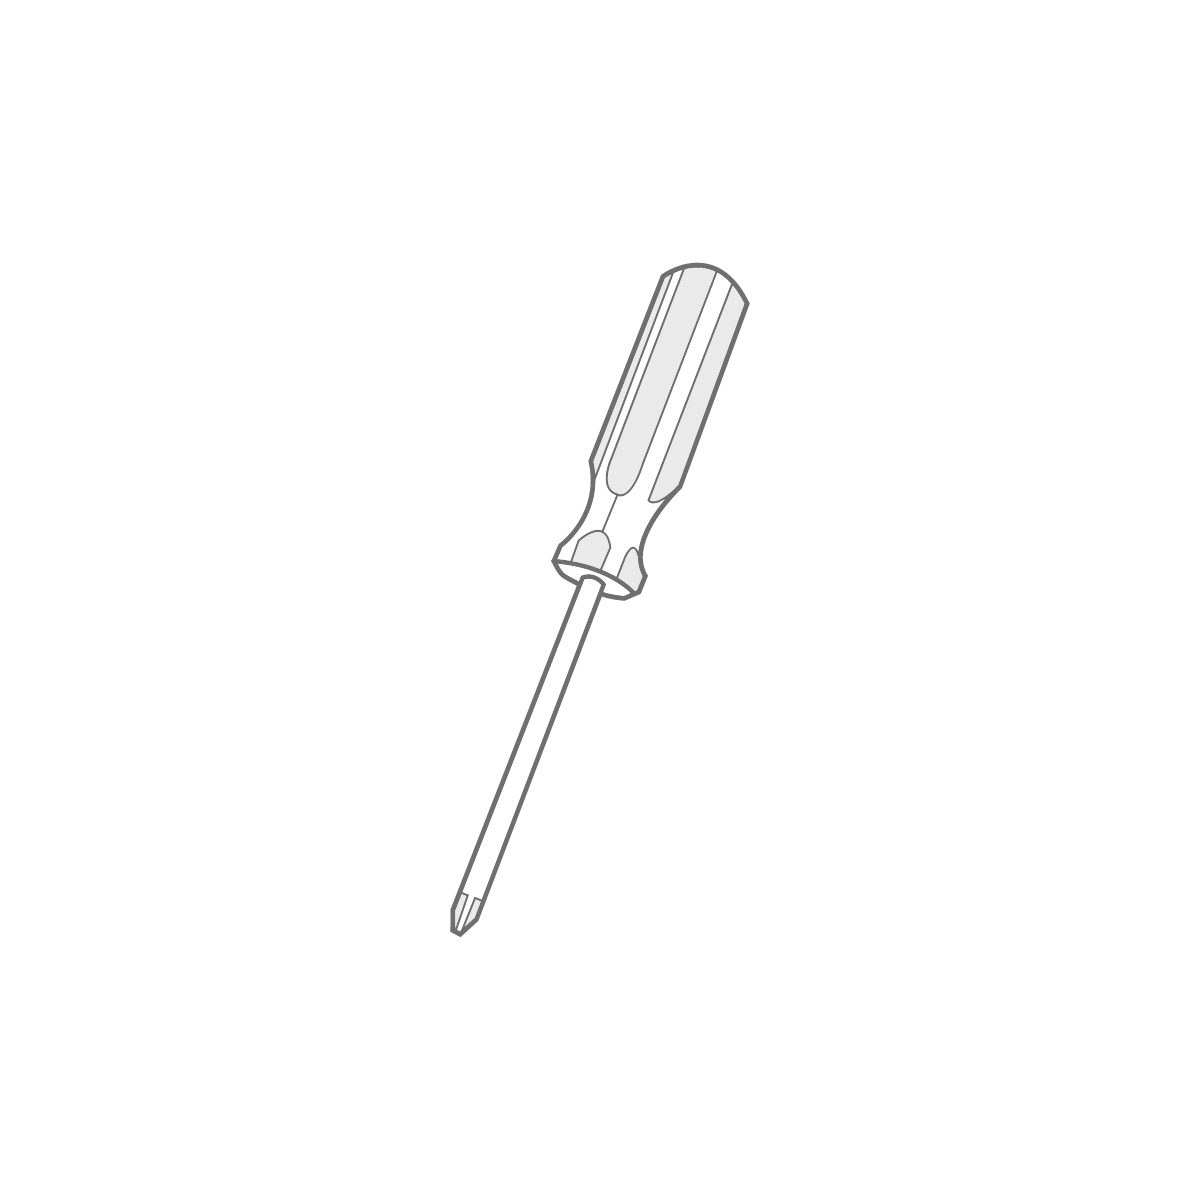
Insert the plugs into the holes in the lintel or ceiling, and using a screwdriver fit the brackets into the lintel or ceiling with the screws.
Important Note
Even Spacing
When face fitting the brackets, (usually on Exact Size), ensure the B distance in the diagram on the left is the same on both sides of the window, so that you can have an uneven overlapping.
Important Note
Avoid Tilting
When top fixing the brackets, to avoid installing your blinds tilted, ensure the lintel or ceiling are levelled using a spirit level. If not, put a paper between one of the brackets and the ceiling or lintel to compensate the inclination on both sides.
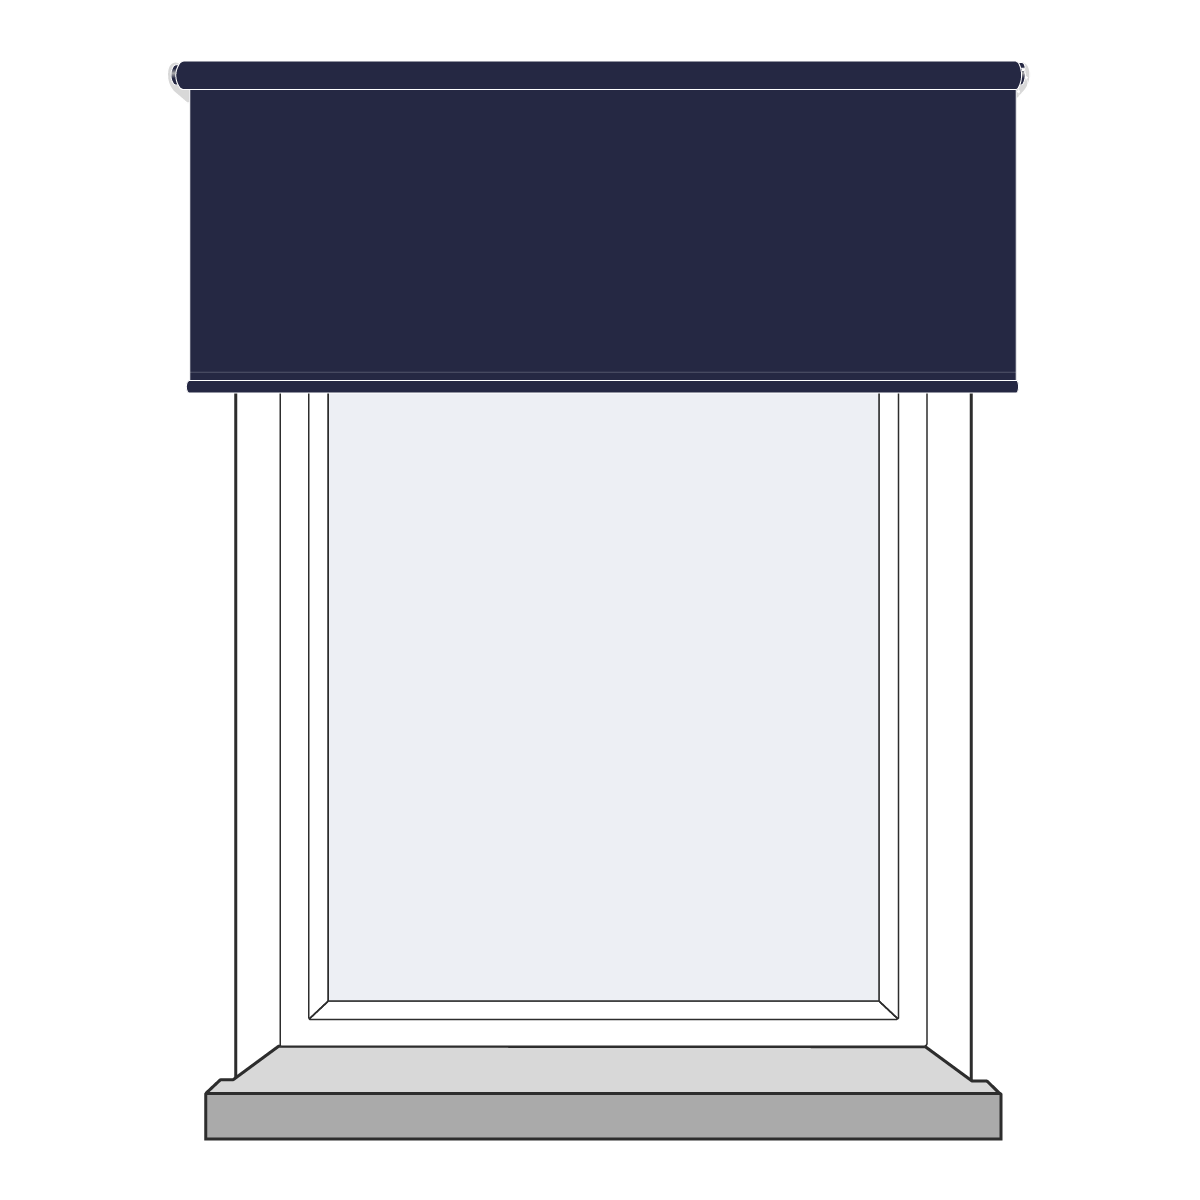
Fitting the Headrail
Click your new electric blinds into place with ease.
Step 1
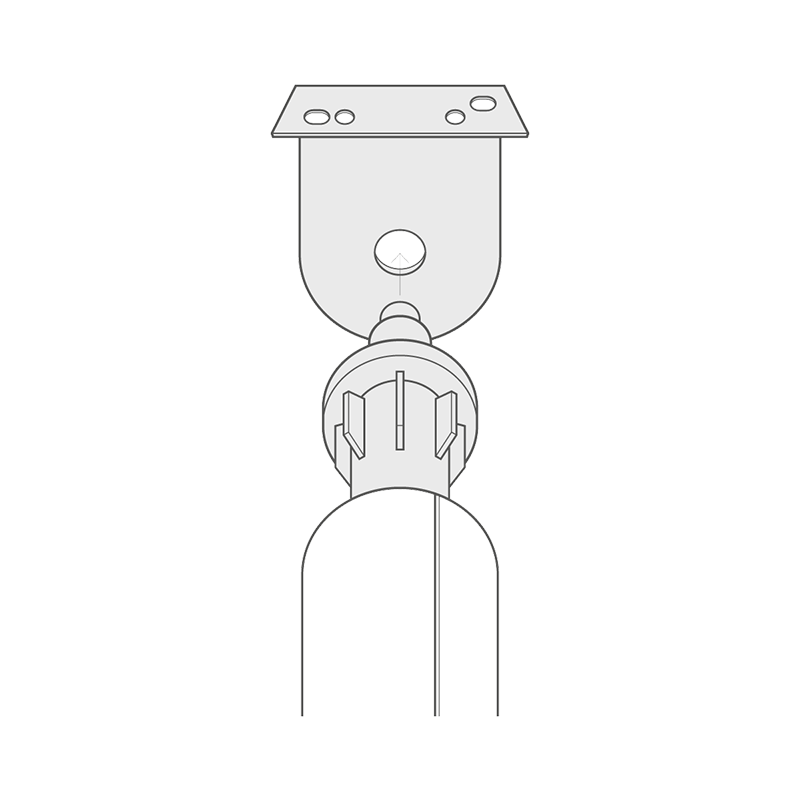
Inserting the Roller Pin
Holding the fully-wound blind, insert the idle pin end into the bracket as shown.
Step 2
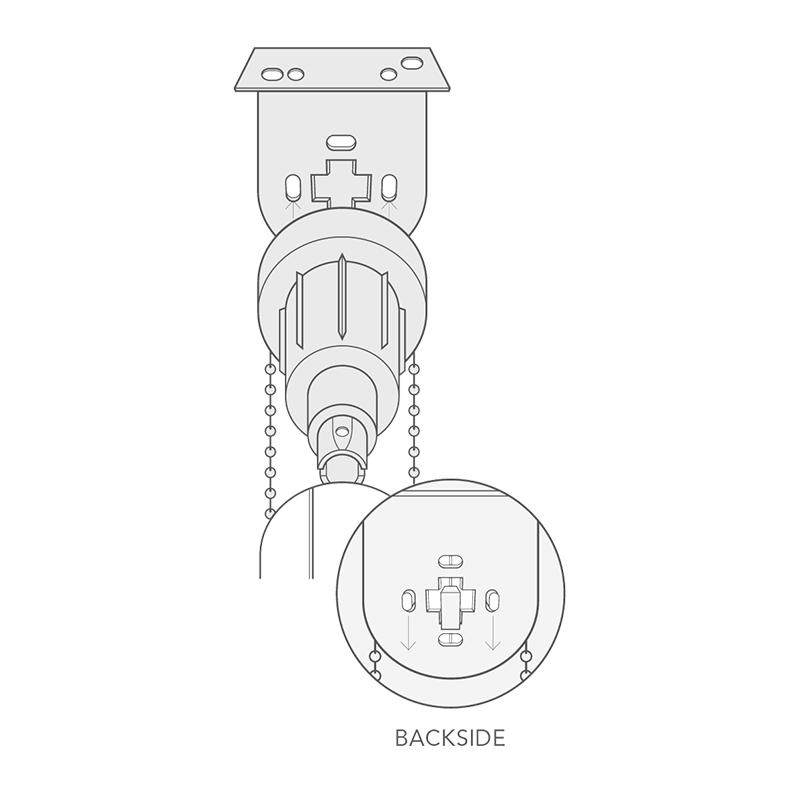
Clicking into Position
With the Idle pin end in place. Insert the control end into the opposite bracket by depressing the pin end then pull down vertically until the control end clicks into position.
Important Note
Sleep Mode
The motor is in sleep mode and should not be wakened until your blinds are fully installed.
Troubleshooting
If you need any assistance, follow the below troubleshooting guide or give us a call and we'd be happy to help.
Fabric Run-Off
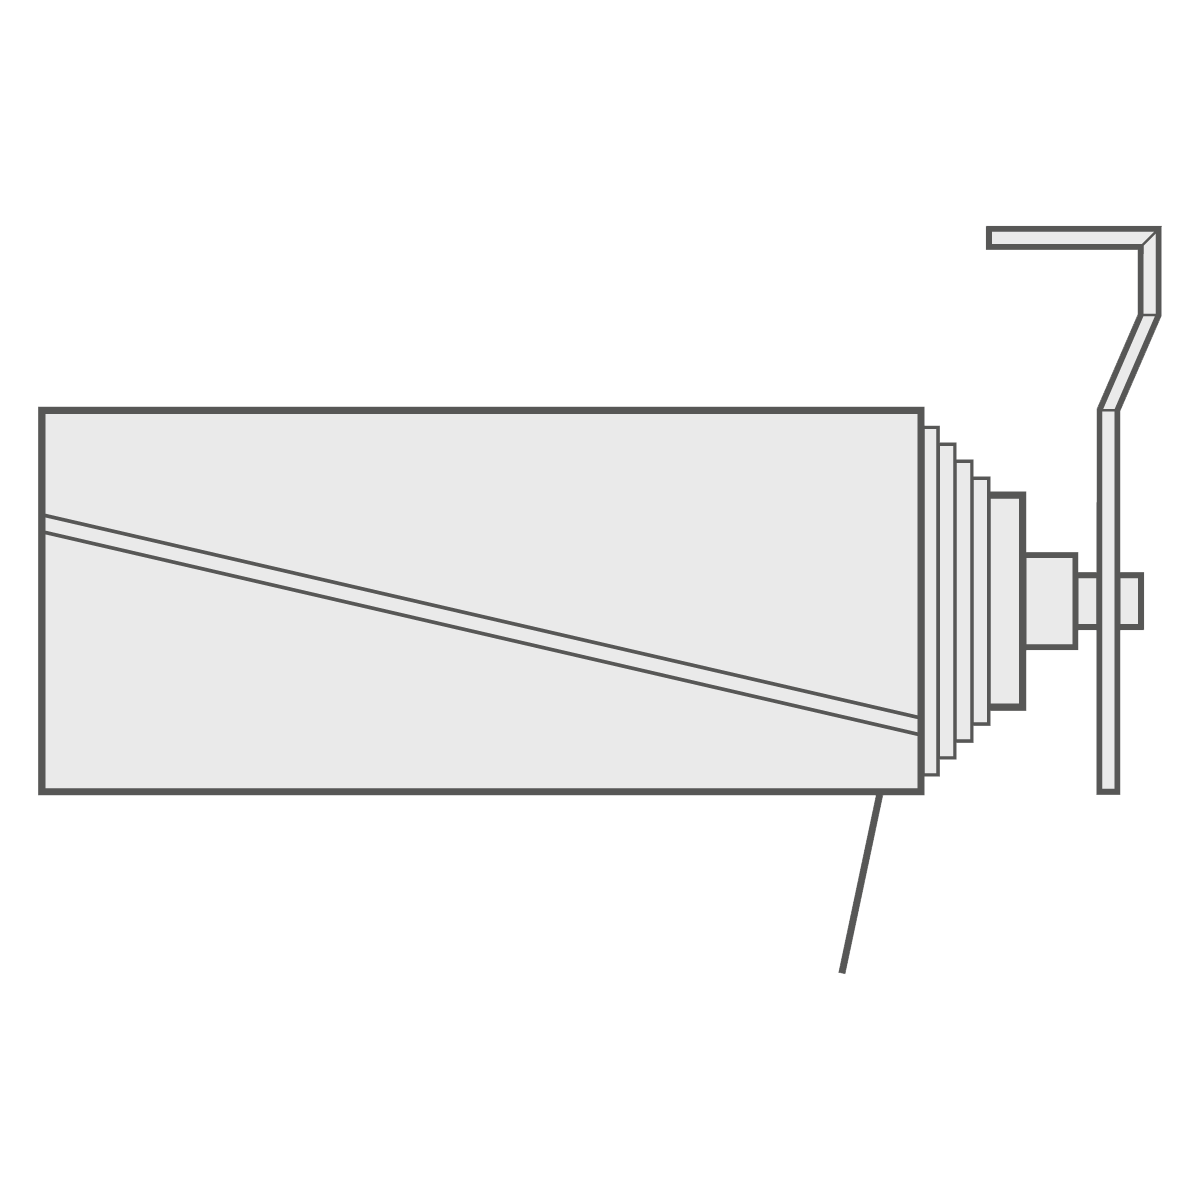
Diagram 1
Diagram 1 shows the fabric running off from the right-hand side of the blind.
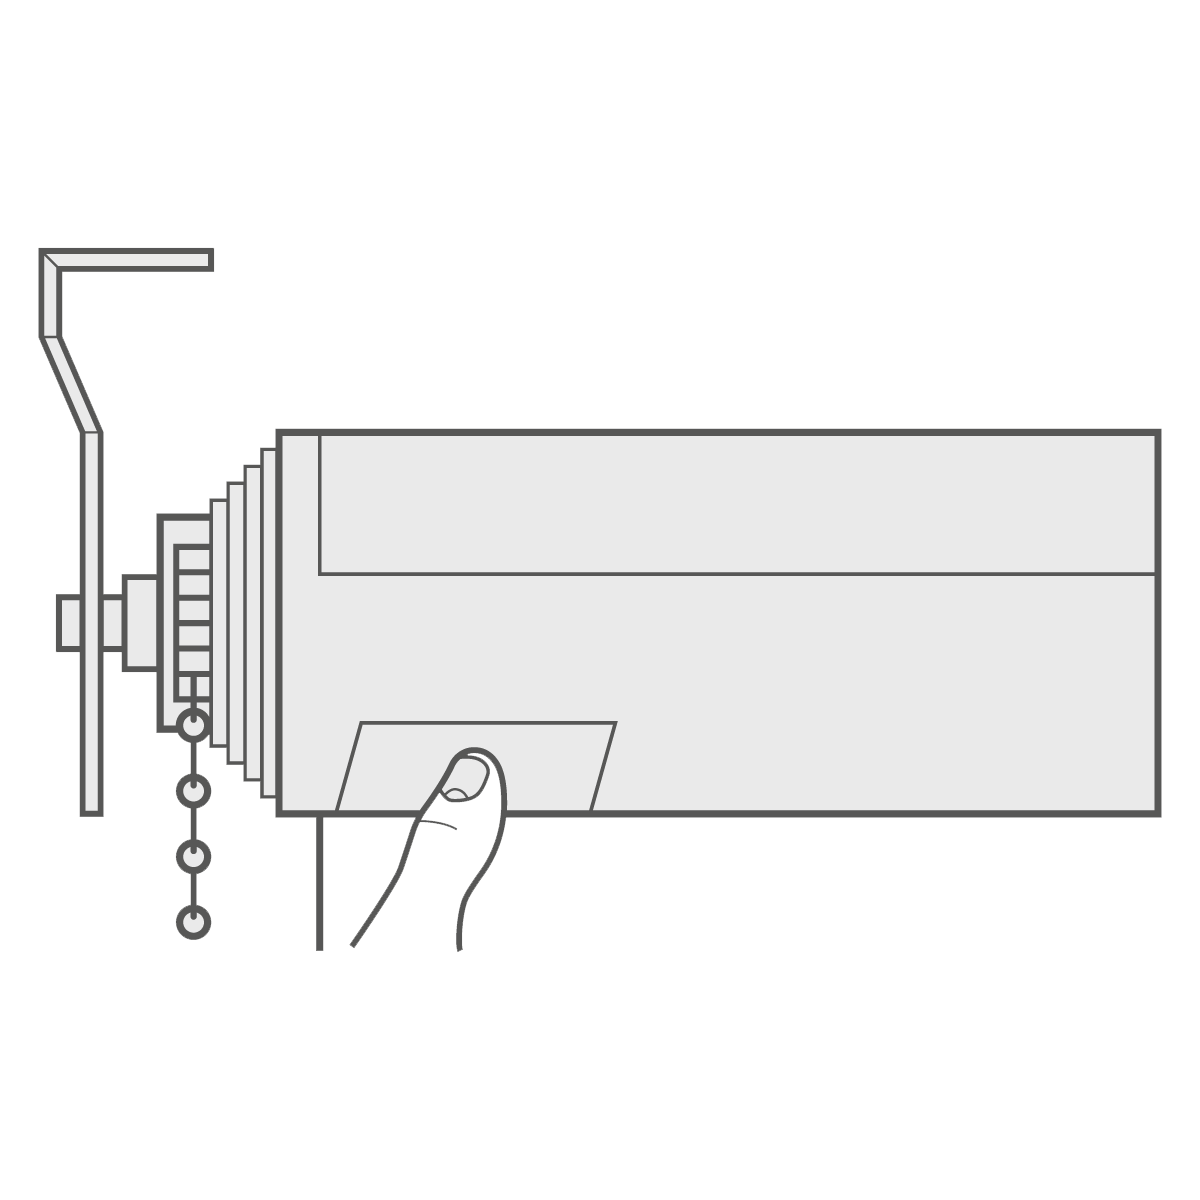
Diagram 2
To correct the run-off, unroll the fabric, place a 25mm piece of sticky tape onto the tube (Diagram 2) at the opposite end of the blind to the run-off. Fully wind the blind up. Repeat until the fabric is no longer running-off.
FAQs about fitting electric roller blinds
Are electric blinds easy to install?
Installing electric roller blinds is a breeze, following the same process as manual roller blinds. It involves mounting the brackets on the wall or within the window recess and simply sliding the blind into place. It's a quick and hassle-free task.
Can you adjust electric roller blinds once they’ve been fitted and programmed?
After your electric roller blinds are in place, you can simply use the remote control to move them up or down. Or to adjust the limits (this is the preset upper and lower position), follow the instructions in the manual to adjust them easily.
How to remove electric roller blinds?
Removing electric roller blinds is a straightforward process. Just gently lift one side of the blind out of its bracket, and the entire blind will come free.
Looking for more expert advice?
If you need any assistance during the installation process, please give us a call on 0370 218 7042 or start a live chat with our highly trained customer support team.
Take a look at our other expert guides.
Choosing electric roller blinds for your home?
Browse our full range of products