How to Install Double Roller Blinds
In our simple guide for fitting double roller blinds, you'll follow a few easy steps to hang those blinds like a pro. We cover tools you need, marking the spot for brackets, installing them securely, and getting your blinds to hang level and look sharp. Whether you're a DIY whiz or just starting out, you'll have your new double roller blinds up in no time.
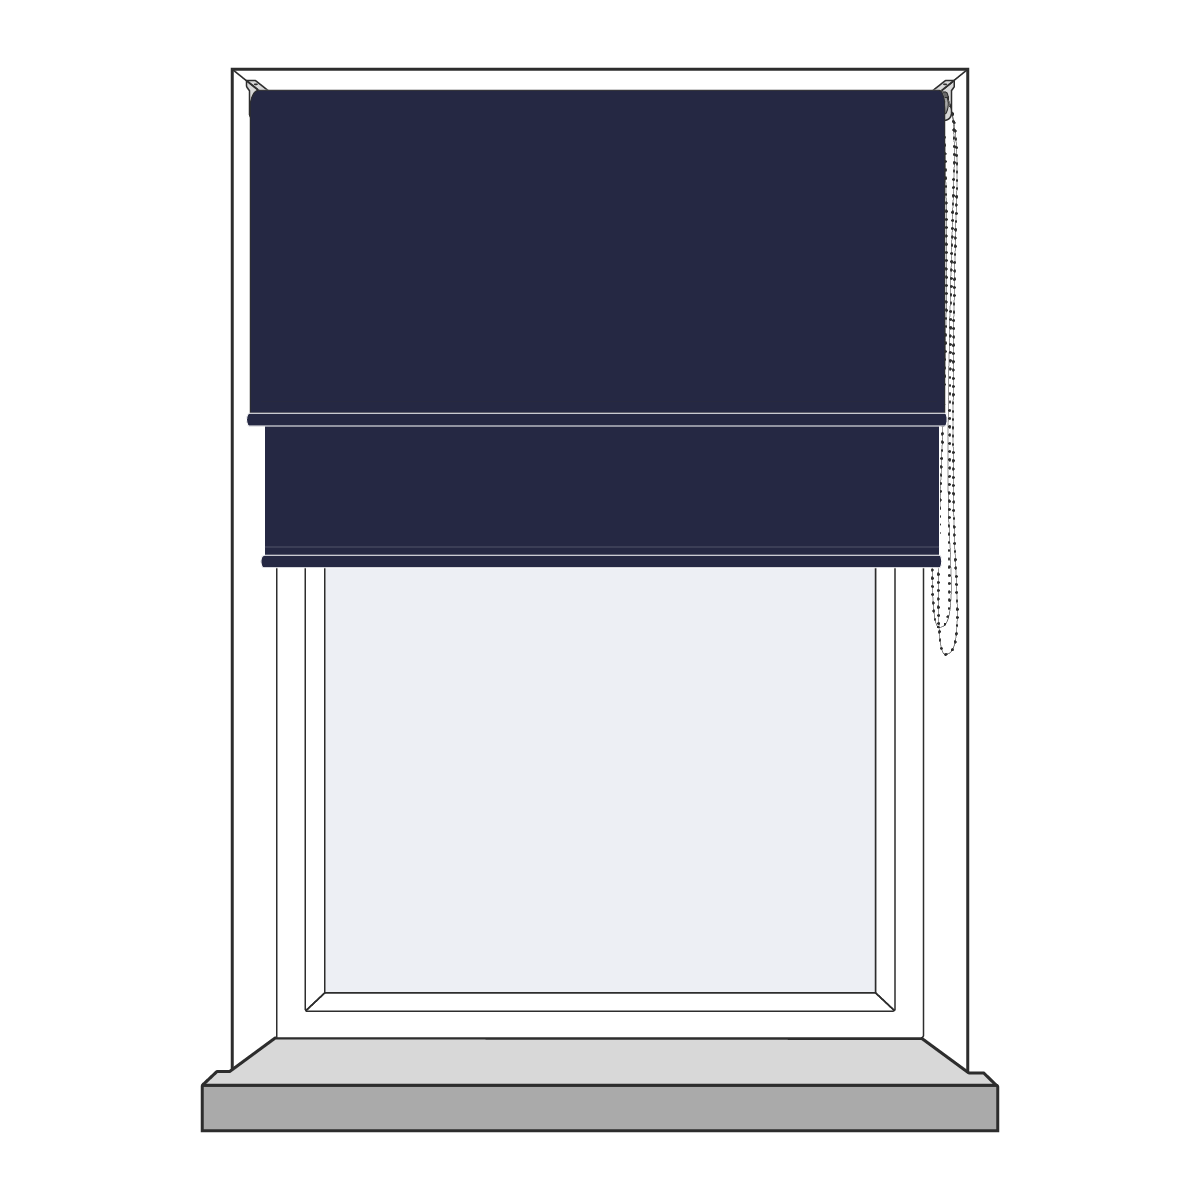
How do double roller blinds work?
Double roller blinds feature dual brackets that allow you to stack two different fabrics on a single window. One layer provides privacy and light filtering, while the other offers blackout. You can choose which layer to lower, depending on your lighting and privacy needs, making double roller blinds a stylish and functional choice for any space.
How to Install Double Roller Blinds - Step by Step
What comes with my blind?
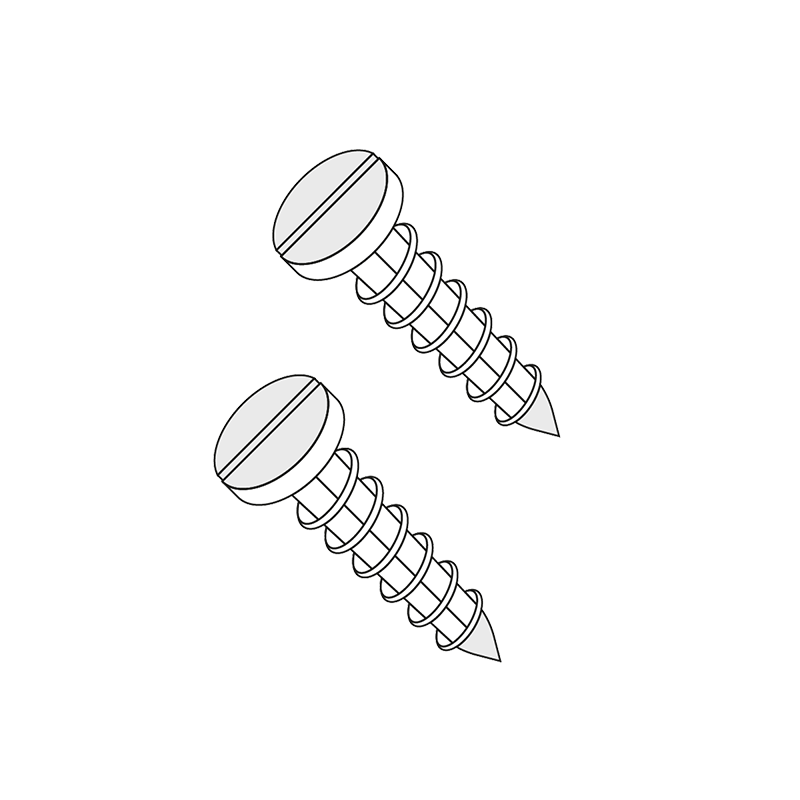
Two dual fitting brackets and a child safety clip will be included with your double roller blinds. Screws do not come with your double roller blinds, this is because the type of screws required will depend on the surface you are fitting the brackets to. Your screws need to be 4mm and suitable for the surface.Tools you'll need
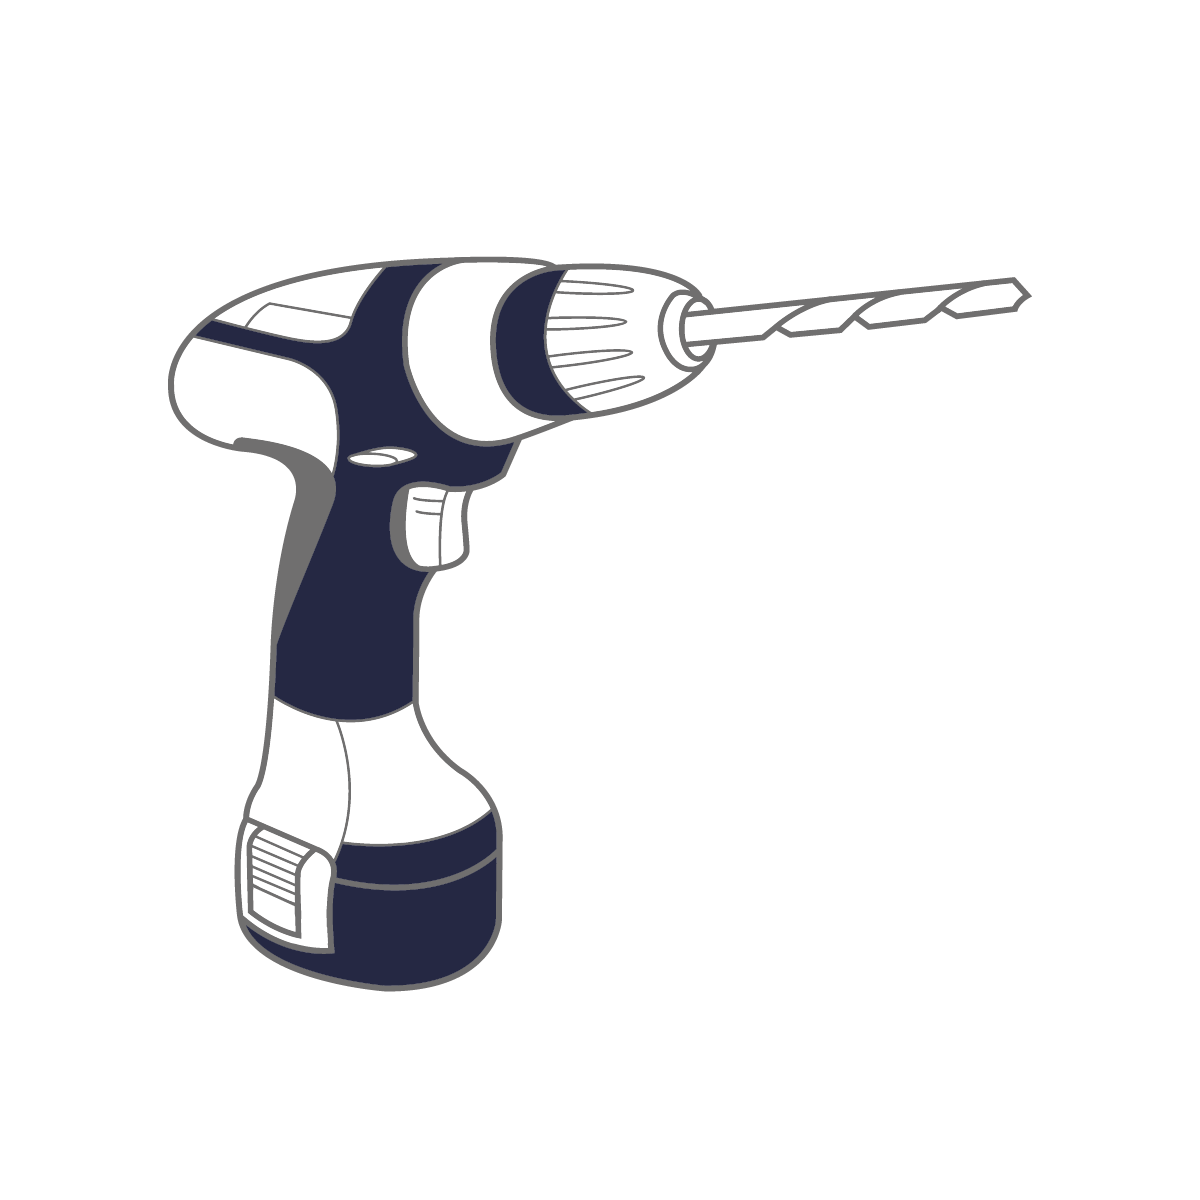
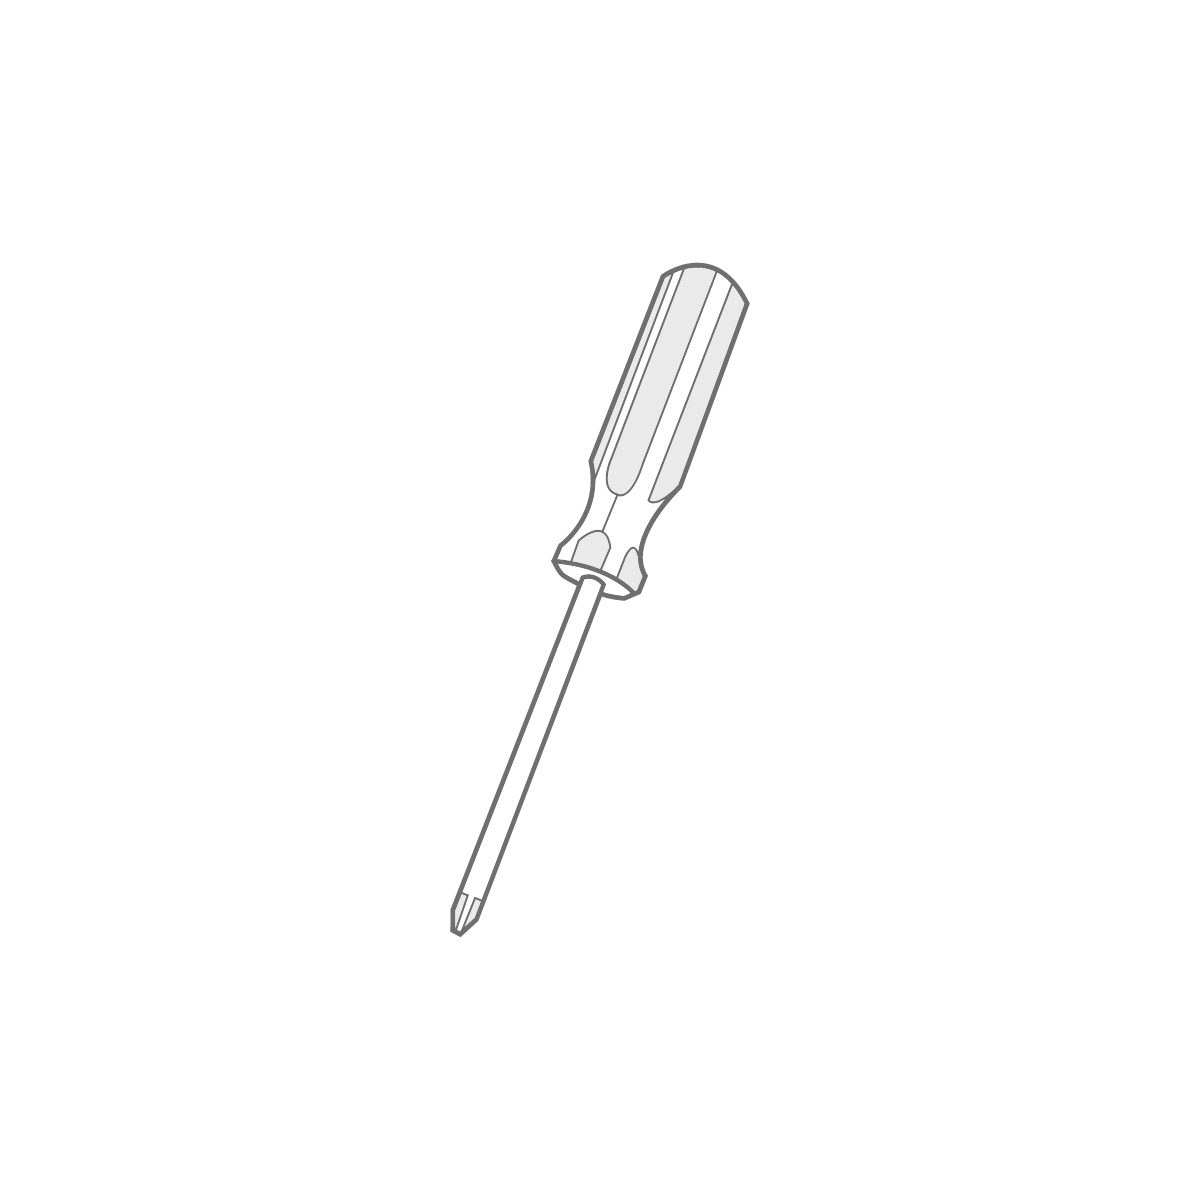
To install your new blinds you will need the below tools.

Deciding where to mount the brackets
Ensure that brackets are positioned a suitable distance away from any window, door handles or any other obstructions to allow the blind to operate smoothly.
Step 1
Bracket Positioning
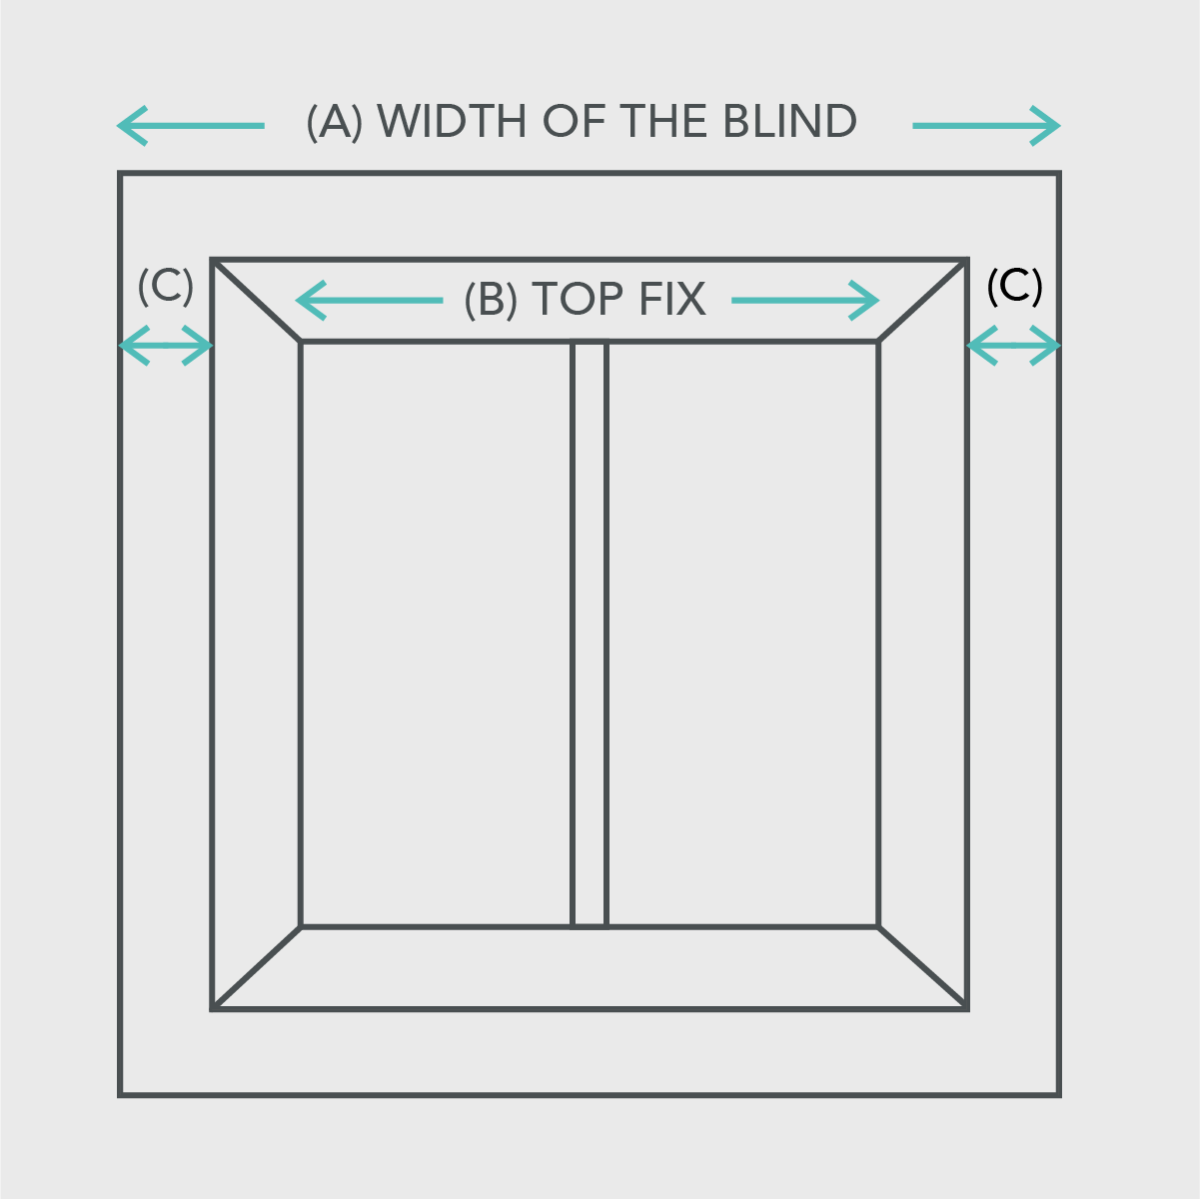
Outside Recess
If the blind is to be fitted outside the window ensure that measurement C is the same. Follow instructions for face fixing to calculate C (A-B)/2.
Inside Recess
For isntallation inside the recess, either top fix to the lintel or face fix bracket to the window frame.
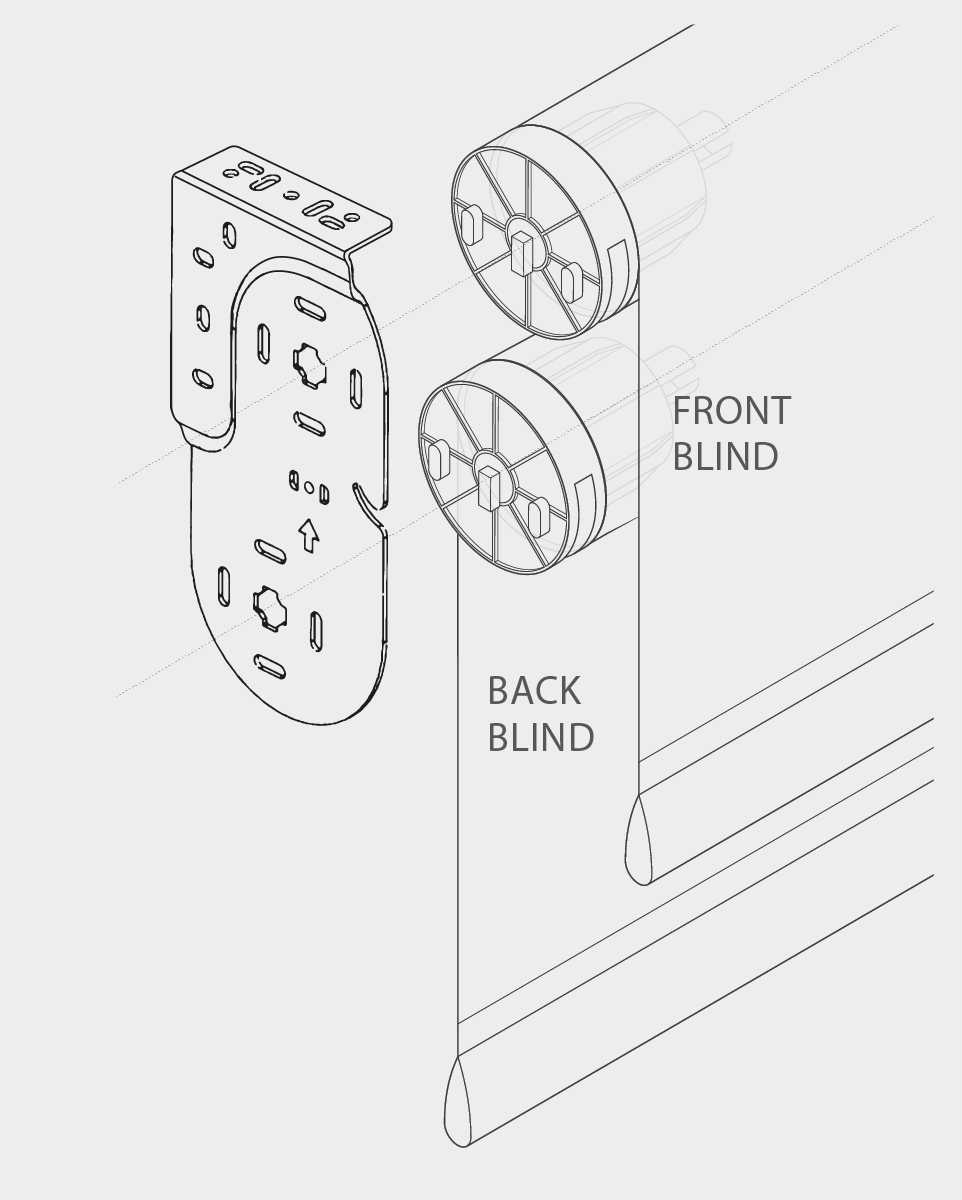
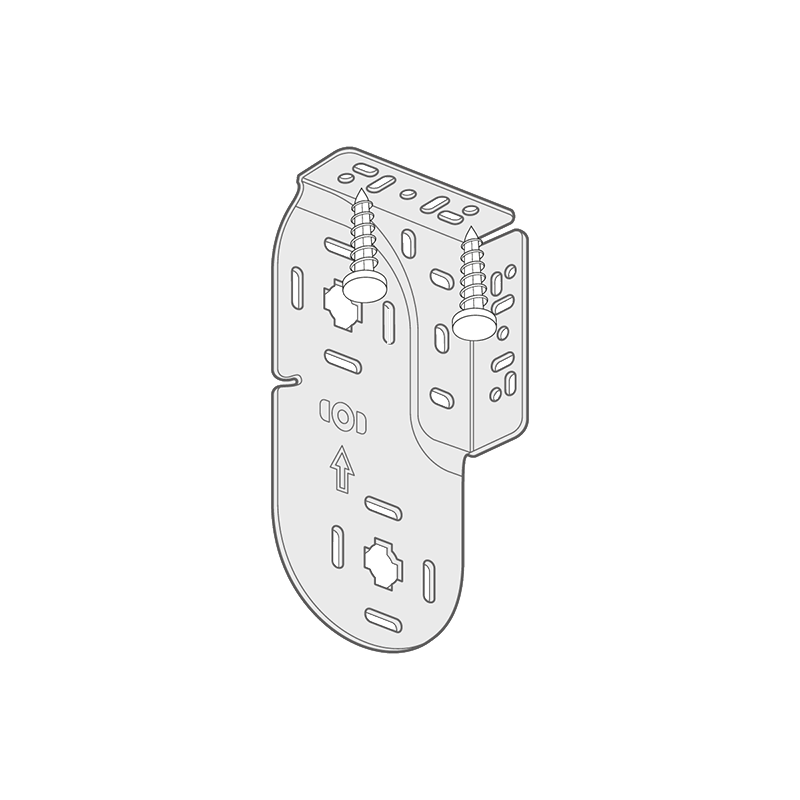
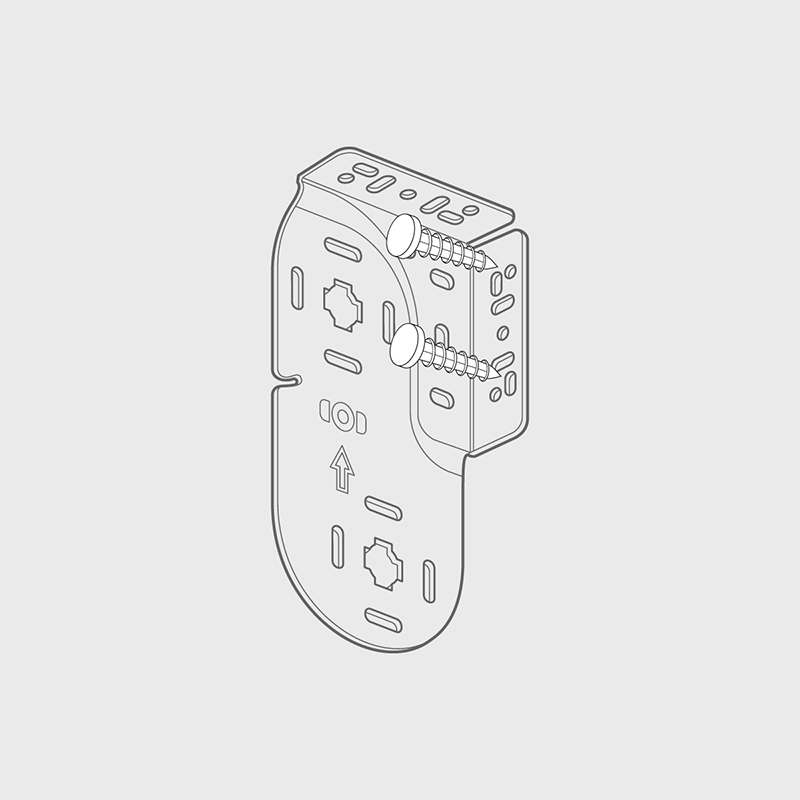
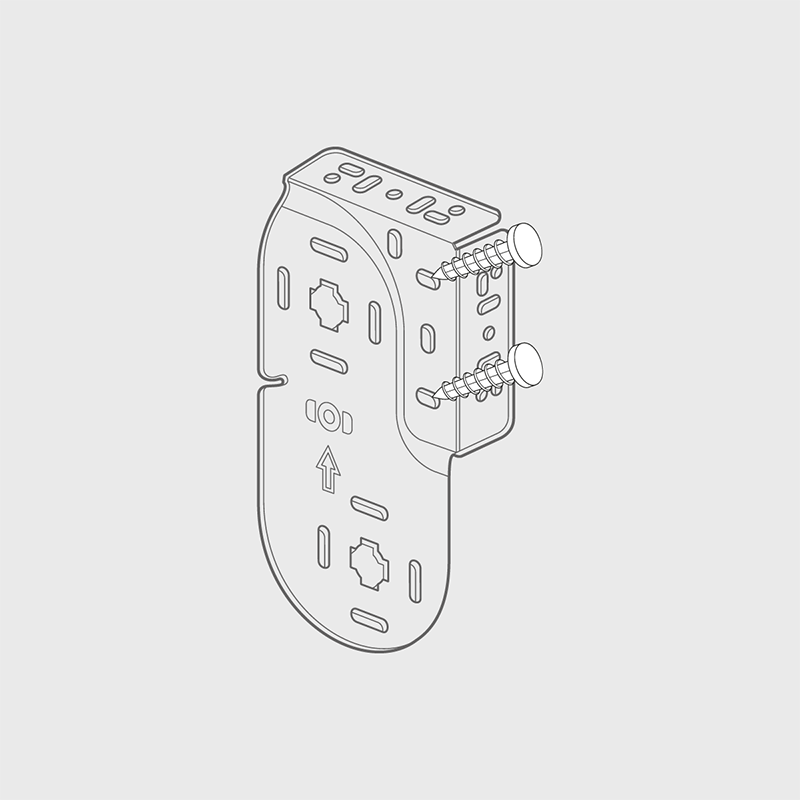
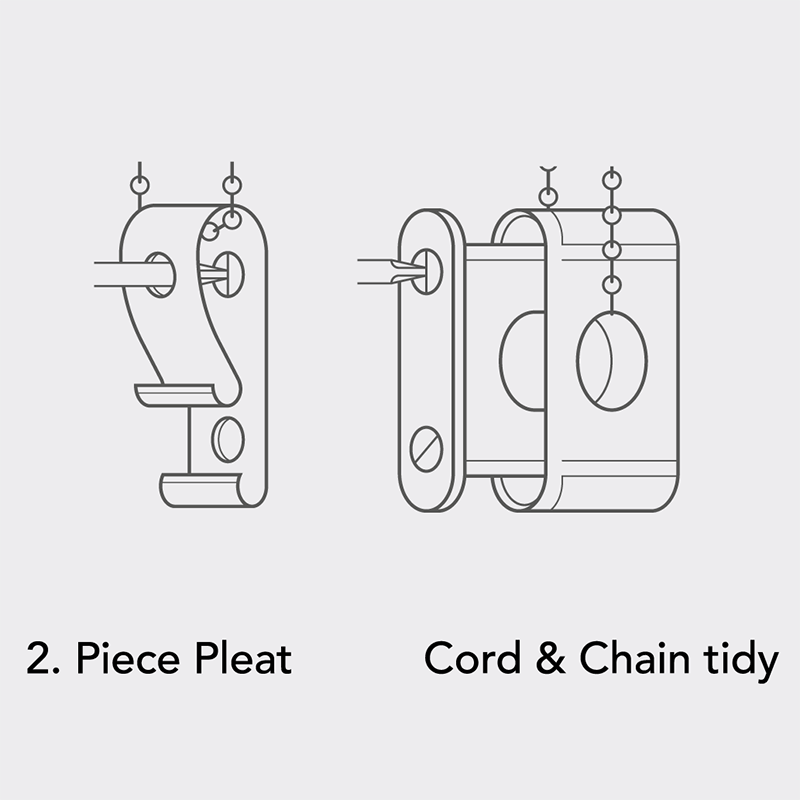
Double Roller Brackets
The Front blind is always the top blind, the back blind is the lower blind. Ensure brackets are positioned as shown with curved edge to the bottom
Step 2
Option 1: Top Fixing
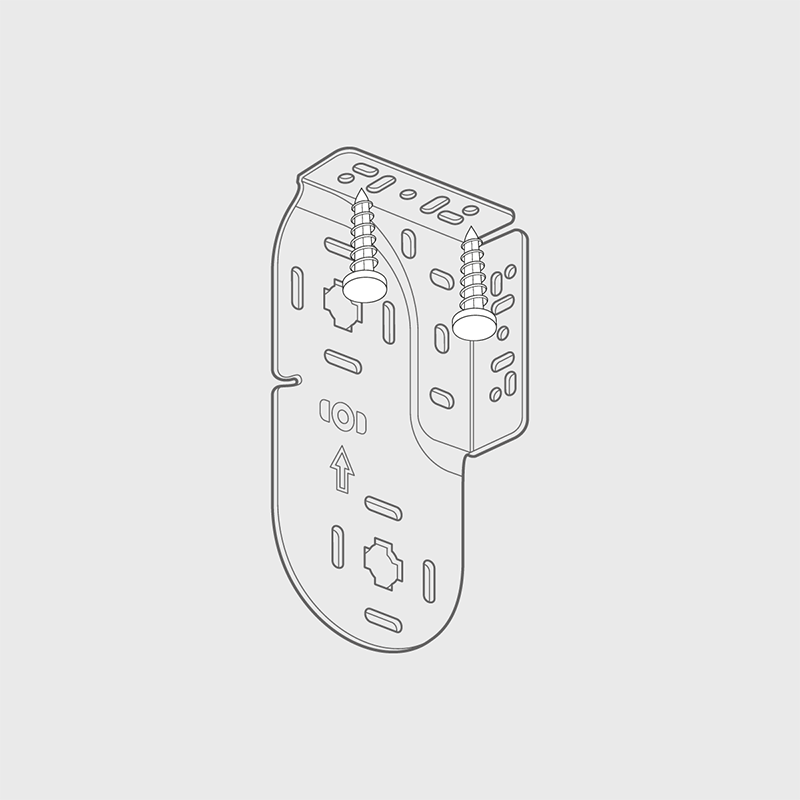
If you’re fixing the bracket to the underside of the window recess (B), measure and mark the distance (D), allowing for obstructions like handles that protrude into the recess area. Hold each bracket in place and mark the hole positions. Drill a suitable hole and fit each bracket using suitable screws. Please ensure fixings are suitable for the wall/ surface to which you are mounting the brackets.
Option 2: Face Fixing
If your fixing the bracket to the face of the wall, or the window frame, hold each bracket in place and mark the hole positions with a pencil. Drill a suitable hole and fit each bracket using suitable screws. Please ensure fixings are suitable for the wall/ surface to which you are mounting the brackets.
Option 2: Side Fixing
For a side fixing, position the brackets allowing for obstructions like handles that protrude into the recess area. Hold each bracket into place and mark the hole positions. Fit each bracket using suitable screws. Please ensure fixings are suitable for the wall/surface to which you are mounting the brackets.
Step 3
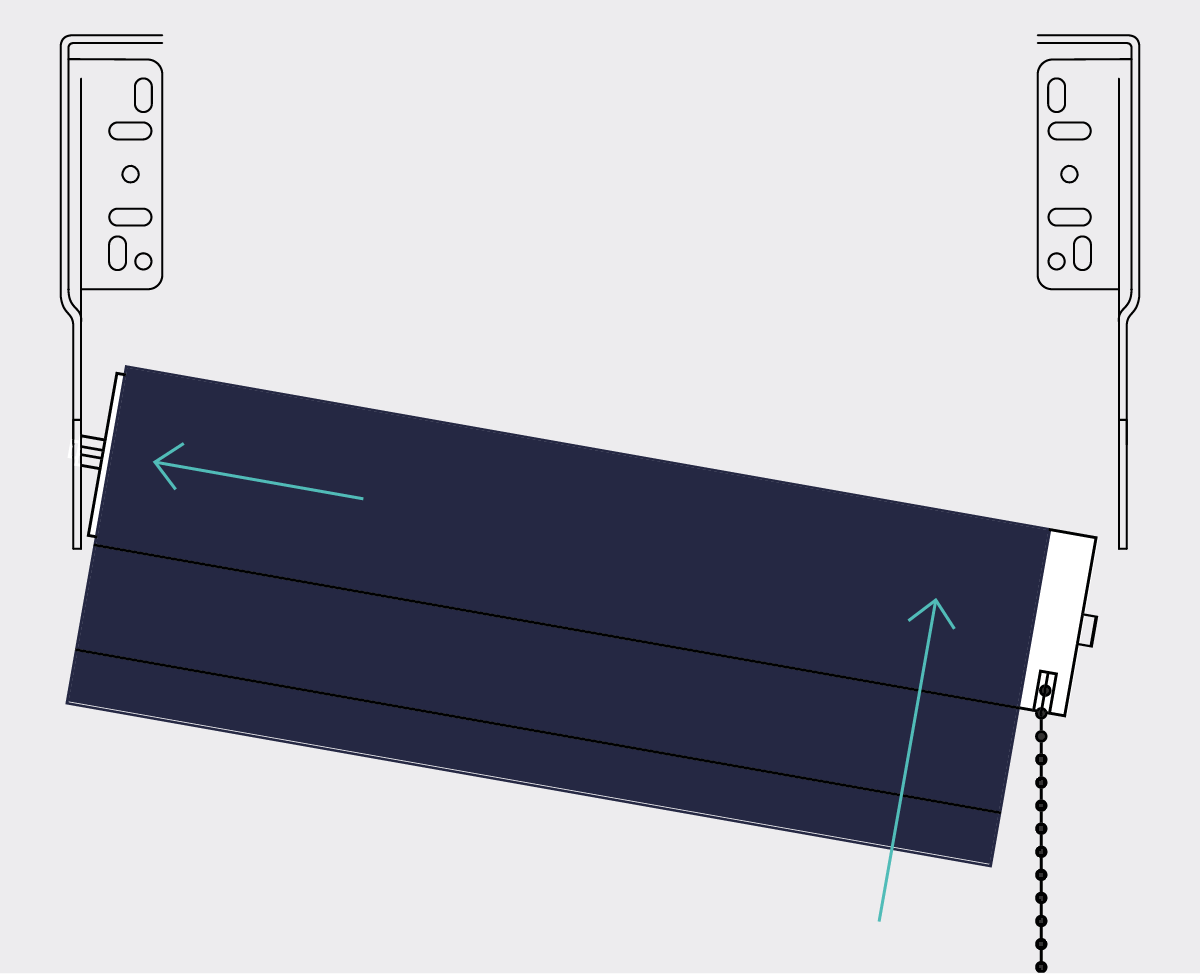
Inserting the Bottom Roller
Install the rear (bottom) blind first, by placing the sprung end in first, keeping the sprung end depressed fit control end into bracket.

Holding the fully-wound blind, insert the idle pin end into the bracket as shown

Visual Checks
With the Idle pin end now in place. Insert the control end into the opposite bracket by depressing the pin end. Then, pull down vertically until the control end clicks into position.
Step 4
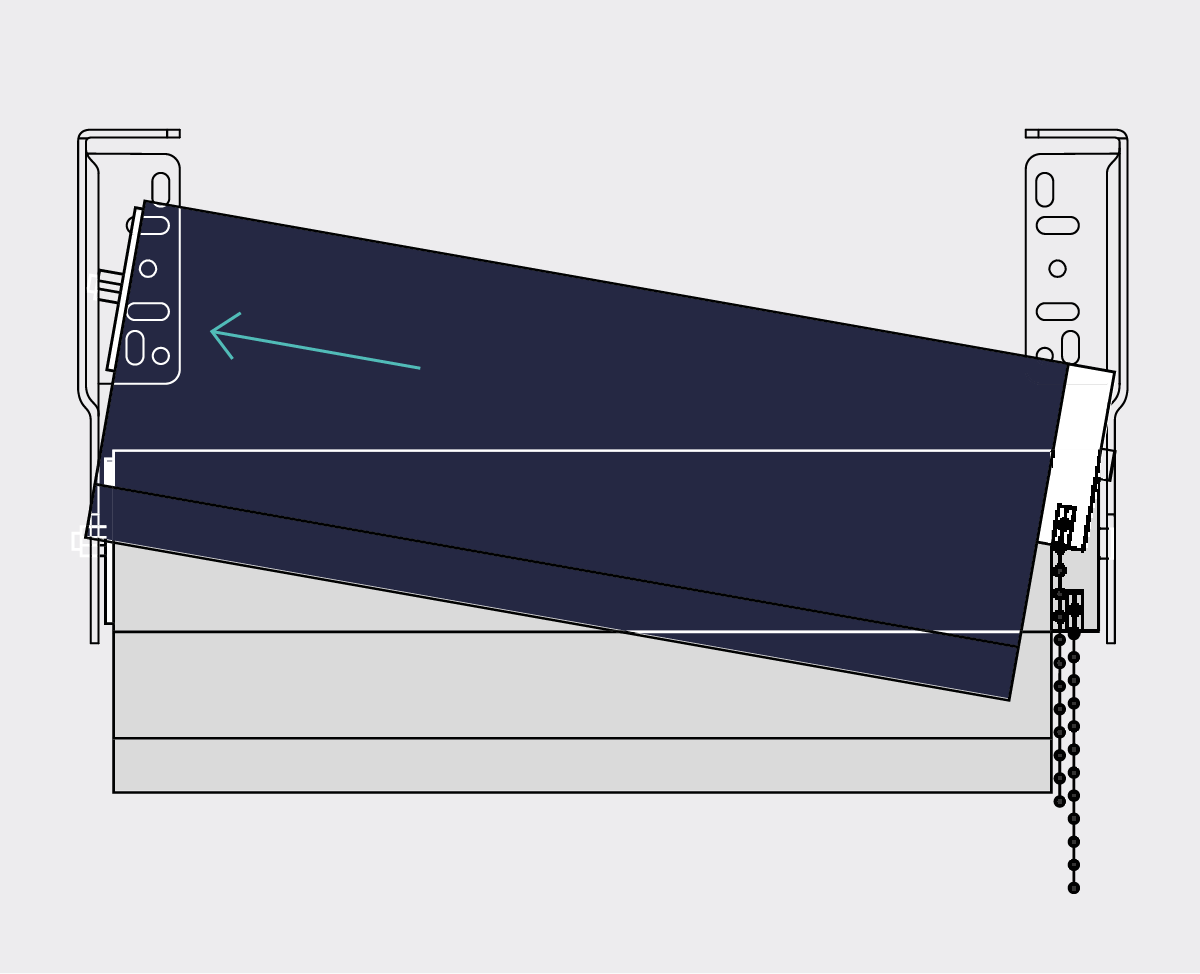
Inserting the Top Roller
Repeat the process for the front (top) blind.
To stop the chains tangling use the chain clip to direct the top (front) blind away from the lower blind chain.
Step 5
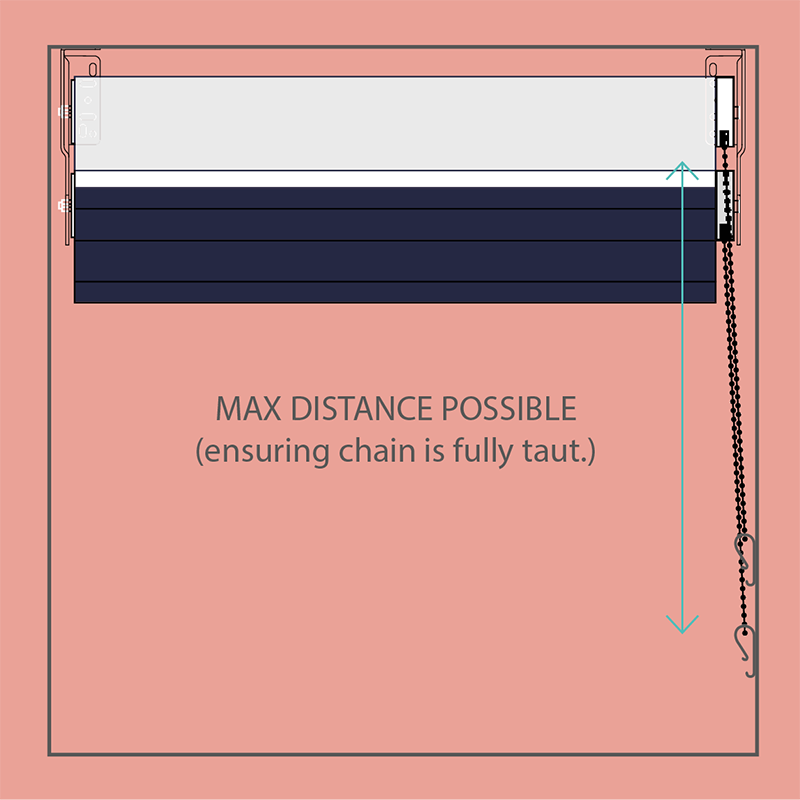
Safety Device
If your blind is supplied with a child safe easy break chain connector, there is no requirement to fit an additional child safety device.
Each safety device must be installed at the maximum distance possible from the control mechanism to prevent the looped chain becoming slack.
Place the safety device on the wall and mark the positioning of the screw holes. Drill holes using a suitable drill bit. Place device into position ensuring the chain is fully taut.
Fitting the Safety Device
Screw the safety device securely to the wall using suitable fixings.
Additional Support
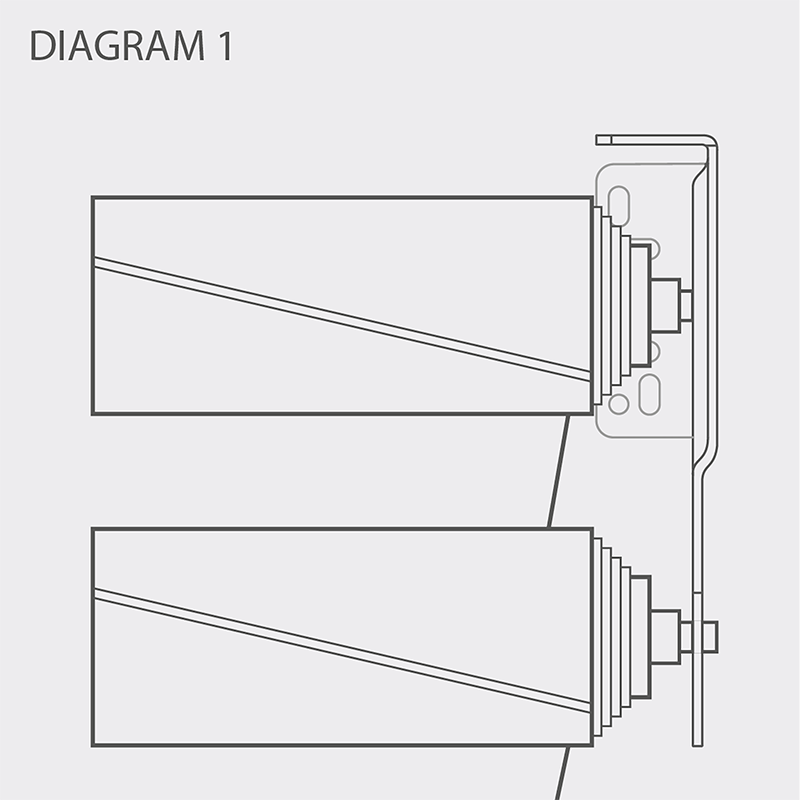
Fabric Run-Off
Diagram 1 below shows the fabric running off from the right-hand side of the blind.
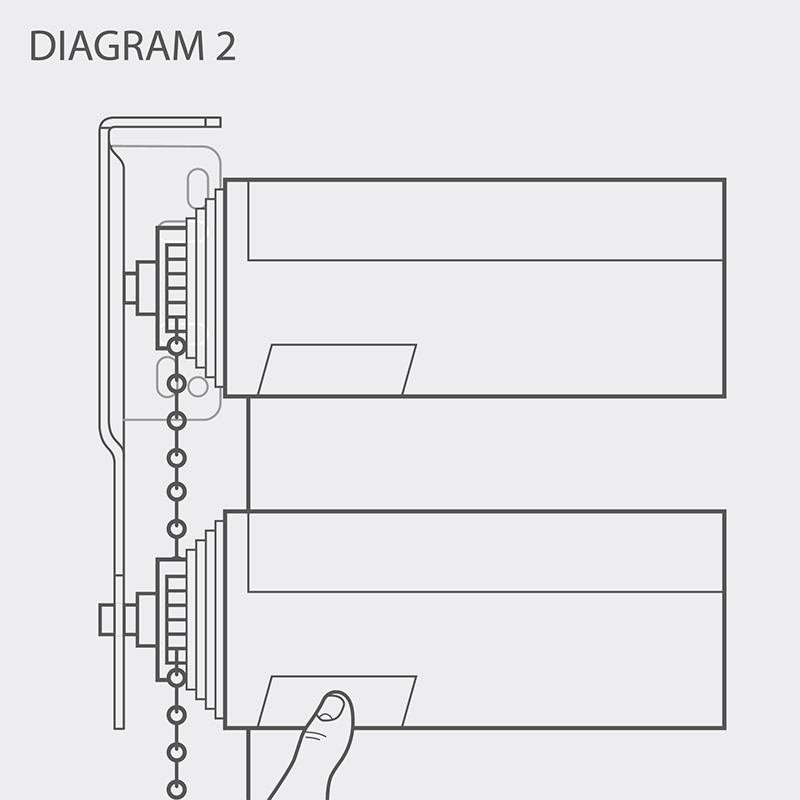
To correct the run-off, unroll the fabric, place a 25mm piece of sticky tape onto the tube (Diagram 2) at the opposite end of the blind to the run-off. Fully wind the blind up. Repeat until the fabric is no longer running-off.
Warning

Child Safety
Young children can be strangled by loops in pull cords, chains, tapes and inner cords that operate the product.
To avoid strangulation and entanglement, keep cords out of the reach of young children.
Cords may become wrapped around a child’s neck.
Move beds, cots and furniture away from window covering cords. Do not tie cords together. Make sure cords do not twist and create a loop.
Maintenance
Visual Checks
Your new blind is maintenance free, however we recommend that regular visual checks are completed to ensure that no components have been damaged, which could result in operating difficulties and/or cause a safety risk.
If any maintenance is required please contact us right away.
FAQs about fitting double roller blinds
Are double roller blinds easy to install?
Double roller blinds are remarkably easy to install. All you need to do is install brackets into your window recess or wall and easily pop the blinds into place on the dual bracket. They come with step-by-step instructions for hassle-free setup.
How do I remove double roller blinds?
Removing double roller blinds is a breeze. No complicated steps are required, just pop the blind out of the bracket on one side and this will free the blind completely. Start with the blind at the front and then move onto the blind at the back. It's a quick and straightforward process that allows for effortless removal whenever you need to change or clean them.
Looking for more expert advice?
If you need any assistance during the installation process, please give us a call on 0370 218 7042 or start a live chat with our highly trained customer support team.
Take a look at our other expert guides.
Choosing double roller blinds for your home?
Browse our full range of products