How to Install Panel Blinds
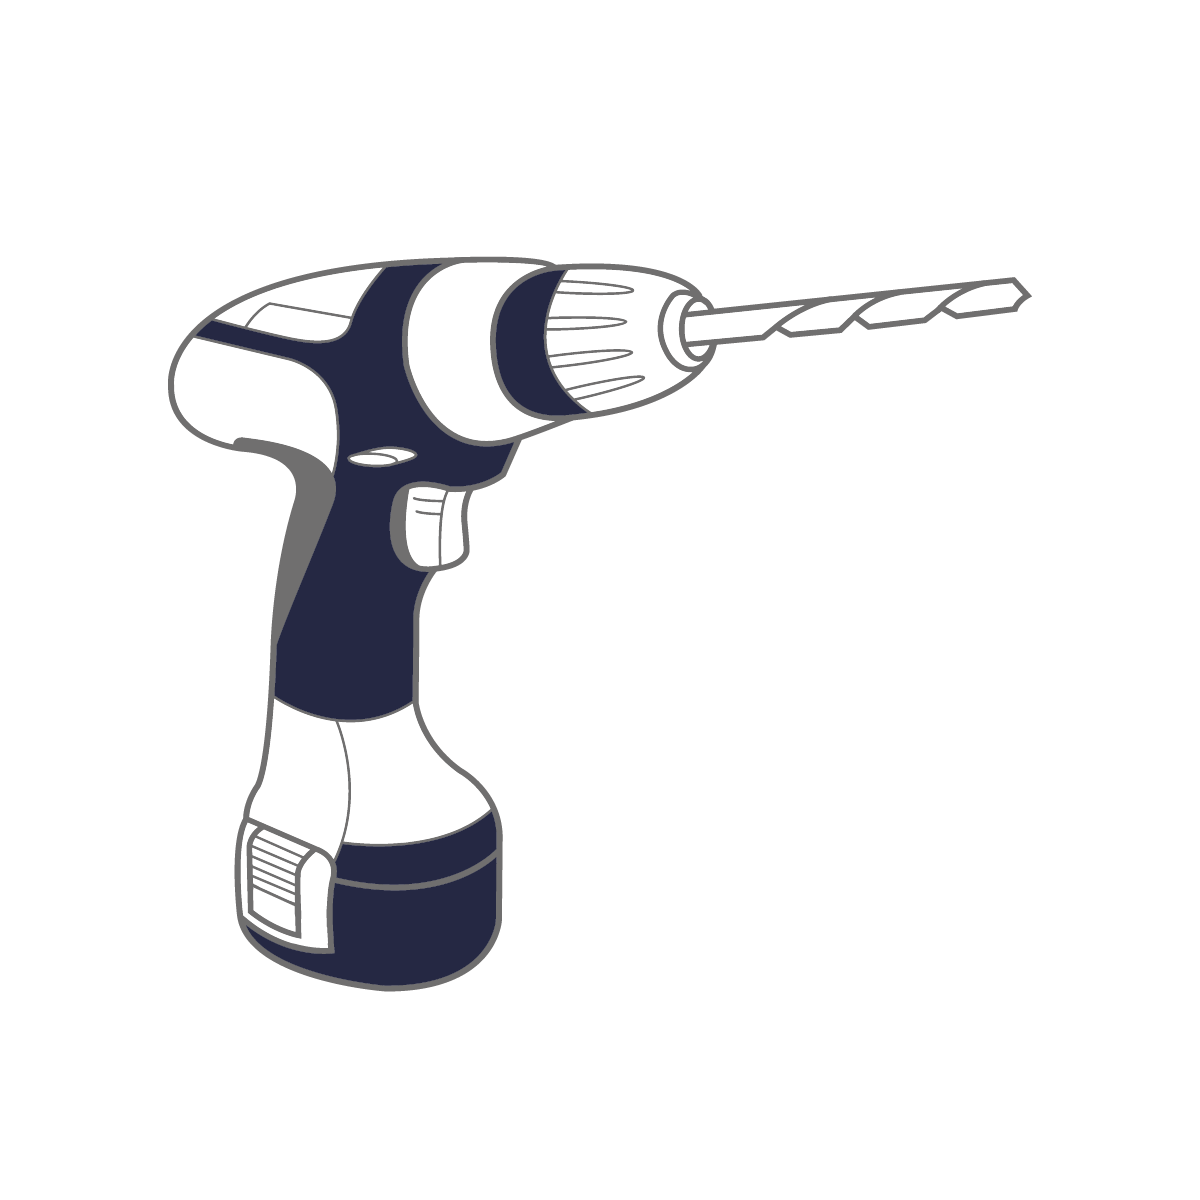
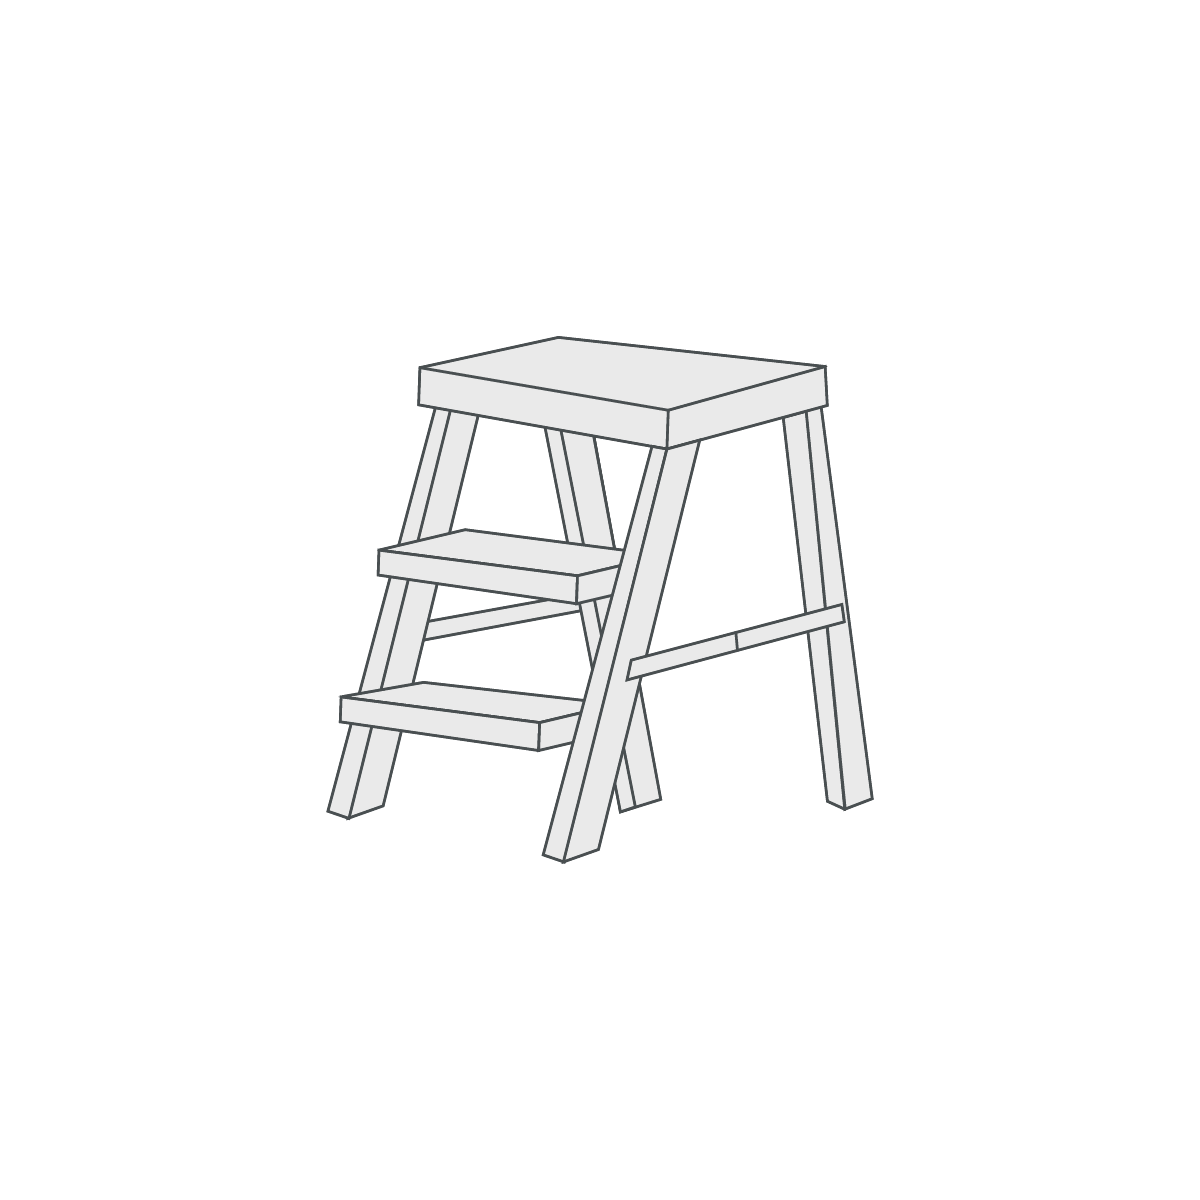
Installing panel blinds is quick and easy with our how to video and step by step guides. Perfect for larger windows, grab a sturdy step ladder, electric drill and a screwdriver to install panel blinds with ease. If you need any assistance along the way please give us a call or start a live chat with our highly trained customer support team. You will need to provide your own screws as the type required varies greatly depending upon the surfaces you are fixing to. You will need 4mm diameter screws, suitable for the material you are installing into.
What You'll Need
To install your new blinds you will need the below tools.


Video
We recommend watching our how to install video guide first.
Deciding where to mount the brackets
Ensure that brackets are positioned a suitable distance away from any window, door handles or any other obstructions to allow the blind to operate smoothly.
Step 1
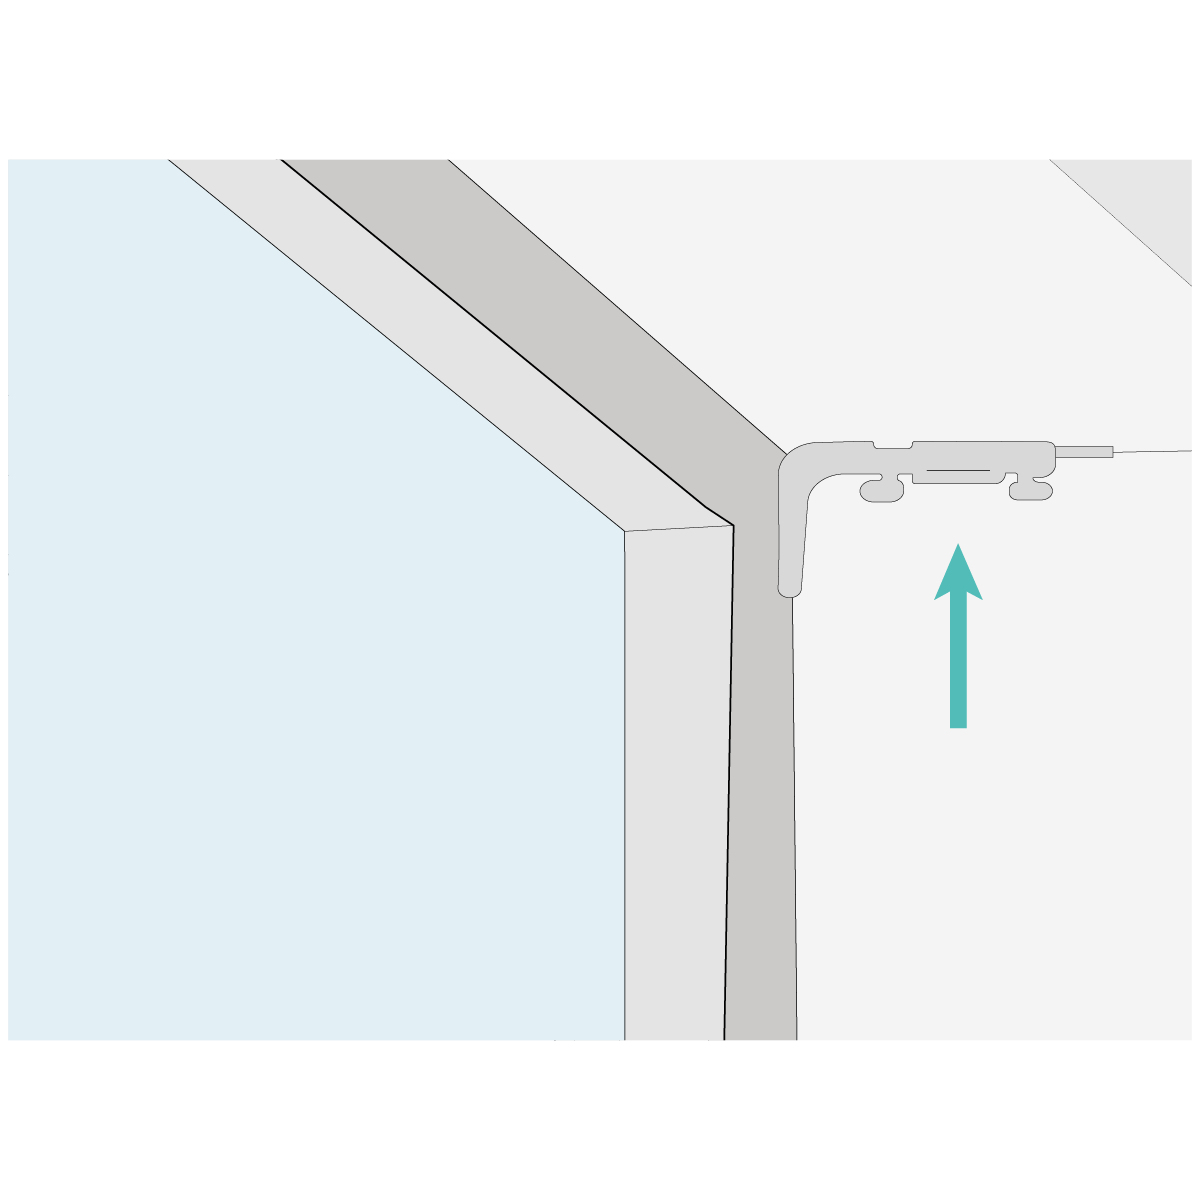
Top & Face Fixing Brackets
Panel blinds use top-fix brackets to secure the headrail of the blind in place. You can change the brackets to be face-fix, but this requires top-fix brackets being secured to a face-fix bracket extender - something not normally supplied with your blind.
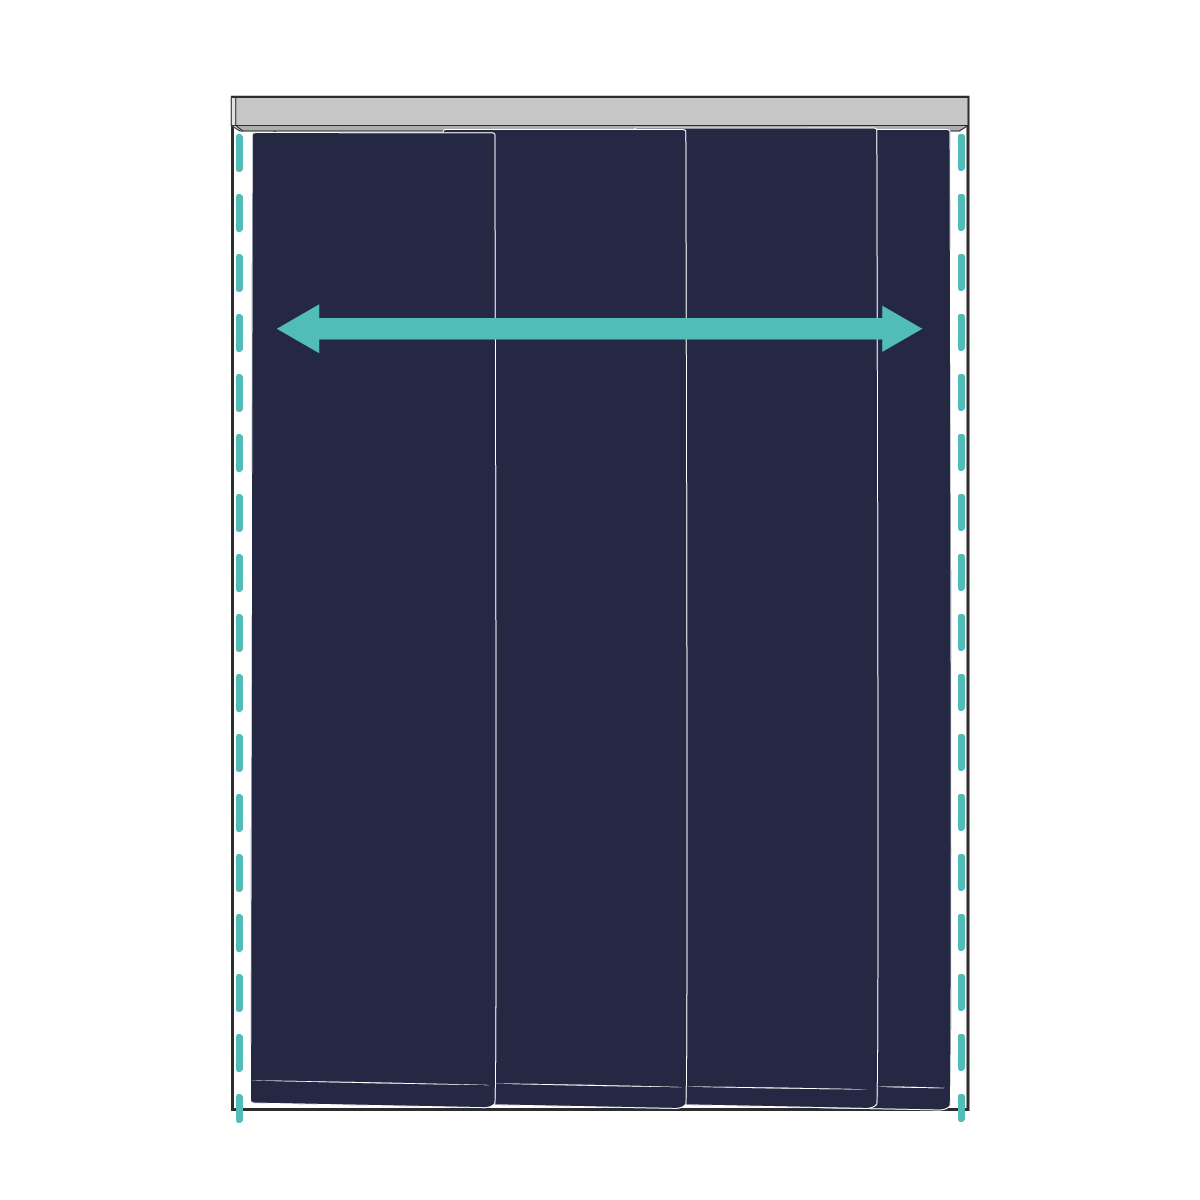
Bracket Positioning
In a normal installation, you must make sure that there is a 40mm gap for the bracket that's not going to be interrupted by any obstructions. If your headrail (also known as the track) is over 1m long, two brackets should be attached 50mm from each end of the panel track, with just one screw fixing them to the wall. If your headrail is over 1m in length, we suggest using 3 brackets, 4 brackets for tracks 2-3m long and 5 brackets for panel blind tracks over 3m long. These should all be spaced evenly along the length of the surface where you'll attach your blind.
Step 2
Fixing the Brackets
Once you've assessed how many brackets are required, you can affix them ensuring they are all well-spaced, and secured to the surface using the correct fittings.
Step 3
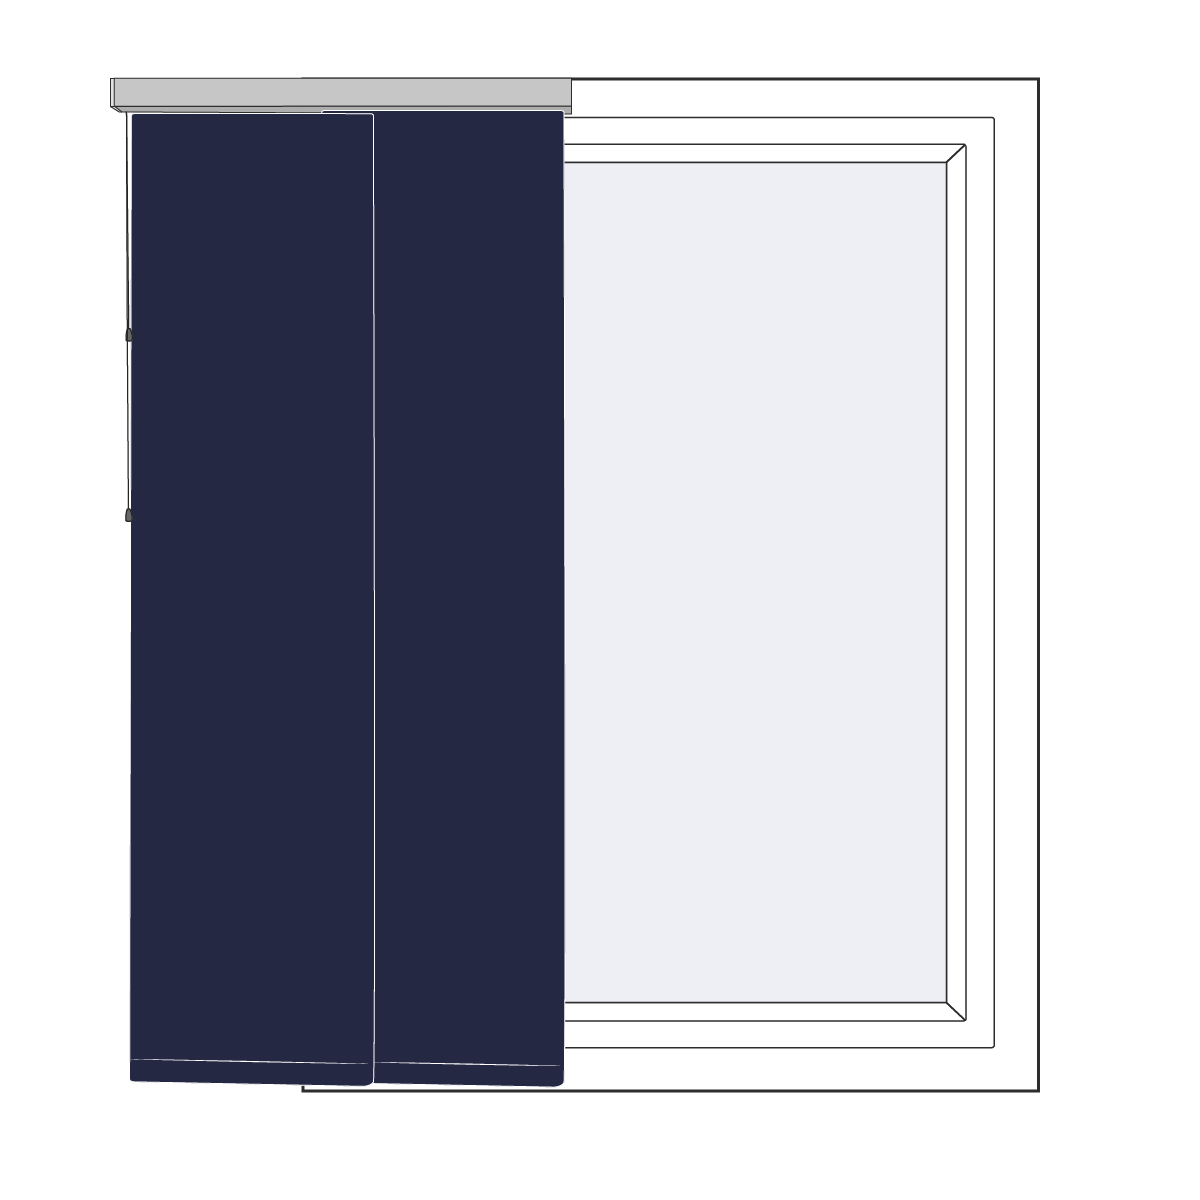
Mounting the Blind
To pop the blind rail onto the brackets, simply make sure the rail is located near to the brackets as you intended when fitting them, and put the rail into the brackets. Once in, secure the rail track by rotating the turnbuckle on the brackets.
Step 4
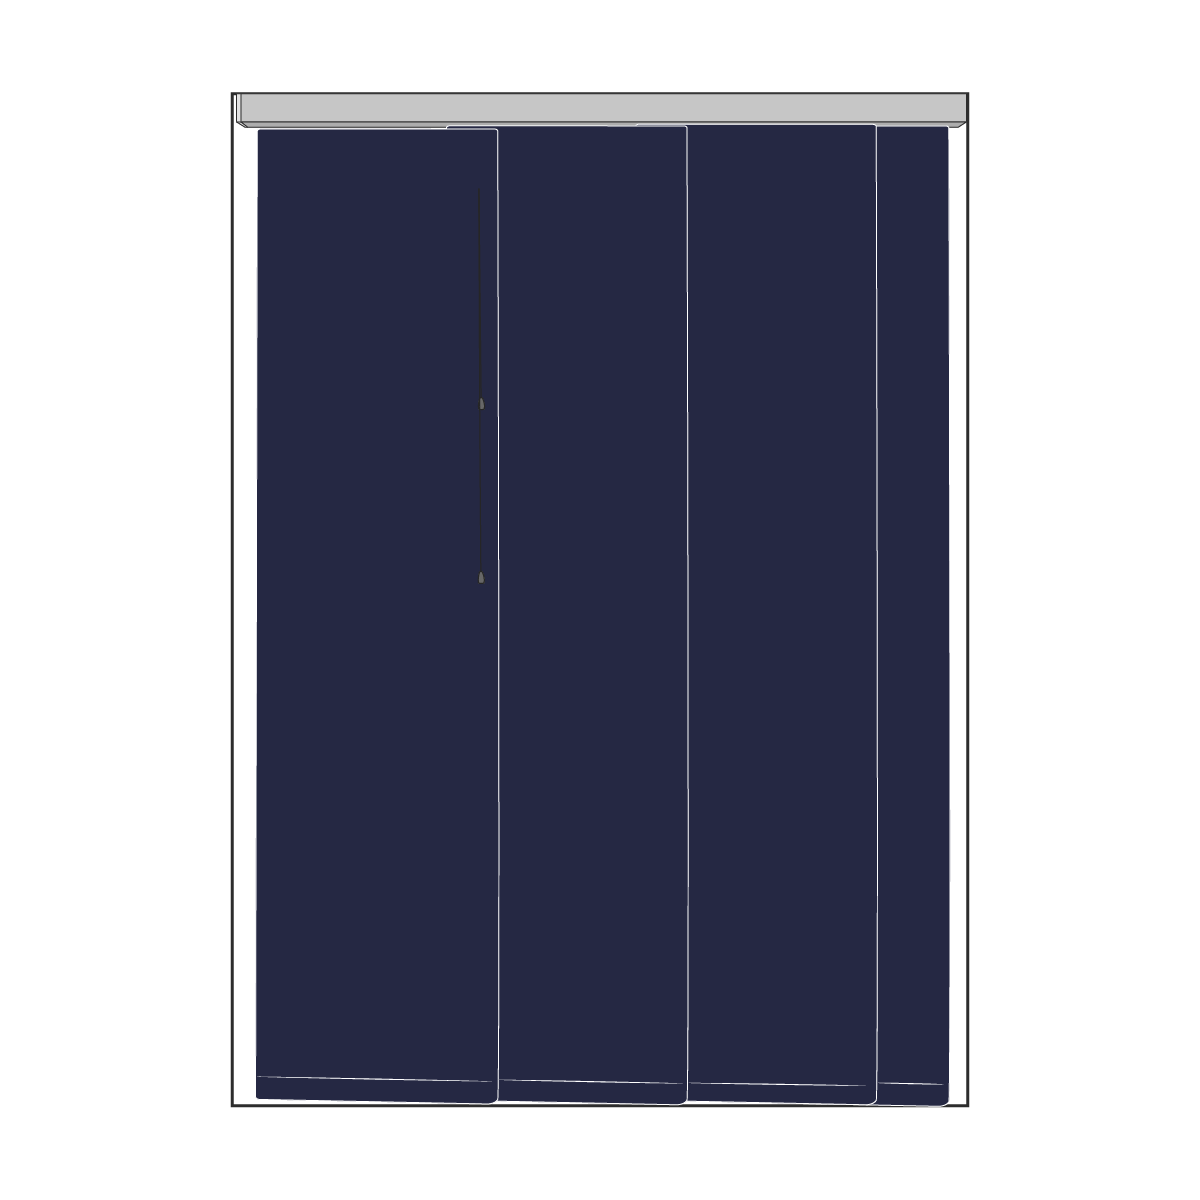
Fitting the Panels
All of the panels will have a Velcro strip across their top edge - use this to secure the panel to the track, starting from the back of the blind that's closest to the window. Repeat this with one panel at a time, building the blind up from the back forwards. For a split draw panel, simply Velcro the panels on from side to side instead of working from the back to the front.
Finally, check that the panels line up properly across the bottom bar, and adjust the Velcro at the top if any panels need adjusting.
Important Note

Child Safety
When we send you your cord operated panel blind, we will provide you with a side-fix or face-fix cord tidy, and this must be installed as per the instructions supplies. This is to prevent the risk of strangulation that can occur with cord control blinds of any type, and should be fitted when your blind is installed.